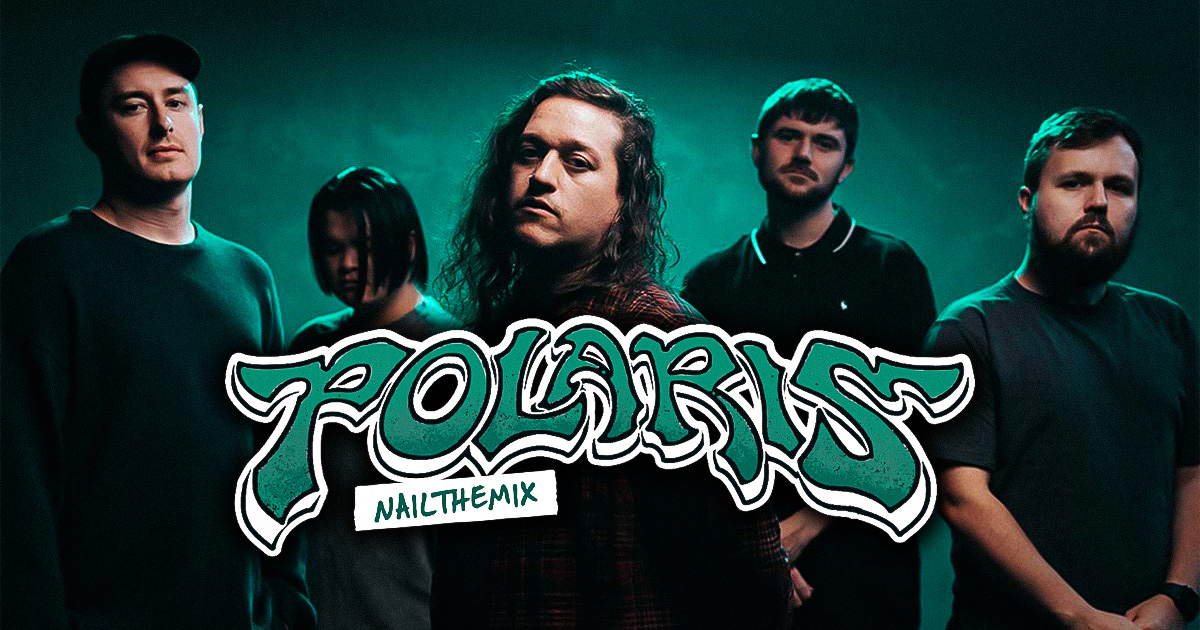
Stacking multiple clippers for transparent loudness in metalcore (ft. Polaris)
Nail The Mix Staff
Listen to any modern metal record, especially something from a band like Polaris, and one thing hits you immediately: it’s insanely LOUD. But it’s not just loud; it’s punchy, clear, and aggressive without turning into a distorted mess. How do top-tier mixers like Lance Prenc pull that off? Spoiler: it’s not just about slapping a limiter on the master bus and cranking the gain.
We got a look inside Lance’s actual session for Polaris, and his method for achieving extreme loudness is a masterclass in control and character. It’s all about a multi-stage approach that tames peaks transparently before they ever hit the final limiter. Let’s break down the exact plugin chain and settings he uses to get that signature Polaris power.
It’s Not Just a Limiter: The Power of Staged Clipping
The core of Lance’s loudness philosophy is using multiple clippers in series. If you try to get 8dB of gain reduction from a single clipper, you’re going to hear it, and it’s probably going to sound pretty nasty. The distortion will be obvious and unpleasant.
Think of it like compression. Would you rather have one compressor absolutely smashing your drum bus with 8dB of reduction, or four compressors in a row each doing a gentle 2dB? The second option is way more transparent because the dynamic curve is essentially “reset” with each plugin. Each stage is doing a little bit of work, so no single process has to over-exert itself.
This staged approach allows you to achieve a massive amount of peak reduction and perceived volume without the nasty artifacts. It’s how you get that “sausage” waveform without it sounding like a sausage. This is one of the secrets of staged clipping and limiting that goes beyond just making things loud and focuses on doing it transparently.
Breaking Down The Loudness Chain
Here’s the step-by-step walkthrough of Lance’s mix bus chain. It’s a combination of simple gain, multiple stages of clipping, and a final limiter just to bring up the level.
Step 1: Volume Automation for Impact
Before any clippers, Lance uses a simple gain plugin for what he calls the “classic boost.” During the heaviest, most impactful sections of the song, he automates this plugin to turn up the entire mix by a few dB.
The trick here is subtlety. You don’t want the listener to consciously notice the volume jump. You want them to feel it. When that chorus or breakdown hits, a little bit of extra volume feeding the rest of the chain can be just the thing to make it explode. If a part isn’t hitting quite right, sometimes the answer is just to turn it up before the limiters.
Step 2: The First Clipper – StandardCLIP
The first real stage of dynamic control comes from Sir Audio Tools’ StandardCLIP. This is the initial line of defense against the spikiest transients.
- Mode: Hard Clip
- Oversampling: Off
Lance sets this to Hard Clip and, importantly, turns oversampling off. He wants the plugin to just instantly chop off peaks with zero added latency. At this stage, it’s just killing the very top of the kick and snare hits, taming them down so they don’t trigger the later stages too aggressively. He notes the importance of the visual feedback in StandardCLIP, something he finds lacking in other popular options like JST Clip.
Step 3: The Second Clipper – More StandardCLIP
Yep, another instance of the same plugin. This is where the staged clipping concept really comes into play. After the first clipper tamed the absolute highest peaks, this second instance is pushed harder to start catching more of the overall mix.
You can actually start to hear a little bit of pleasing distortion in the low-mids at this stage, but because it’s a result of gradual clipping, it adds character rather than sounding like an error. It’s a controlled distortion that contributes to the aggressive tone.
Step 4: The Third Clipper – A Different Flavor with Kazrog KClip
Next up is a different tool for a different job: Kazrog KClip. While StandardCLIP is being used for transparent peak shaving, KClip is here to add a bit more of a saturated, distorted character.
- Clip Shape: 50%
By setting the clipping shape to 50%, Lance finds a sweet spot—not totally soft, but not the aggressively hard clip of the StandardCLIP instances either. It’s all about adding another layer of texture and distortion, further shaping the sound before it even gets to the limiter.
Step 5: The Final Clipper – One More StandardCLIP
One last StandardCLIP makes an appearance as the final stage of clipping. This one is doing even less work, just catching any final peaks that have made it through the chain and ensuring the signal heading to the limiter is incredibly consistent and controlled.
This entire clipping chain is a massive part of Lance’s sound. It’s a specific, intentional process that a standard mastering engineer might not replicate. To see how this powerful bus processing interacts with the individual tracks, you can watch Lance build the entire Polaris mix from scratch on Nail The Mix.
The Final Polish: Limiting an Already-Crushed Signal
With all that clipping, the heavy lifting is already done. The signal is dense, controlled, and has very few wild peaks. Now, the final limiter’s job is incredibly easy: just turn it up.
Pro-L 2: The Best in the Business
For the final step, Lance turns to the industry workhorse: FabFilter Pro-L 2. Because the clippers have already created a solid “brick” of audio, the limiter isn’t getting slammed by random snare hits. The gain reduction is almost constant, which makes its action totally transparent to the listener.
- Style: Punchy
- Lookahead: 0.25 ms
- Attack: 250 ms
- Release: 500 ms
- Oversampling: Off
- True Peak: Off
- Output: -0.1 dB
He runs it on the “Punchy” algorithm, perfect for a hard-hitting track like this. Interestingly, the attack and release are left at their stock settings. The output is set to -0.1 dB just as a safety measure. The result? A massively loud mix with no audible pumping or unwanted artifacts from the limiter.
The Caveat: Isolated Vocals
There is one small downside to this extreme process. Lance points out that when an element is isolated, like a lead vocal during a quiet section, you might hear the clipping artifacts as a slight crackle on the sides. In the context of the full, dense mix, it’s completely inaudible. But it’s a trade-off you accept to get that level of impact and loudness across the entire song.
Bring It All Home
Getting a pro-level, loud metal mix is about so much more than a single plugin. It’s a system of thoughtful, staged processing.
- Start with volume automation to add impact to key sections.
- Use multiple clippers in series to transparently tame peaks without nasty distortion.
- Mix different clipper types to add character and saturation.
- Let your limiter be the final step, just bringing up the level of an already-controlled mix.
Of course, this master bus chain only works if the mix feeding it is rock solid. That means getting a great drum sound, dialing in punchy bass, and using smart EQ strategies to make sure every instrument has its own space.
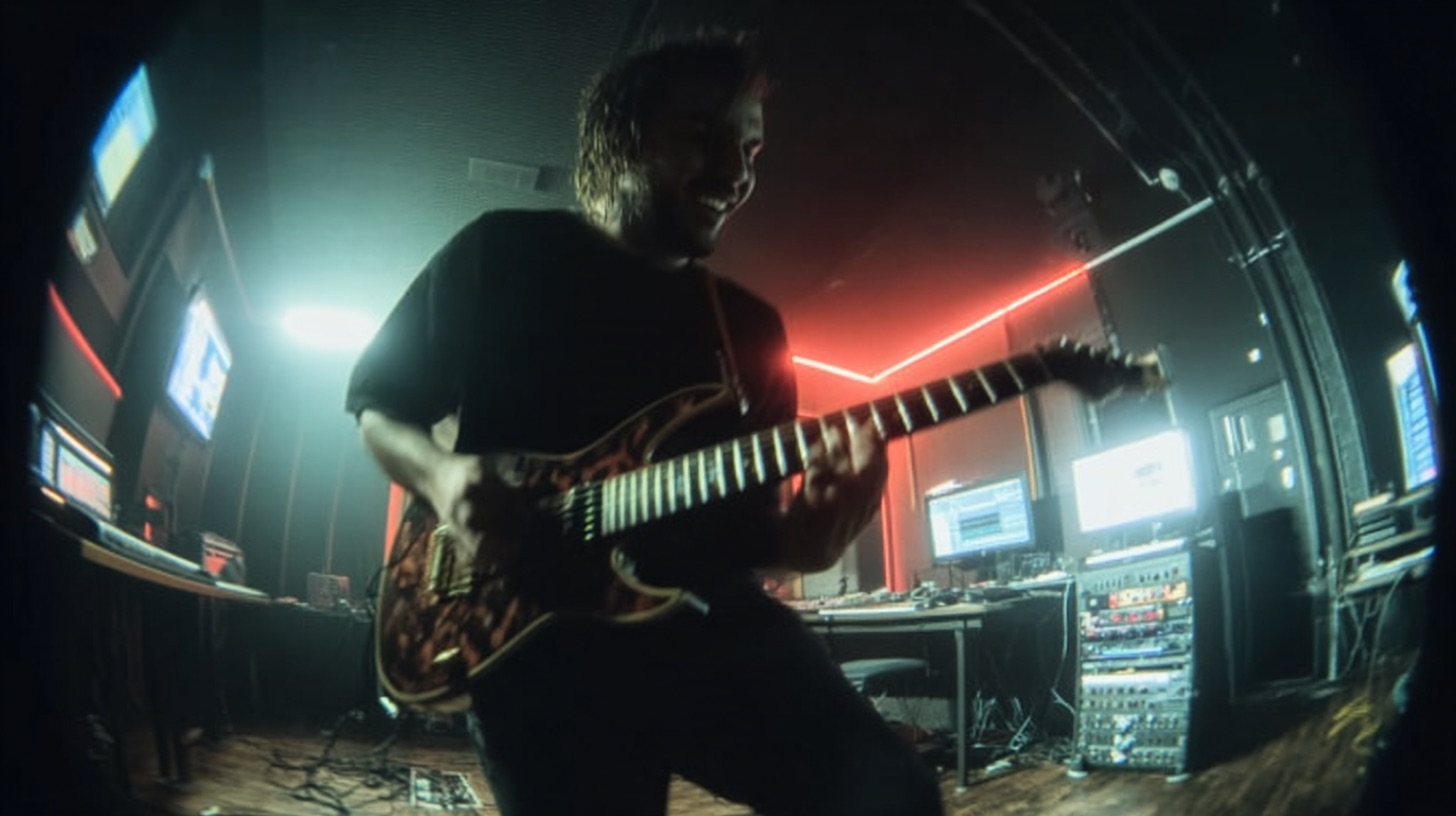
Polaris on Nail The Mix
Lance Prenc mixes "Dissipate"
Get the Session
Techniques like this are what separate good mixes from great ones. If you want to go beyond presets and learn how the pros really do it, Nail The Mix gives you the chance to sit in on real sessions with producers like Lance Prenc, Jens Bogren, and Will Putney. You get the full multi-tracks every month and watch them explain every decision, from the raw tracks to the final master. See how Lance Prenc gets these huge sounds by checking out the full Polaris mixing session and fast-track your journey to unlocking your sound in modern metal.