Panning: A metal mixer’s secret weapon
Nail The Mix Staff
Let’s talk panning. Sounds simple, right? Just twist a knob left or right. But in a dense, aggressive metal mix – where you’re juggling double-tracked monster guitars, thunderous drums, a driving bass, and searing vocals – getting your panning dialed is the difference between a muddy, undefined mess and a wide, punchy, professional sound that slams the listener. It’s not just about left and right; it’s about creating a three-dimensional soundscape where every element has its place and hits with maximum impact.
Why Panning is Your Secret Weapon in Metal
In the world of metal production, clarity is king. With so many distorted, harmonically rich instruments fighting for space, panning is one of your most powerful tools to carve out a spot for everything. Think of your mix as a stage: panning decides where each musician stands. A well-panned mix:
- Creates Width: Obvious, but crucial. It makes your track sound bigger and more immersive.
- Improves Clarity: By separating instruments in the stereo field, you reduce frequency masking, allowing individual parts to be heard more clearly. Your guitars won’t fight your cymbals, your toms won’t get lost in the bass.
- Enhances Punch: When elements aren’t stepping on each other, their transients cut through better. That kick and snare will hit harder.
- Increases Perceived Loudness: A wide, clear mix often sounds louder and more powerful, even at the same LUFS reading, because the brain can process the information more easily.
For metal, with its often wall-of-sound aesthetic, smart panning is non-negotiable.
Core Panning Philosophies for Metal
Before we dive into specific instruments, let’s cover some foundational approaches to panning in your metal productions.
The LCR (Left-Center-Right) Approach: A Solid Foundation
You’ve probably heard of LCR panning. It’s a super common starting point, especially in rock and metal. The idea is simple: you primarily use three pan positions – hard left, dead center, and hard right.
- Center: This is for your main anchors – kick drum, snare drum, lead vocal, and usually the bass guitar. These are the elements that need to be solid and upfront.
- Hard Left & Hard Right: This is prime real estate for those massive, double-tracked rhythm guitars that define modern metal. It’s also great for wide overheads, room mics, or stereo synth pads.
Most DAWs like Pro Tools, Logic Pro X, Cubase, or Reaper have straightforward pan pots. For LCR, you’re literally just cranking them all the way left, right, or leaving them at 12 o’clock. It’s a bold, impactful way to mix and provides immediate width and separation.
Beyond LCR: Filling the Gaps
While LCR is a fantastic starting point, don’t be afraid to use the space between these extremes. Not everything needs to be hard-panned or dead center. This is where you can add depth and nuance:
- Toms: Often panned across the stereo field to mimic their placement on a kit.
- Spot Mics/Percussion: A tambourine, cowbell, or a specific cymbal accent can sit at 30% left or 70% right, for example.
- Guitar Layers/Harmonies: Secondary guitar parts or harmonies can be tucked in slightly from the hard-panned main rhythms (e.g., 80% L/R).
- Backing Vocals: Groups of backing vocals can be spread out at various points (e.g., 50% L/R, 75% L/R) to create a sense of space around the lead vocal.
- FX Returns: Stereo delays and reverbs often benefit from being panned wide, but their returns can also be positioned slightly narrower than hard L/R to avoid cluttering the extreme edges if those are reserved for key elements.
Think of it like this: LCR provides the main structure, and the “in-between” panning adds the detail and fills out the picture.
Mono Compatibility: The Unsung Hero
“But who listens in mono anymore?” More people than you think. Club PAs, some Bluetooth speakers, background music systems, and even some streaming services might sum your mix to mono at some point. If your mix falls apart in mono, you’ve got a problem.
- How to Check: Most DAWs have a mono sum button on the master fader. Use it! Regularly. Plugins like iZotope Insight 2 or Waves PAZ Analyzer also offer mono summing and phase correlation meters.
- Potential Issues: The biggest culprits are often phase issues caused by overly wide stereo FX or using certain stereo widening plugins too aggressively. If something disappears or sounds weirdly thin in mono, your panning and stereo processing choices might be to blame.
A mix that sounds great in stereo AND mono is a robust, professional mix.
Panning Specific Instruments in a Metal Mix
Okay, let’s get into the nitty-gritty. How do we pan individual elements in a typical metal track?
Drums: The Rhythmic Anchor
Your drum panning sets the stage for the rest of the mix.
Kick & Snare: The Center Punch
These are almost universally panned dead center. The kick provides the low-end thump and the snare provides the backbeat smack. You want these to hit with maximum impact, and center is where they do it best. Whether you’re using killer samples from something like Slate Drums SSD5 or Toontrack Superior Drummer 3, or meticulously mixed live drums, keep that kick and snare locked in the middle.
Toms: Creating Movement
Toms are where you can get a bit more creative and add some stereo movement. A common approach is to pan them from the audience’s perspective:
- High Tom: Slightly left (e.g., 10 o’clock or around 30-50% left).
- Mid Tom(s): Closer to center, or spread out if you have multiple.
- Floor Tom(s): Slightly right (e.g., 2 o’clock or around 30-50% right).
The exact panning depends on the number of toms and the desired width. You can also automate the panning of tom fills to make them sweep across the stereo field for extra drama.
Overheads & Cymbals: Width and Space
- Overheads: Often panned hard left and right to capture the full width of the kit and the cymbals. This provides a sense of space and air.
- Hi-Hats: Usually panned slightly to one side, reflecting where it sits on the kit. From an audience perspective, this might be around 9-10 o’clock (20-30% left) or even further if it’s a prominent part.
- Ride Cymbal: Similar to the hi-hat, panned to its position, often slightly to the right (e.g., 2-3 o’clock or 20-30% right).
- Spot Mics (Crashes, China, Splash): Pan these to match their position in the overhead image, or slightly wider for emphasis.
Be mindful of phase relationships between overheads and close mics, especially if you’re panning them aggressively.
Guitars: The Wall of Sound (or Not?)
Metal guitars are often the defining element. Panning them correctly is crucial.
Rhythm Guitars: The Metal Standard
For that classic, wide metal guitar sound, you’re almost always talking about double-tracked (or quad-tracked) performances panned hard left and hard right. This creates a massive, enveloping sound. Each guitar part should be a separate performance for true stereo width; don’t just duplicate a track and pan it.
If you only have a single rhythm guitar track and re-amping or re-tracking isn’t an option, plugins like Soundtoys MicroShift can create a convincing double-tracked feel with subtle pitch and time variations. You can also use stereo imagers like the Waves S1 Imager, but use them judiciously on mono sources as they can introduce phase issues. Often, focusing on great EQ strategies for mixing modern metal will do more for clarity between panned elements than trying to fake width.
Lead Guitars & Solos: Taking Center Stage (or Off-Center)
Lead guitars and solos often sit center to command attention. However, you can also pan them slightly off-center (e.g., 10-20% left or right) if the lead vocal is present and you need to carve out a bit more space.
A popular trick is to use a stereo delay, like a Soundtoys EchoBoy or ValhallaDelay, with the dry lead panned slightly one way and the main delay taps panned to the opposite side, creating a huge, wide lead sound.
Clean Guitars & Layers
Clean guitars, ambient textures, or secondary distorted layers can be panned anywhere from moderately wide (e.g., 60-80% L/R) to more specific spots to fill holes in the mix. They generally shouldn’t compete with the main hard-panned rhythms.
Bass: The Low-End Foundation
The bass guitar is tricky. You want it to be solid and powerful.
- Low Frequencies: Almost always dead center and mono. Sub-100Hz (or even up to 150-200Hz) information panned wide can sound weird, unbalances the mix, and can cause issues with vinyl cutting or big PA systems.
- Mid/High Frequencies: This is where you can introduce some width. If your bass has some nice grit or string noise (often enhanced with plugins like FabFilter Saturn 2 for distortion or Neural DSP Parallax which splits bass into multiple processable bands), you can subtly widen these higher frequencies. Some engineers send the bass to a stereo chorus or a short, stereo ambience reverb, keeping the dry signal center.
Ultimately, a tight, focused bass is key. Strong metal compression secrets on your bass will help keep it anchored in the center and working with the kick.
Vocals: The Focal Point
Vocals need to cut through and be intelligible.
Lead Vocals: Front and Center
No surprises here: lead vocals are almost always panned dead center. This is the most important element for the listener to connect with.
Backing Vocals & Harmonies
This is where panning shines for vocals.
- Doubles: A common technique is to pan a lead vocal double slightly left and another slightly right (e.g., 10-15% L/R) and tuck them underneath the main lead for thickness.
- Harmonies: Pan harmonies out wider. If you have two harmony parts, pan one left and one right (e.g., 40-60% L/R). For stacked harmonies, you can create a spread – e.g., low harmony at 30% L, high harmony at 30% R, and even wider layers at 70% L/R. This creates a rich, enveloping vocal sound.
Vocal Effects: Adding Dimension
Stereo effects are your friend for vocals.
- Reverbs: Use stereo reverbs like Valhalla VintageVerb or LiquidSonics Seventh Heaven and pan their returns wide to give the vocal space without cluttering the center.
- Delays: Ping-pong delays or stereo delays with different timings on left and right channels can add excitement and width. Pan these wide.
- Stereo Spreaders: On vocal effect buses, a subtle touch from something like the iZotope Ozone Imager can enhance the width of your reverbs and delays.
Synths & Orchestral Elements: Adding Epicness
For synths, pads, strings, and other orchestral elements often found in modern metal:
- Pads & Strings: Usually panned wide to create a lush backdrop. True stereo recordings or patches will naturally have width. If using mono synth pads, consider stereo chorus or reverb to spread them.
- Arpeggiators & Sequences: These can be great candidates for auto-panning using plugins like Xfer Records LFO Tool or Cableguys PanShaper, creating movement that syncs to your tempo.
- Orchestral Hits/Stabs: Pan these according to where they might sit in a traditional orchestral layout, or position them for maximum impact within your mix.
Advanced Panning Techniques & Tools
Once you’ve got the basics down, you can explore more advanced techniques.
Automation: Bringing Your Mix to Life
Static panning is fine, but pan automation can add incredible dynamics and interest.
- Drum Fills: Automate toms to sweep across the stereo field.
- Guitar Solos: Maybe a solo starts slightly off-center and moves to the center for the climax.
- FX Sweeps: A riser or special effect can pan from one side to the other.
- Transitions: Automate the panning of an element to create a sense of movement leading into a new section.
Most DAWs have robust automation lanes that make this easy to draw in or record.
Stereo Widening Plugins: Use With Caution
Plugins like Waves S1 Stereo Imager, iZotope Ozone Imager, or Polyverse Wider can make tracks sound wider. However, they can also quickly introduce phase problems and make your mix sound hollow or weird in mono if overused.
- Best Use: Subtly, on buses (like a backing vocal bus or an FX bus), or on individual stereo sources that need a little extra spread. Avoid slapping them on everything or on your master bus without careful consideration.
Mid/Side (M/S) Processing for Panning Perception
Mid/Side processing separates a stereo signal into ‘Mid’ (center, mono sum) and ‘Side’ (stereo difference, width) components. Advanced EQs like FabFilter Pro-Q 3 allow you to EQ the Mid and Side signals independently.
- How it relates to panning: By boosting high frequencies on the Side signal, you can increase the perceived width and brightness of stereo elements without actually changing their pan positions. This can be great for overheads, stereo synths, or even the whole mix (carefully!). This is a more advanced technique covered in depth when you dive into EQ strategies for mixing modern metal.
Binaural Panners: For the Adventurous
Binaural panners (e.g., dearVR Micro, Sennheiser AMBEO Orbit) are designed to create a 3D sound experience for headphones. While often used for VR/AR, they can create interesting, super-wide, or even “outside the speakers” effects in a stereo mix. Use sparingly and for specific creative effects.
Common Panning Pitfalls in Metal
Avoid these common mistakes:
- Overcrowding the Center: If too many elements are fighting for the center, your mix will sound congested.
- The “Hole in the Middle”: Conversely, if everything is panned extremely wide with nothing substantial in the center (besides maybe kick/snare/vocals), your mix can feel disconnected and lack punch.
- Ignoring Mono Compatibility: As mentioned, always check your mix in mono.
- Phase Issues: Usually from overusing wideners or problematic mic placement during recording. A phase correlation meter can help identify this.
- “Seasick” Mixes: Too much random or unmotivated pan automation can be distracting and unpleasant. Movement should generally have a purpose.
Nail Your Panning, Nail The Mix
Panning isn’t just a technical exercise; it’s an artistic one. It’s about making deliberate choices to serve the song and create the most impactful listening experience. From the foundational LCR setup to nuanced positioning and dynamic automation, your panning decisions shape the entire sonic landscape of your metal track.
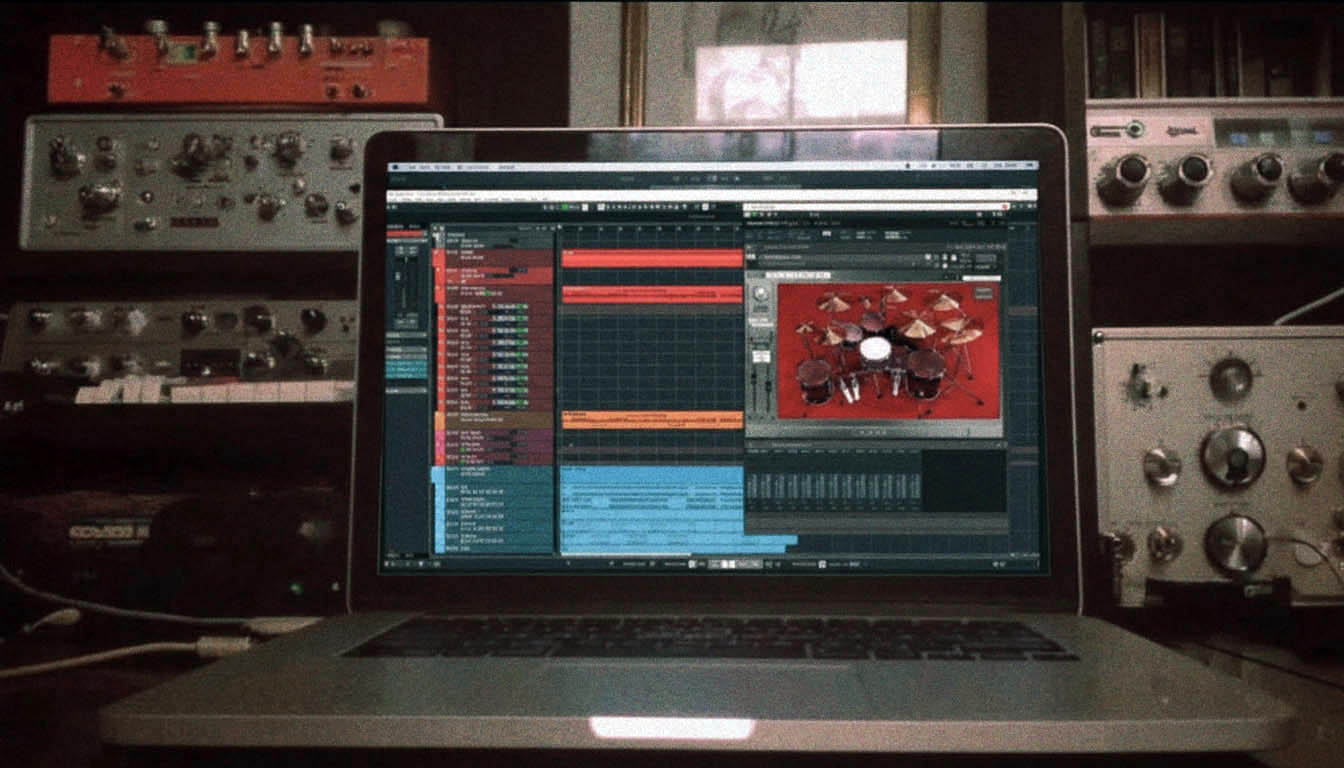
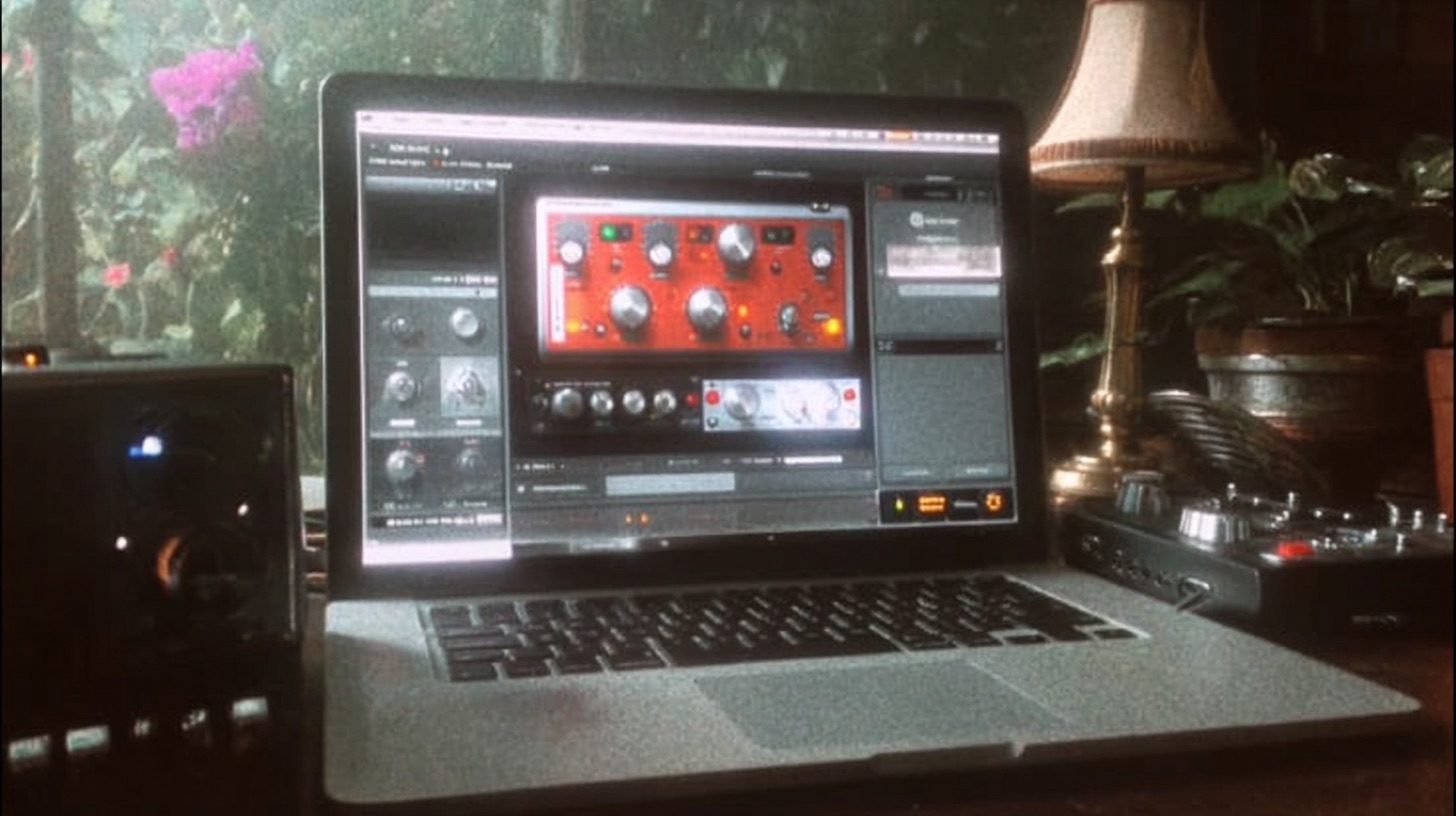
Learning these techniques is one thing, but seeing them applied in real-time by producers who’ve mixed bands like Periphery, Gojira, or Spiritbox? That’s next level. At Nail The Mix, you get to watch pros build these expansive stereo images from the ground up, explaining every pan decision on real multitracks. It’s about understanding why as much as how, seeing them troubleshoot cluttered mixes, and achieve that massive width and clarity the pros are known for.
Gojira on Nail The Mix
Logan Mader mixes "Toxic Garbage Island"
Get the Session
If you’re ready to go beyond presets and truly elevate your metal mixes, understanding the art and science of panning is a huge step.
Want to see how the world’s best metal producers do it, with the actual multitracks from massive songs? Check out how you can Unlock Your Sound & Mix Modern Metal Beyond Presets with Nail The Mix.