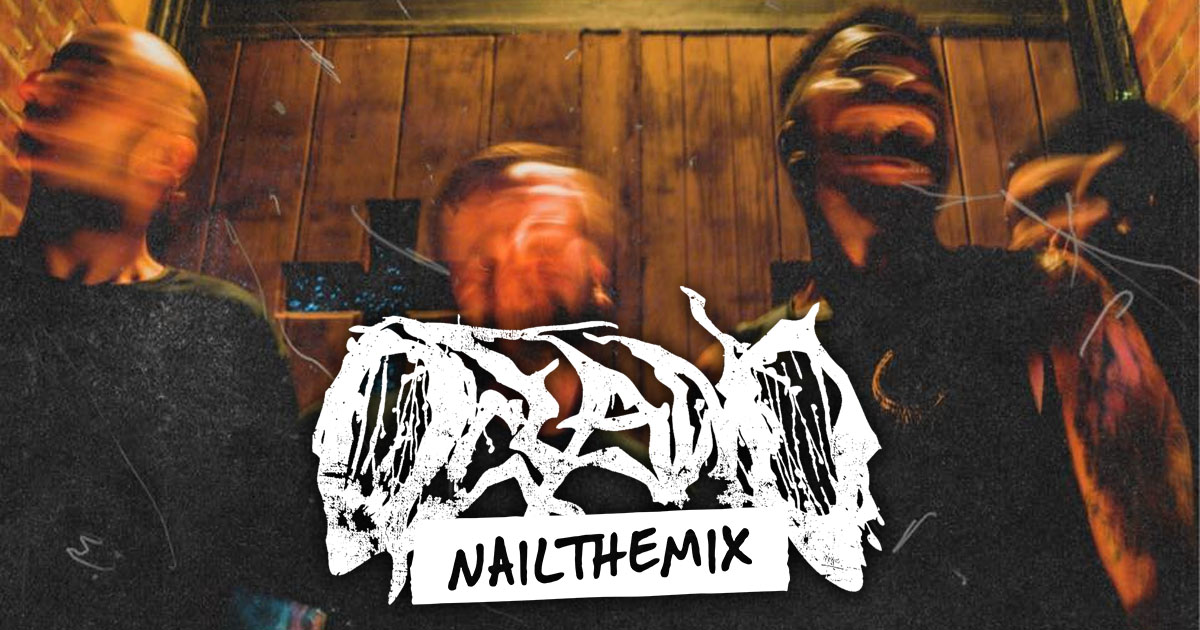
Stacking three DI layers for heavy guitars that stay clear (ft. Oceano)
Nail The Mix Staff
Let’s be real—getting a modern metal guitar tone that is both brutally heavy and surgically clear is the holy grail. You want the weight and the chug, but you can’t afford to lose the note definition in a fast riff or the pick attack that makes a breakdown hit like a sledgehammer. In their recent Nail The Mix session, producer Joey Sturgis and his engineer Nick dive deep into how they built the absolute monster guitar sound for Oceano, and the secret lies in a clever layering technique using today’s best amp sims.
Forget just one “perfect” high-gain tone. The strategy here is to build a composite sound from three distinct layers, each serving a specific purpose. Let’s break down how they took a simple pair of DI tracks and turned them into a full, mix-ready guitar wall.
The Three-Layer Foundation: High, Mid, and Low Gain
The entire process begins with just two DI guitar tracks, a left and a right. From there, the magic happens through duplication. Those two DIs are copied twice, resulting in three pairs of stereo tracks, for a total of six tracks.
The workflow is methodical:
- Dial in the main high-gain tone on the first pair of tracks.
- Duplicate that pair and tweak the amp sim settings for a mid-gain articulation layer.
- Duplicate it again and create a third, low-gain layer focused purely on attack.
This approach ensures each layer contributes a unique element, stacking up to create a sound that’s bigger and more detailed than any single tone could be.
Layer 1: The Core High-Gain Tone
This first pair is the heart of the sound, making up about 90% of the final guitar tone. The goal here is to get that powerful, saturated chug that forms the foundation.
The plugin chain is simple but effective:
- Gate: First up is a gate from Pod Farm, used simply to clean up the gaps and eliminate the need for tedious manual editing of the DIs.
- Amp Sim: The star of the show is Neural DSP’s Archetype: Gojira. Joey and Nick started with the “Juicy Chugs” preset (because why not?) and tweaked from there. Presets are a fantastic starting point with modern plugins, allowing you to quickly find a vibe and then tailor it to the song.
- Amp & Cab Settings: The setup landed on Head 3 and Cab 3. While not explicitly named, this head has all the hallmarks of a crushing 5150-style amp, a classic for modern metal. The signal is pushed with the virtual Compressor and Overdrive pedals engaged.
- Post-Amp EQ: A small, but crucial, EQ move is made right after the amp sim: a narrow cut around 3kHz. This is a classic spot to tame that harsh, hissy resonance that can build up in high-gain tones. Getting your EQ strategies for mixing modern metal right at the source is key.
Adding Definition: The Articulation Layers
Here’s where the technique gets really interesting. A killer high-gain tone sounds great on its own, but it can often feel a bit blurry, lacking the raw percussive detail of the pick hitting the strings. The next two layers are designed specifically to fix that.
Layer 2: The Mid-Gain “Spank”
The second pair of tracks is all about bringing back the audible information of the strings themselves. This isn’t about adding more gain; it’s about adding clarity. Using Archetype: Gojira again, a different preset or amp model is chosen to deliver a “spank” tone. This mid-gain layer sits underneath the main tone, reintroducing the definition and grit that can get lost in heavy saturation.
Layer 3: The Low-Gain String Attack
The final layer takes this concept even further. Here, the focus is almost entirely on the top-end pick attack and string noise. Again, a different amp and cab combination is used within Archetype: Gojira—this time with just a single microphone on the virtual cab. A key move on this layer is an EQ cut around 250 Hz within the plugin itself to remove any conflicting low-mid mud.
This layering method is an old-school trick, famously used by bands like Asking Alexandria, to get the best of both worlds: the girth of a massive high-gain amp and the razor-sharp clarity of an almost-DI sound. When blended, you get a guitar tone that is both huge and articulate.
Gluing It All Together on the Guitar Bus
With three distinct stereo layers created, the final step is to blend them and process them as a single unit on a guitar bus.
Balancing and Processing
The layers are not meant to be at equal volume. The high-gain tone is the loudest, while the mid- and low-gain articulation layers are tucked underneath. Get them too loud, and the overall sound becomes thin and “goofy.” With the levels balanced, the tracks are hard-panned left and right.
The bus processing chain is where the final polish is applied:
- Limiter: An L1 Limiter is first in the chain to smash everything down and create a dense, controlled sound. This is an aggressive use of metal compression secrets to get that modern, in-your-face feel.
- Width Control with Center: The Center plugin by Waves is used to manage the stereo image. Instead of messing with panners, Joey boosts the “Center” signal. This is a brilliant way to bring the mono-information of the guitars forward in the mix, giving them presence without sacrificing width.
- Subtle Widening: A tiny bit of extra width is added with another stereo imaging plugin.
- The OTT Chug Trick: This is a pro move. A multiband compressor like Xfer’s OTT is used to make the guitars more exciting. When a heavy, palm-muted “chug” happens, the OTT reacts to the transient and then boosts the tail end as it decays. This brings back that “oomph” and air movement you feel from a cranked amp in a room—an element that often gets lost when mixing in the box.
- Final EQ Polish: A final EQ carves out space and adds shine. This includes a cut to the “baby crying” frequencies around 2.2-2.4kHz, a small dip around 4kHz, and a healthy boost at 14kHz. That 14k boost is a favorite trick of Joey’s for adding an “expensive” sheen and air to just about anything.
Learn the Full Process from the Pros
These techniques for layering DI tracks and using surgical bus processing are powerful tools you can apply to your productions today. They prove that a massive, modern guitar tone is more than just finding one good amp sim preset—it’s about building a sound with intention.
But reading about it is one thing. Imagine watching Joey Sturgis build this tone from scratch, explaining every plugin choice, every EQ move, and every automation pass. At Nail The Mix, you stop guessing and start learning from the best in the business. Every month, you get the real multitracks from a massive song and watch the original producer mix it live, showing you exactly how they get their signature sound.
Oceano on Nail The Mix
Joey Sturgis and Nick Matzkows mixes "Mass Produced"
Get the Session
If you’re ready to stop relying on presets and want to truly unlock your sound, this is your chance. To see exactly how Joey Sturgis applied these concepts to mix Oceano’s “Mass Produced,” check out the full, unabridged Oceano NTM session and get insider access to a masterclass in modern metal mixing.