Luke Holland’s Drum Sound: How to Capture and Mix It
Nail The Mix Staff
Luke Holland. The name itself brings to mind insane precision, mind-bending creativity, and a drum sound that just slams in a modern metal mix. Whether you've seen his viral playthroughs or heard his work with bands like The Word Alive or Jason Richardson, you know his drumming is a force to be reckoned with. But how do you go from admiring that sound to actually achieving something similar in your own productions?
It's not just about hitting hard (though that helps!). It's a combination of his playing, the right gear, smart micing, and, crucially, a killer mix. Let’s break down how you can approach capturing and mixing drums to get that Luke Holland-esque power and clarity.
Understanding Luke Holland's Drumming Foundation
Before we even touch a mic or a plugin, it’s vital to understand what makes Luke's drumming sound the way it does.
The Player: Precision, Power, and Groove
Luke is known for his incredible technical proficiency. His fills are articulate, his kick patterns are often lightning-fast and complex, and his ghost notes add a layer of groove that many metal drummers miss. This precision means that each hit is deliberate and clear, making the mixing process a bit easier – you're enhancing an already great performance, not fixing a sloppy one. His dynamic range is also huge, from delicate cymbal work to full-on snare assaults.
The Kit: Gear That Shapes His Sound
While Luke has used various kits over the years, he's famously associated with DW Drums and Meinl Cymbals.
- DW Drums: Known for their punchy, resonant tones. Shells like maple or birch provide a great foundation – maple for warmth and sustain, birch for attack and a more focused sound. The tuning is key: kicks are often tuned low for that deep thud, snares tight and cracky, and toms with a good balance of attack and resonance.
- Meinl Cymbals: Meinl offers a vast range of sounds, from dark and complex (like the Byzance series) to bright and cutting. Luke often uses a diverse setup, incorporating various crashes, chinas, splashes, and intricate hi-hat patterns. The choice of cymbals dramatically affects the high-frequency information you'll be dealing with in the mix.
Knowing the source is half the battle. If you're using drum samples, look for libraries that capture similar kits and cymbals (e.g., GetGood Drums, Superior Drummer 3 with relevant EZXs/SDXs).
Capturing the Beast: Micing for a Modern Metal Drum Sound
Alright, let’s assume you’re micing a real kit aiming for that Holland-esque power. Standard modern metal micing applies, but with an emphasis on clarity and capturing the full dynamic range.
Kick Drum Micing: Inside and Out
For that modern punch and click, a two-mic setup on the kick is common:
- Inside Mic: Something like a Shure Beta 91A (boundary mic) or an Audix D6 placed inside, near the beater, will capture the click and attack. An AKG D112 or Shure Beta 52A can also work wonders for a beefier internal sound.
- Outside Mic: A large-diaphragm dynamic like a Yamaha SubKick or another D112/Beta 52A a few inches from the resonant head (if it has a hole) or further back can capture the low-end "woof" and body. Experiment with a FET condenser like a Neumann U47 FET clone for a different, often more extended low-end character.
- Phase is CRITICAL here. Flip the polarity on one mic and listen for the fullest low-end.
Snare: Top and Bottom Attack
- Snare Top: The trusty Shure SM57 is king for a reason. Aim it at the center for more body, or towards the edge for more overtones. An Audix i5 is another popular choice, often a bit brighter.
- Snare Bottom: Another SM57 (often with the polarity flipped relative to the top mic) or a small-diaphragm condenser like a Neumann KM184 can capture the snap of the snares. Be mindful of hi-hat bleed.
Toms: Definition and Punch
- Sennheiser MD421s are classic tom mics, known for their low-mid punch. Audix D2s/D4s, Beyerdynamic M201s, or even SM57s can work well too. Mic placement is key – aim for where the stick hits to get the attack, but not so close that you choke the drum’s resonance.
Cymbals and Overheads: Clarity and Space
- Overheads (OH): A pair of large-diaphragm condensers (LDCs) like AKG C414s or small-diaphragm condensers (SDCs) like Neumann KM184s or Rode NT5s are common. Placement varies: spaced pair, X/Y, ORTF. The goal is to get a balanced picture of the whole kit, especially the cymbals. Think about what you want the overheads to do – capture mostly cymbals, or more of the overall kit sound?
- Hi-Hats & Ride: Dedicated mics (SM57, KM184, or other SDCs) can give you more control, especially for intricate patterns.
Room Mics: The Secret Weapon for Size
This is where you get that "larger than life" sound.
- Close Rooms: A pair of condensers (LDCs like Neumann U87s or even ribbon mics like Royer R-121s) a few feet in front of the kit can add punch and a sense of immediacy.
- Far Rooms: Mics further back in a good-sounding room capture the ambience and decay. These are often heavily compressed in the mix.
Mixing Drums to Sound Like Luke Holland
Okay, you’ve got your tracks (or your meticulously programmed MIDI). Now the real work of mixing drums begins. Luke’s signature sound is clean, punchy, and wide.
Kick Drum Alchemy
The goal is a kick that cuts through dense guitars but still has weight.
EQing for Impact
- Attack (Click): Boost somewhere between 2kHz-8kHz with a fairly narrow Q. A FabFilter Pro-Q 3 is great for surgical work here. Find the "beater" sound.
- Body/Thump: Look around 60-100Hz. A gentle boost here can add weight.
- Boxiness/Mud: Cut in the 200-500Hz range. This is a common problem area. Use a wider Q for a gentler scoop or a narrower one for specific resonant frequencies.
- Subtractive EQ first: Cut out what you don’t need before boosting.
- Check out more strategies on our EQ hub page for detailed approaches.
Compressing for Punch
- Fast Attack, Medium/Fast Release: To shape the transient and bring up the sustain. An 1176-style FET compressor (like Slate Digital FG-Stress or Arturia Comp FET-76) is a classic. Start with a 4:1 or 8:1 ratio, attack around 3-5 (on an 1176 scale, slower values are faster), release around 7 (fastest). Aim for 3-6dB of gain reduction on peaks.
- Parallel Compression: Blend in a heavily compressed kick (think 20:1 ratio, slammed!) with your main kick for added body without losing transient detail.
- Dive deeper into metal drum compression on our Compression hub page.
Sample Reinforcement
Don’t be afraid to blend samples. Slate Trigger 2 or Superior Drummer 3 (used as a sampler) are industry standards.
- Click Sample: A short, sharp sample to enhance the attack.
- Body Sample: A resonant sample to add low-end weight.
- Align phase carefully between your live kick and samples!
Snare Drum Crafting
The snare needs to crack and have authority.
EQ: Body and Crack
- Body/Fundamental: Around 150-250Hz.
- Crack/Attack: Between 1kHz-5kHz. Be careful not to make it too harsh.
- Sizzle (Snare Wires): The snare bottom mic is key here. High-pass it to remove low-end rumble, then boost the high shelf (8kHz+) for air and sizzle.
- Notch out ringing frequencies: Use a narrow Q on your EQ to find and attenuate any annoying resonant frequencies. For more EQ tips, that EQ hub page is your friend.
Compression: Snap and Sustain
- Similar to the kick, an 1176-style compressor can add snap. A DBX 160 emulation can also be great for adding punch.
- Again, parallel compression can be very effective for bringing up the body and sustain without squashing the initial transient. For more on this, visit the Compression hub page.
Reverb: Adding Dimension
- A short plate reverb (like Valhalla Plate or Arturia Rev PLATE-140) or a small room can give the snare space without washing it out. Use a pre-delay (20-60ms) to let the transient through before the reverb kicks in. EQ the reverb return, often cutting lows and highs.
Toms: Tone and Control
- EQ: Boost attack (3-7kHz), add body (100-300Hz depending on the tom), and cut mud (300-600Hz).
- Gating: Toms often benefit from gating (e.g., FabFilter Pro-G or your DAW’s stock gate) to clean up bleed and tighten the sound, especially in fast passages. Set the threshold carefully and use a fast attack and moderate release.
- Compression: Can help even out tom fills and add sustain.
Overheads & Room: Creating Depth and Atmosphere
OH EQ and Gentle Compression
- EQ: High-pass to remove kick/snare rumble (e.g., up to 300-500Hz depending on how much kit vs. cymbals you want). Gentle high-shelf boost for air if needed. Dip any harsh cymbal frequencies (often 2-6kHz).
- Compression: Gentle compression (2:1 or 4:1 ratio, slow attack, medium release) can glue the cymbals together and control peaks.
Crushing the Room Mics
This is where the fun happens for that big, aggressive sound!
- Heavy Compression: Use an aggressive compressor like an 1176 on "all buttons in" mode, a Distressor emulation (e.g., Empirical Labs Arousor, Slate FG-Stress in "Nuke" mode), or even something like Soundtoys Devil-Loc Deluxe. Aim for lots of gain reduction to bring up the room sound and decay.
- EQ: EQ before and after compression. Before, to shape what hits the compressor (e.g., cutting lows so they don’t pump the compressor too much). After, to further shape the now-massive room sound (e.g., scooping mids, boosting highs for excitement).
- Blend this crushed room sound underneath your close mics.
The Drum Bus: Gluing It All Together
Route all your drum tracks (kicks, snares, toms, overheads, rooms) to a stereo drum bus.
- Subtle EQ: Overall tonal shaping. Maybe a gentle low-end boost, a slight mid-cut if needed, or an air boost.
- Bus Compression: Use a stereo compressor like an SSL Bus Compressor emulation (e.g., from Waves, Slate, or Brainworx) with a slow attack, fast release, and a low ratio (2:1 or 4:1). Aim for just 1-3dB of gain reduction to glue everything together and add punch.
- Saturation: A touch of tape saturation (e.g., Soundtoys Decapitator, FabFilter Saturn 2, or Slate VTM) can add warmth, harmonics, and perceived loudness.
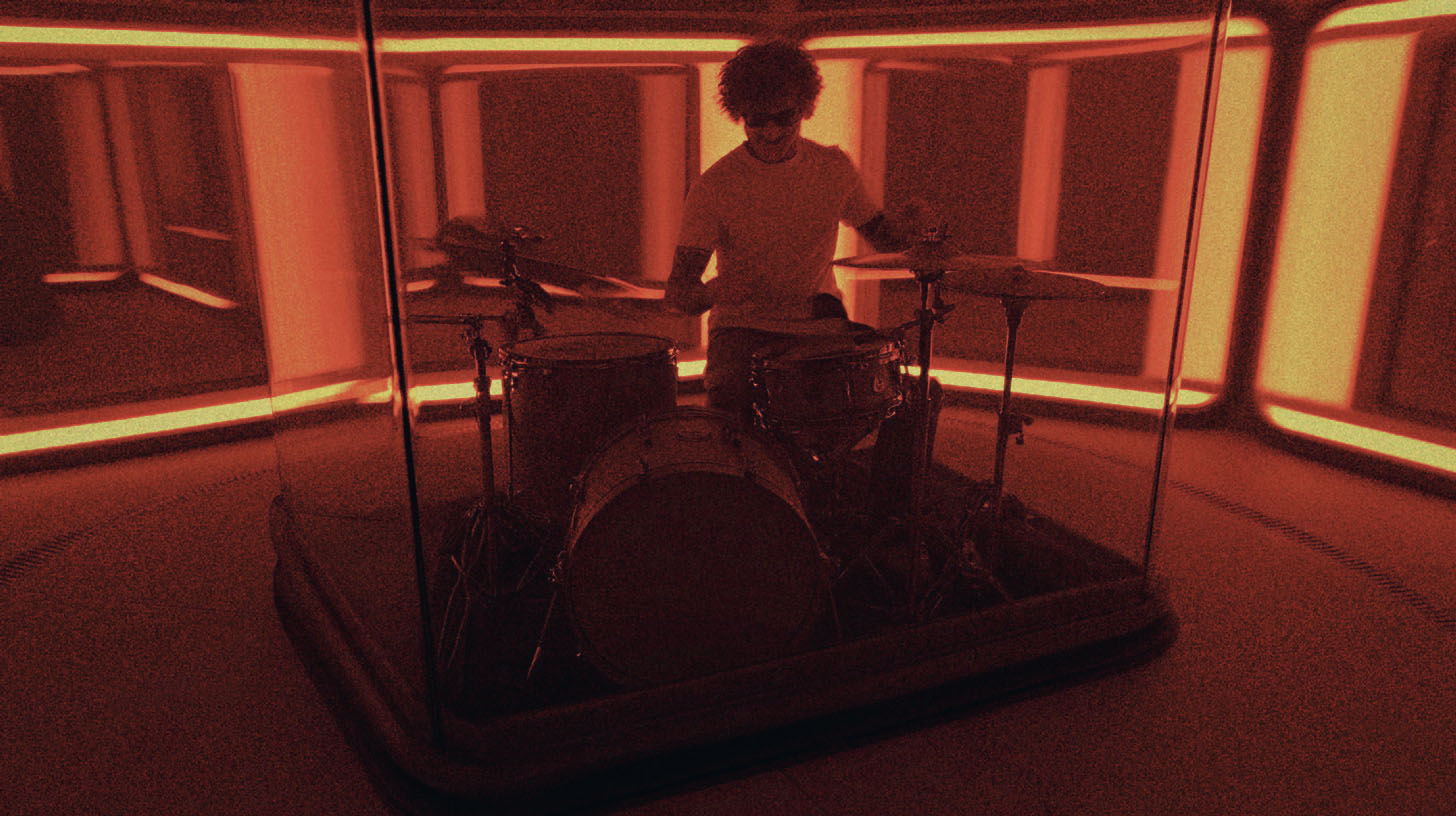
Luke Holland in Action: The Jason Richardson "Fragments" Nail The Mix Session
Speaking of Luke Holland’s insane drumming, he was the powerhouse behind the kit for Jason Richardson’s track "Fragments." And guess what? That very session, with Luke's raw multi-track drum performance, was featured on Nail The Mix!
This gives you an incredible opportunity. Imagine having Luke Holland’s professionally recorded drum tracks right in your DAW. You can apply the techniques we’ve discussed, experiment, and try to achieve that polished, powerful sound. More importantly, with Nail The Mix, you get to watch the original producer who mixed the album break down their entire mixing process for that song, including how they handled Luke’s incredible drumming.
Elevate Your Drum Mixes with Nail The Mix
The techniques outlined here are fantastic starting points for getting that modern, Luke Holland-esque drum sound. But knowing what to do is one thing; seeing how it's done by the pros, on real-world sessions, with every decision explained, is a total game-changer.
If you're serious about taking your metal productions to the next level and truly want to learn how to mix drums (and everything else) like the best in the business, Nail The Mix is where it's at. You get the multi-tracks, you get the in-depth tutorials from chart-topping producers, and you get to see them mix legendary tracks from scratch.
Ready to go beyond presets and truly master your craft? Check out how you can Unlock Your Sound: Mixing Modern Metal Beyond Presets and get access to a world of knowledge that can transform your mixes.