LUFS: Dialing In Loudness For Metal Mixes
Nail The Mix Staff
So, you’ve poured your blood, sweat, and probably a few tears into crafting a face-melting metal mix. The guitars are brutal, the drums are pounding, the vocals are tearing through. But then you bounce it, upload it to Spotify, and… it sounds kinda weak? Or maybe you A/B it against a commercial release and yours just doesn’t have that same professional smack. What gives? A big part of that puzzle, my friend, is LUFS.
The "loudness wars" might have cooled down a bit thanks to streaming platforms, but understanding perceived loudness is more critical than ever, especially for us metalheads who crave that aggressive impact. Forget just whacking a limiter on your master and calling it a day. If you want your tracks to compete and sound killer everywhere, you need to get a grip on LUFS.
What the Heck IS LUFS Anyway? Beyond RMS and Peak
Alright, let's cut through the tech jargon for a sec. You’ve probably seen peak meters (don't clip the red!) and maybe RMS meters (average level, cool). But LUFS is the new sheriff in town when it comes to measuring how loud your music actually sounds to human ears.
A Quick History: From VU to Peak to RMS
Back in the analog days, VU meters gave a decent sense of average loudness. Then digital came along, and peak meters became essential to avoid nasty digital clipping. RMS (Root Mean Square) metering got us closer to perceived loudness, showing an average level over a short window. But even RMS didn't perfectly match how we hear things, especially across different types of material. You could have two songs with the same RMS level, but one sounded way louder. Not ideal.
Enter LUFS: Loudness Units Full Scale
LUFS (Loudness Units Full Scale), or sometimes LKFS (Loudness, K-weighted, relative to Full Scale), is a standardized loudness measurement that’s much better at mimicking human hearing. It uses fancy algorithms (like K-weighting) that consider how our ears perceive different frequencies at different levels – think a more sophisticated version of the Fletcher-Munson curves we all learn about.
You’ll typically see a few LUFS readings:
- Integrated LUFS: The average loudness over the entire track. This is the big one for platform targets.
- Short-Term LUFS: Loudness over the last 3 seconds. Great for checking how loud specific sections (like your chorus) are.
- Momentary LUFS: Loudness over the last 400 milliseconds. Shows you the immediate loudness.
Alongside LUFS, you'll also see True Peak (dBTP). This measures the absolute peak level of your audio, including those sneaky inter-sample peaks that can cause distortion on playback, even if your standard peak meter says you’re fine.
Why This Matters for Your Metal Mixes
So why should you, a metal producer grinding away on a killer mix, care about these numbers?
- Streaming Platform Normalization: Spotify, Apple Music, YouTube – they all normalize audio. If your track is way louder than their target (e.g., -9 LUFS integrated when they want -14 LUFS), they’ll just turn it down. All that squashing you did for nothing, and it might even sound worse than a more dynamic track.
- Dynamic Range is Your Friend: Trying to hit a sensible LUFS target encourages you to keep some dynamic range. A loud and dynamic metal mix punches way harder than a flat, over-compressed sausage.
- Consistency: If you’re mixing an EP or album, aiming for consistent LUFS values across tracks makes for a much smoother listening experience.
Practical LUFS Targets: What Numbers Should You Aim For?
This is where the rubber meets the road. While there's no single magic number, here’s the general landscape:
Streaming Platform Realities
Most major streaming services have target loudness levels. Here are some common ones (though they can and do change!):
- Spotify: Around -14 LUFS Integrated
- Apple Music: Around -16 LUFS Integrated (they tend to be a bit more conservative)
- YouTube: Often around -13 to -15 LUFS Integrated
- CDs/Physical: This is still a bit more of a free-for-all. You can go louder, but remember, louder isn't always better. An overly squashed CD can sound fatiguing.
The big takeaway? If you’re aiming for broad digital distribution, mastering your track to around -14 LUFS Integrated with a True Peak no higher than -1 dBTP (some even go for -2 dBTP for extra safety) is a solid, widely accepted target.
But It's Metal! We Want It LOUD!
Hold on, I hear you! "Metal needs to be loud!" And you're right. But it's about being perceived as loud and impactful, not just "loud on the meter before the platform turns it down."
A well-mixed metal track at -14 LUFS with good dynamics can actually sound more aggressive and punchy than a super-squashed -8 LUFS track that gets attenuated by Spotify. Why? Because the dynamic version retains the transient impact of your drums and the attack of your guitars. The squashed version might just sound like a wall of noise. This is where understanding Crest Factor (or Peak-to-Loudness Ratio – PLR) comes in. A healthy PLR means you have punch!
LUFS in the Mixing Stage: Setting Yourself Up for Success
Don't just think about LUFS at the mastering stage. Keeping an eye on it during mixing can save you a lot of headaches.
- Slap a LUFS meter on your mix bus: Get a feel for where your mix is naturally sitting.
- Inform your compression: If your mix is already hitting -12 LUFS integrated before any mastering limiting, you might be overdoing it with bus compression or individual track compression. Check out some advanced metal compression secrets to learn how to get punch without just squashing everything.
- Headroom is key: Leave yourself some room for the mastering engineer (or yourself, if you're mastering) to work their magic. If your pre-master is already at -10 LUFS, there’s not much room left to shape the final loudness and tone without things getting ugly.
Tools of the Trade: LUFS Metering Plugins and Techniques
You can't hit a target you can't see. So, you'll need a good LUFS meter plugin. Luckily, there are some awesome options:
Essential LUFS Metering Plugins
- Youlean Loudness Meter 2: This is a super popular one, and for good reason. The free version is incredibly capable, showing Integrated, Short-Term, Momentary LUFS, True Peak, and Loudness Range (LRA). The Pro version adds even more features.
- Izotope Insight 2: If you're in the Izotope ecosystem (maybe you use Ozone), Insight 2 is a comprehensive metering suite with excellent LUFS displays and a cool visualizer.
- Waves WLM Plus Loudness Meter: A long-standing industry standard, the WLM Plus is very detailed and offers various presets for different delivery standards.
- FabFilter Pro-L 2: While primarily a limiter, Pro-L 2 has fantastic, highly configurable LUFS metering built right in. It’s a beast for both limiting and analyzing.
- DAW Built-in Meters: Some DAWs are catching on. Logic Pro X has a "Loudness Meter" plugin, and Cubase Pro includes LUFS metering in its Control Room or Master Meter. Check if your DAW has something native!
How to Use a LUFS Meter Effectively
- Placement is Key: Always put your LUFS meter as the very last plugin on your master bus or your monitoring chain. You want to measure what's actually going out.
- Focus on Integrated: For overall track loudness and hitting platform targets, Integrated LUFS is your main guide. Let the whole track play through to get an accurate reading.
- Watch Short-Term: Use Short-Term LUFS to check the loudness of different sections. Is your chorus significantly louder than your verse? Is that intentional?
- Don't Forget True Peak (dBTP): Keep this below -1 dBTP (or -2 dBTP) to avoid inter-sample peaks that can cause clipping on some playback systems. Most good limiters (like Pro-L 2) have a True Peak limiting mode.
Calibrating Your Listening Environment (Briefly)
This isn't about hitting an exact SPL number like a post-production studio, but having a consistent listening level helps immensely. If you always mix and reference at roughly the same volume, your ears will get much better at judging perceived loudness and how your processing decisions impact it, making it easier to hit those LUFS targets without constantly staring at the meter.
LUFS and Dynamics: The Modern Metal Balancing Act
Okay, so we know the numbers. But how do we make metal that’s loud, aggressive, and dynamic in this LUFS-aware world?
Avoiding the "Sausage" Waveform
We’ve all seen those waveforms that look like a solid brick. That’s the result of over-compression and over-limiting, chasing raw level at the expense of everything else. Aiming for sensible LUFS targets naturally pushes you away from this. It forces you to think about how to achieve impact through means other than just brute force loudness. This is where smart use of bus compression and careful master limiting comes into play. You want to control peaks and glue the mix, not obliterate its soul.
Impact vs. Raw Level: What Sounds "Heavier"?
Think about it: what makes a metal track sound heavy and impactful? Is it just constant, unrelenting volume? Or is it the crack of the snare, the thud of the kick, the aggressive pick attack on a palm-muted riff? Those are transients! Hyper-compression and aiming for crazy-high LUFS values (before normalization) kills those transients. A mix at -14 LUFS with punchy transients will often feel heavier and more exciting than a -9 LUFS mix that’s just a wall of fuzz.
Sometimes, clever EQ strategies for mixing modern metal can make elements cut through and provide clarity and perceived loudness without actually boosting the overall level as much as you'd think.
Genre Considerations within Metal
Sure, some metal subgenres are inherently more compressed and "in-your-face" than others. A brutal death metal track might have a different dynamic profile than a progressive metal epic. But even for the most extreme styles, understanding LUFS normalization means you can make choices that ensure your artistic vision translates well to streaming platforms. A little bit of dynamic room can make even the heaviest slams hit with more perceived force when the quiet before it is actually, well, quieter.
Wrapping It Up: LUFS is Your Ally
LUFS isn't here to make your metal mixes wimpy. It's a tool to help you create professional, impactful tracks that sound great everywhere, especially on streaming platforms where most fans will hear them.
- Get familiar with Integrated LUFS and True Peak.
- Aim for platform targets like -14 LUFS Integrated / -1 dBTP as a solid starting point.
- Use a good LUFS meter plugin (like Youlean, Insight, or Pro-L 2) on your master bus.
- Remember that dynamics are crucial for heavy music – balance your loudness with punch!
Understanding LUFS is one piece of the puzzle. But how do you actually achieve those perfect levels while keeping your mix punchy, clear, and aggressive? How do you use compression, EQ, and limiting to hit those targets without sacrificing the power of your metal tracks?
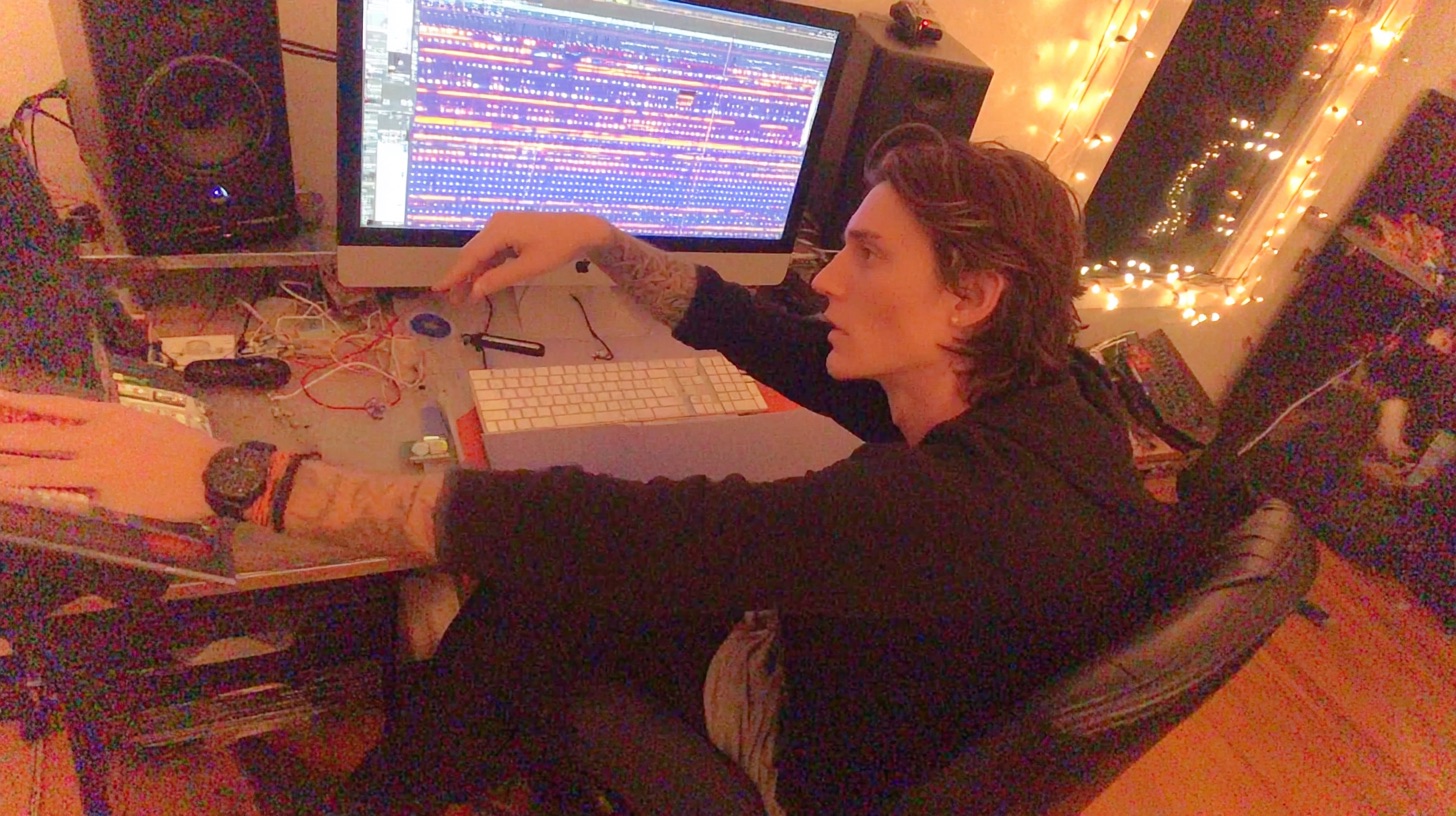
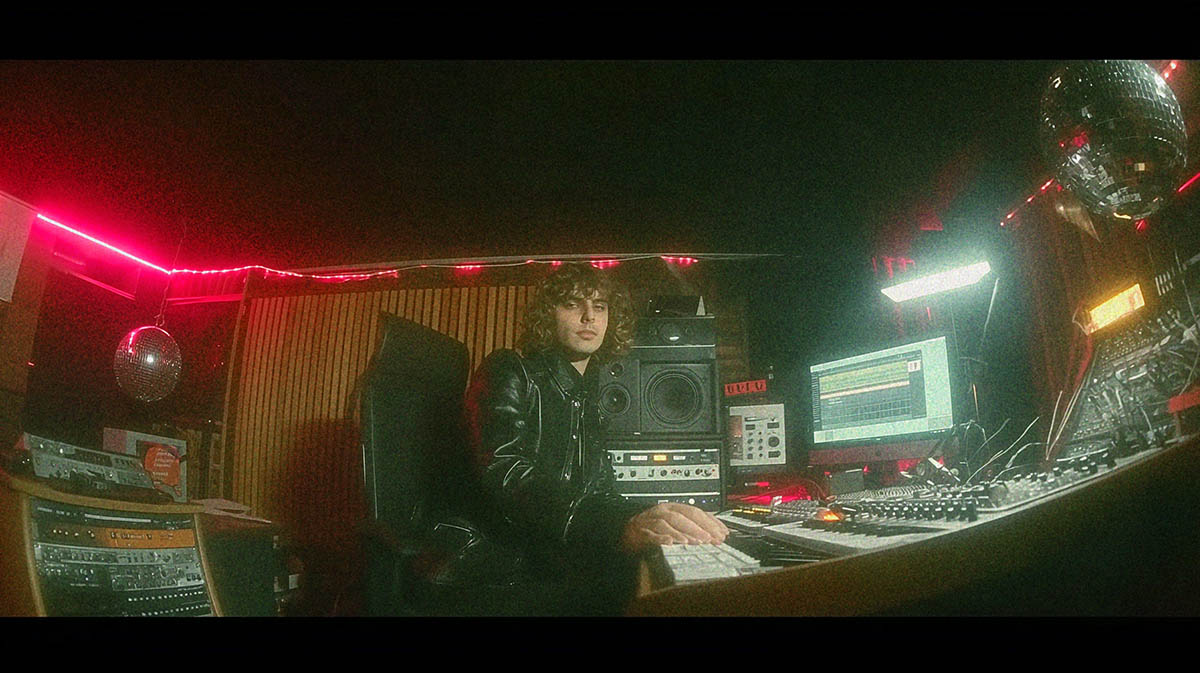
That's where seeing pros navigate these challenges in real-time becomes invaluable. At Nail The Mix, you get to watch Grammy-winning producers mix real metal songs from scratch. They're not just talking theory; they're dialing in compressors, tweaking EQs, and managing their master bus to get release-ready results, often discussing LUFS targets and loudness management as they go. Watching pros balance aggression with these modern loudness targets is a game-changer. Imagine seeing someone like Joey Sturgis or Eyal Levi take a powerful metal mix and fine-tune it for Spotify, explaining every move on their master bus chain, from subtle EQ tweaks to precise limiter settings, all while keeping an eye on their LUFS meters.
If you're ready to take your mixes from 'loud' to 'professionally loud and impactful,' and see exactly how it's done on actual sessions, it's time to Unlock Your Sound with Nail The Mix. Stop guessing and start nailing those levels.