Recording Metal Guitars That Need Minimal Mixing (ft. August Burns Red)
Nail The Mix Staff
The guitar tone of August Burns Red is undeniable. It’s tight, aggressive, and punishingly heavy, yet clear enough to let every single one of JB Brubaker’s intricate riffs cut through the mix. So how do they get that sound? We got the full breakdown from producer Carson Slovak on the exact signal chain and techniques he uses to capture those flawless ABR guitar recordings.
Forget convoluted setups and endless plugin chains. Carson’s method is all about getting a monstrous tone at the source so you have less work to do in the mix. Let’s dive into his complete tracking process.
The Foundation: Player, Pedal, and Amp
Before you even touch a microphone, the tone is being shaped by three key elements: the player’s hands, a critical stompbox, and a legendary high-gain amp. The most important piece of the puzzle is a tight performance; a sloppy performance can't be fixed by gear. Once you have that locked in, the signal chain is surprisingly straightforward.
The Pre-Amp Tightener: Ibanez TS808
This is a crucial step that many players overlook. Before the signal even hits the amp, it runs through an Ibanez TS808 Tube Screamer. But it’s not being used for more distortion. Instead, it’s a powerful tonal shaping tool.
Here are the settings Carson uses:
- Drive: 0
- Tone: Around 11 o’clock
- Level: Maxed out
This setup sculpts the guitar’s signal by tightening up the low-end flub and pushing the mid-range forward. It makes the amp’s response more aggressive and focused, which is essential for fast, articulate metal riffs.
The Amp and Cab: A Classic Metal Combo
The amp at the heart of the August Burns Red sound is a block letter Peavey 5150, an absolute workhorse for modern metal. This amp is then fed into a Mesa/Boogie Oversized Rectifier 4×12 cab loaded with Celestion Vintage 30 speakers. This amp and cab combination is a tried-and-true formula for achieving a thick, saturated, and mix-ready guitar tone.
Capturing the Tone: The Two-Mic Blend
Carson’s micing technique is designed to capture the full spectrum of the amp’s character. He blends two very different microphones to create one cohesive and powerful sound.
H3: Mic 1: The Shure SM57 for Attack
No surprise here. The Shure SM57 is the industry standard for a reason. It handles high SPLs with ease and has a mid-range presence that helps guitars slice through a dense mix.
- Placement: The SM57 is pointed directly at the speaker, right where the dust cap meets the speaker cone. This spot captures the bright, aggressive attack and the core of the tone’s character.
H3: Mic 2: The Royer R-121 for Body
To complement the SM57’s bite, a Royer R-121 ribbon mic is placed right beside it, pointing at the exact same spot on the cone. The R-121 naturally has a darker, warmer character, and it excels at capturing the low-mid weight and body of the cabinet.
By blending the bright, aggressive SM57 with the warm, full-bodied R-121, you can dial in the perfect balance of attack and thickness right at the source.
Your Safety Net: Always Track a DI
Even with the perfect amp tone dialed in, always record a DI signal. Carson uses a Little Labs Redeye 3D Phantom DI box to capture the clean, unprocessed performance directly from the guitar.
This DI track is your insurance policy. If you decide later in the mix that the amp tone isn’t quite right, you can re-amp the clean DI performance through different amps and cabs without forcing the guitarist to re-record. It’s a simple step that can save you hours of work and give you ultimate flexibility.
The First Moves In The Mix: Essential EQ Filters
Once the guitars are recorded, Carson applies two simple but powerful EQ moves to immediately make them sit better in a busy metal arrangement. These aren’t complex surgical cuts, but broad filters that clean up problem areas.
The High-Pass Filter: Cleaning the MUD
The very first processor on the recorded guitar tracks is a high-pass filter (HPF). By cutting out all the unnecessary low-end information below 100-120 Hz, you instantly create space for the kick drum and bass guitar. This prevents the mix from sounding muddy and allows each instrument to have its own place in the low-frequency spectrum. These fundamental EQ strategies for mixing modern metal are non-negotiable for a clear, powerful sound.
The Low-Pass Filter: Taming the Fizz
On the other end of the frequency spectrum, a low-pass filter (LPF) is used to tame the high-end “fizz.” This is the harsh, static-like noise that can live way up in the top end of a high-gain guitar tone. By gently rolling off everything above 10-12 kHz, you can smooth out the tone and remove that harshness without sacrificing aggression or clarity.
What About Compression?
You’ll notice that there’s no mention of compression during tracking. By using a Tube Screamer to tighten the dynamics and a high-gain amp that naturally compresses the signal, the recorded tone is already very controlled. Any further compression is a decision made during the mixing stage, not while tracking.
Take It To The Next Level
This entire process—from the pedal to the final EQ filters—is about building a professional, mix-ready guitar tone from the ground up. By focusing on getting the source right, you create a solid foundation that makes the final mix process faster, easier, and more effective.
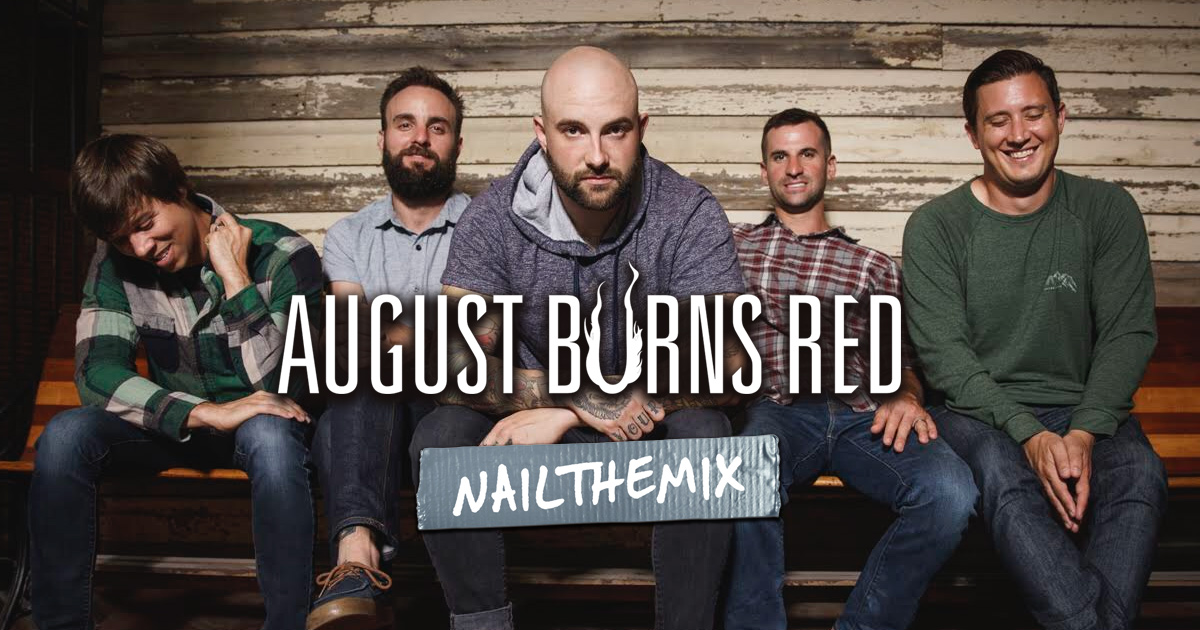
August Burns Red on Nail The Mix
Carson Slovak & Grant McFarland mixes "Coordinates"
Get the Session
These techniques are the starting point. But how do you take these killer raw tracks and make them slam in a finished mix? In his full-length Nail The Mix session, Carson Slovak mixes an entire August Burns Red song from scratch, showing you how he processes these guitars, glues them with the bass, and makes them punch through some of the most insane drums in metal.
If you’re ready to see how the pros do it, check out the August Burns Red session on Nail The Mix. You’ll not only see these recording techniques in action but also learn how to apply them to your own music. Nail The Mix gives you the multi-tracks and the pro producer to guide you every step of the way. Ready to move beyond presets and get that pro sound? You can unlock your sound with our guide to mixing modern metal and see exactly how producers like Carson craft these massive tones.