Multi-band distortion for the ultimate thall bass tone (ft. Humanity’s Last Breath)
Nail The Mix Staff
The bass tone on a Humanity’s Last Breath record isn’t just low end; it’s a seismic event. It’s a grinding, clicking, ridiculously heavy force of nature that defines the “thall” sound. It’s the kind of tone that makes you wonder how it’s even possible—how can something be so clear and yet so devastatingly distorted?
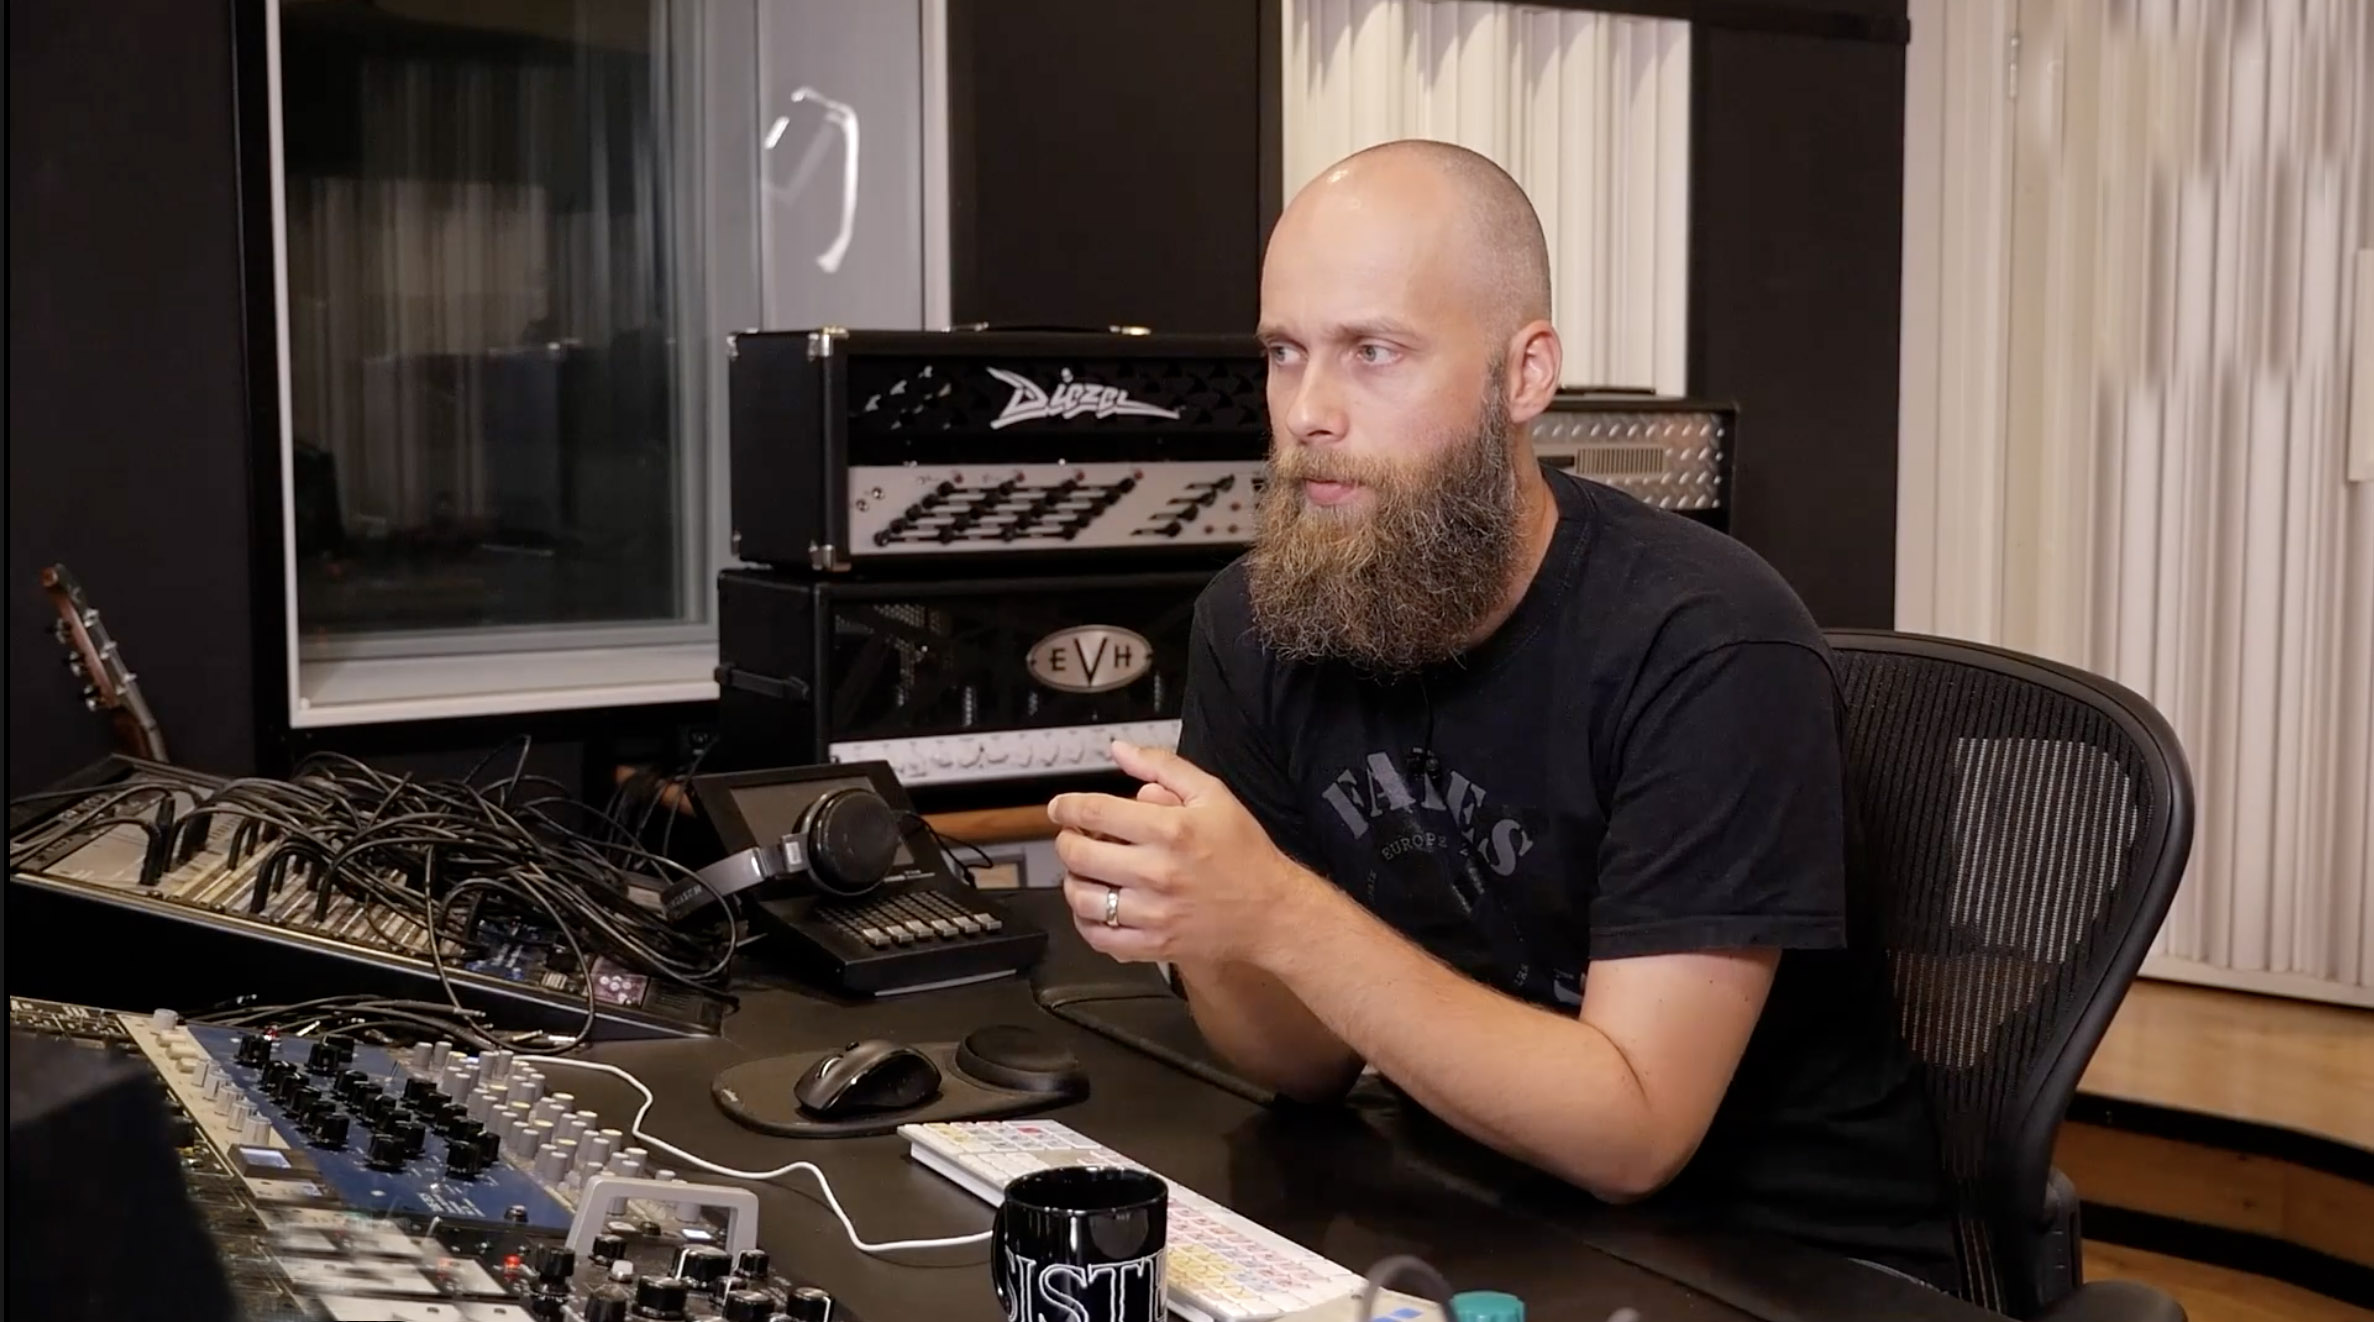
We got a look under the hood with the architect of that sound himself, Buster Odeholm, to see how he builds this monster. It all starts with a Dingwall NG3 bass, a favorite in the modern metal world, but the real magic is in the complex chain of processing. It’s not one magic plugin, but a series of deliberate, layered moves. Let’s break it down.
The Foundation: A Clean and Aggressive DI
Before you can get that massive, distorted sound, you need a perfect starting point. For Buster, this means getting the DI signal just right—not just clean, but primed for destruction.
The High-End Gating Trick
Every metal producer knows the pain of DI noise and hiss. A standard gate can sometimes clamp down too hard or feel unnatural. Buster uses a clever expander trick that you’ve probably seen used on snares, but he applies it to bass.
Instead of triggering the gate from the low-end fundamental of the note, he sets it to be triggered by the high-frequency click of the pick hitting the string.
Here’s why it works: The note’s sustain and weight lives in the mids and lows (think 700Hz and down), while the noise and hiss live in the high end. The pick attack is a very short, high-frequency transient. By setting the expander to open only for that click and then immediately close, it silences all the hiss in between notes while preserving every bit of that aggressive pick attack. It’s a trick he uses on guitars, too, even if the DI isn’t particularly noisy.
Pre-Distortion EQ and Saturation
To get that signature aggressive character, Buster shapes the tone heavily before it even hits the main distortion stages. Inspired by tracking through a real ’73-style preamp, he uses a plugin emulation to crank the high end, get rid of mud around 700Hz, and boost the low end. It sounds harsh on its own, but it’s the perfect setup for what comes next. These kinds of surgical yet aggressive EQ strategies are fundamental to getting a professional sound.
The Core of the Grind: Multi-Band Distortion
This is where the real fun begins. Instead of just running the bass through one distortion plugin, Buster splits the signal into different channels—a standard “sub” and “grit” setup—to process them independently.
Carving the Grit Channel
The grit channel is all about the midrange, clarity, and aggression. This isn’t just one layer of distortion; it’s several, each serving a specific purpose.
Note Clarity with Saturation
First up is some heavy saturation, but only on a specific frequency range. Using a multi-band saturator, he bypasses the low-end band and focuses the processing on the mids, roughly from 145Hz to 1.2kHz. He also filters out the sub-bass and extreme high-end on this channel. The goal here isn’t just to add fuzz, but to bring out the clarity and definition of each individual note.
Adding Thickness with HM-2 Style Distortion
Next, to add some thickness back into the tone after the aggressive high-end boost on the DI, Buster blends in a second layer of distortion using an HM-2 style plugin. But here’s the key: he EQs the signal into and out of the plugin. This allows him to shape exactly how the distortion circuit reacts, creating a far more controlled and unique sound, a technique Buster often uses when layering bass saturation and EQ. He only blends this in at about 15%, so it’s a subtle move that adds weight without turning the tone into a complete chainsaw buzz.
Taming the Fizz without Losing the Bite
With all this distortion and high-end boosting, a tone can easily become shrill or “fizzy.” To combat this while keeping the tone bright and aggressive, Buster uses dynamic EQs and multi-band compressors like Soothe and Pro-MB. These powerful tools act like targeted compression, clamping down on harsh frequencies only when they become a problem. This keeps the bass sounding bright and cutting, but never painful.
He’ll also use a compressor with a slow attack and a fast release to enhance the transients, making choppy, staccato riffs feel even more punchy and impactful.
Building the Low-End Foundation
While the grit channel handles the aggression, the sub channel’s job is pure weight and consistency. Buster’s approach here is simple but brutal.
He starts by tightly filtering the signal, keeping only what’s between 55Hz and 130Hz. Then, he runs it through a leveler plugin and clips it heavily. This smashes the dynamics of the low end, making every note perfectly even and creating an unwavering foundation of sub-bass that you can feel in your chest.
Putting It All Together: Bus Processing and Automation
Once the sub and grit channels are dialed in, they’re sent to a bass bus for final processing and some cool spatial effects.
The Stereo Spread Trick
To help the mono bass sound connected to the wide stereo guitars, Buster uses a clever trick he picked up. He sends the bass to an effects bus with a specific chain:
- Filter: An EQ that cuts the low end.
- Doubler: A basic doubler plugin to create a stereo effect.
- Short Reverb: A very short, tight reverb.
He blends this stereo effects channel in at a low level (around 40%). You don’t consciously “hear” it as a separate effect, but it subtly widens the bass and helps it fuse with the guitars in the stereo image.
Automating for Maximum Impact
What about those parts of the song that need to be even more extreme? Buster automates more distortion. His first attempt using a simple warm tube plugin changed the core EQ of the bass tone too much. The solution? Tone matching.
He created a tone match EQ profile that captured the character of the more distorted sound, then used it to make sure that when he automated the extra distortion, the fundamental EQ curve of the bass remained identical. This is an advanced technique that allows for massive tonal shifts without losing consistency in the mix. In fact, he mentions tone-matching his work on the Thrown record for this mix, a project you can see him break down in his Nail The Mix session.
Ready to Build Your Own Brutal Tones?
As you can see, a world-class bass tone like this is a masterclass in layering, problem-solving, and creative processing. It’s about more than just finding the right preset; it’s about understanding why each move is made. It’s the kind of deep knowledge that helps you move beyond presets when sculpting DI tones.
Humanity's Last Breath on Nail The Mix
Buster Odeholm mixes "Labyrinthian"
Get the Session
Learning these techniques is one thing, but seeing them applied in real-time is another. On Nail The Mix, you can watch producers like Buster Odeholm build these exact tones from the ground up using the original multi-tracks from our extensive library of Nail The Mix sessions. If you want to see precisely how Buster mixed the Thrown album and get your hands on the raw files to try these techniques yourself, check out his exclusive Nail The Mix class.