How to create your own impulse responses
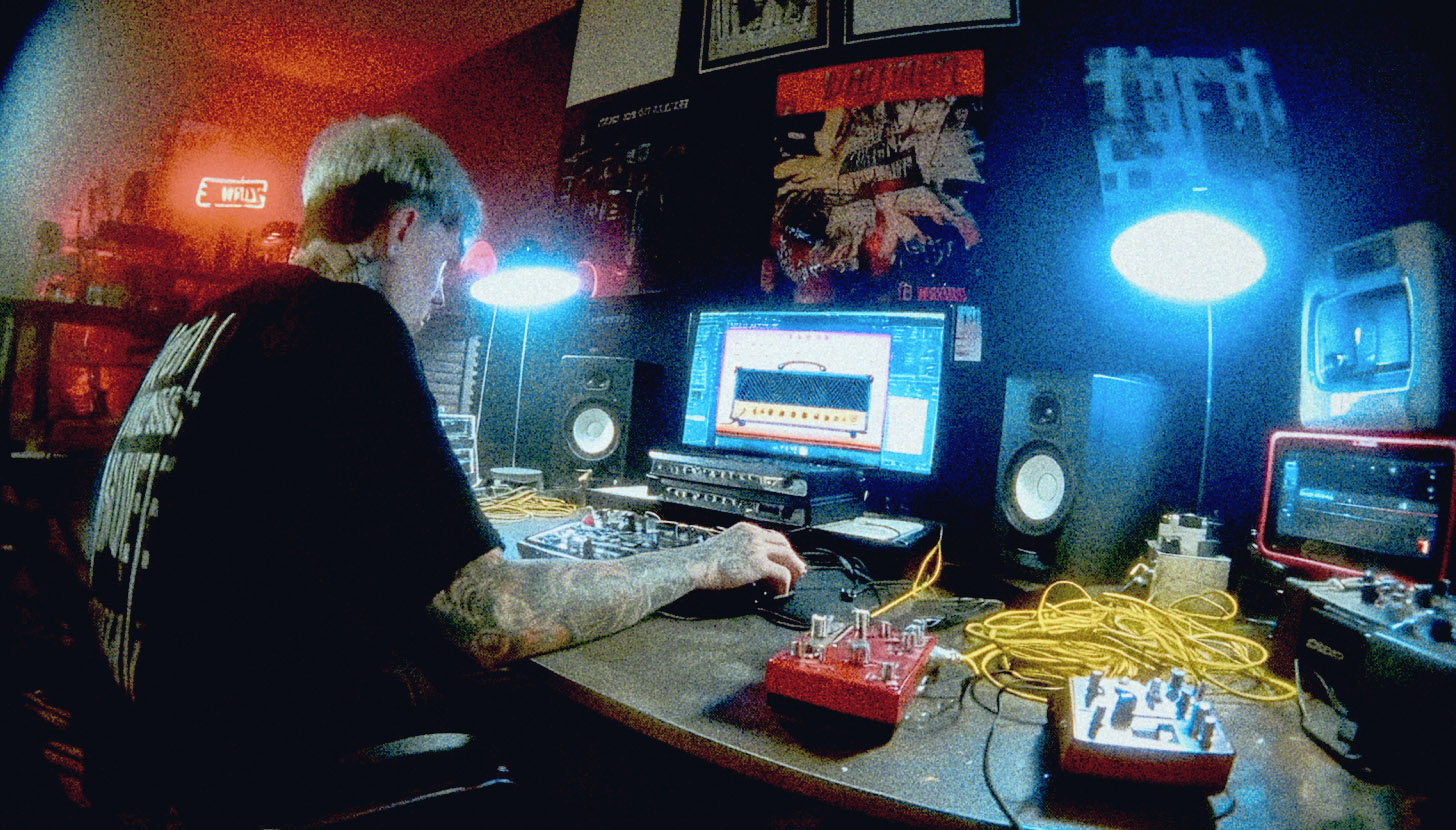
Nail The Mix Staff
Ever chased that perfect guitar cabinet sound only to find yourself endlessly tweaking amp sim EQs or cycling through hundreds of pre-made impulse responses? What if you could capture the exact sound of your favorite cabinet, with your preferred mic placement, and turn it into a versatile digital tool? Well, you can. Creating your own impulse responses (IRs) is a game-changer, and producer Andrew Wade (known for his work with A Day To Remember, Wage War, and Neck Deep) dropped some serious knowledge on a super effective and surprisingly simple way to do it.
Forget complicated sine sweeps for a moment. Andrew’s method is quick, dirty (in the best way), and incredibly accurate. Let’s dive into how you can start making your own killer IRs.
Why Bother Making Your Own IRs?
Look, there are tons of great commercial IRs out there. But crafting your own offers some unique advantages:
- Unique Sound: Capture the specific character of your gear. No one else will have that exact IR.
- Flexibility in the Mix: Got a DI track that needs some love? Or maybe the tracked guitar tone just isn’t sitting right as the mix evolves? Being able to swap in a custom IR can take your tone in a completely new direction. As Andrew and Joel discussed, if a tone is too dark, no amount of EQ might fix it as well as a different IR.
- Tailored for Leads: Andrew mentioned that some IRs can really make a lead guitar pop and stand out in the mix without making it harsh, all thanks to the unique nature of the captured speaker.
Knowing how to create IRs is a powerful tool in any mixer’s arsenal. If you’re serious about your guitar tones, this is a skill worth picking up.

The Andrew Wade Method: A Step-by-Step Guide
Ready to get your hands dirty? Here’s Andrew Wade’s streamlined approach to creating top-notch impulse responses.
Gear Up: What You’ll Need
The magic of this method is that it focuses purely on the cabinet and microphone.
- Solid-State Power Amp: This is crucial. Andrew emphasizes not using a regular guitar amp head because you want to capture only the cabinet’s sound, not the coloration from a tube power amp or preamp. A clean, solid-state power amp is key. Andrew uses a QSC GX7, but any reliable, clean solid-state power amp will do.
- Your Favorite Guitar Cabinet: This is what you’re capturing!
- Microphone(s): Your go-to mic(s) for guitar cabs (e.g., Shure SM57, Royer R-121, Sennheiser MD 421 – whatever you like).
- Reamp Box: To safely send a line-level signal from your audio interface to your power amp.
- DAW (Digital Audio Workstation): For generating the source signal and recording the IR.
The Secret Sauce: One-Sample White Noise
This is where Andrew’s method really shines in its simplicity and effectiveness.
- Zoom In: In your DAW, zoom all the way in on a track until you can see individual samples.
- Generate White Noise: Create a tiny burst of white noise. How tiny? One single sample length. That’s it. Most DAWs have a signal generator or an option to draw in a waveform. You want a single, sharp spike.
- Consolidate (Optional but Recommended): Consolidate this tiny region to make it an easily manageable audio clip.
What does this sound like? A very short, sharp click or a tiny pop of static. Andrew confirms, “That’s it.” This single sample of white noise contains all audible frequencies at equal intensity, making it a perfect, neutral signal to excite the speaker and capture its full frequency response.
The Signal Path: From DAW to Cab
Here’s how to route your signal:
- Send the one-sample white noise click out of an output of your audio interface.
- Route that output into your Reamp Box.
- From the Reamp Box, go into your Solid-State Power Amp.
- Connect the power amp’s output to your Guitar Cabinet.
- Mic up the cabinet just as you would for recording a guitar. Experiment with mic placement to find the sound you want to capture.
- Connect the microphone(s) to your audio interface’s inputs.

Capturing and Trimming Your Raw IR
- Hit record in your DAW.
- Play back the one-sample white noise click. You’ll record a short, sharp sound – that’s your cabinet reacting to the impulse!
- Trim It Up: Once recorded, zoom in on the audio file. You’ll want to trim the beginning of the file so it starts as close to the transient (the very beginning of the sound) as possible. This recorded and trimmed .wav file is your raw impulse response.
Andrew states this method is “incredibly accurate, like indistinguishably accurate from the real guitar cabinet whenever you actually compare the two.”
Level Up Your IRs: Pro Refinements
For truly “high quality” impulse responses, especially if you were thinking of sharing or selling them, Andrew Wade shared a couple of extra crucial steps.
The Phase Rotation Fix: Getting Symmetrical
If you look closely at your initial one-sample white noise spike, you might notice its phase is “rotated” – it might be all positive or all negative, or just not symmetrical around the zero crossing. Andrew points out this can make your resulting IR very quiet, “literally half the volume that it should be.”
- The Fix: Use a phase rotation plugin. Andrew mentions the Little Labs IBP (In-Between Phase) plugin, often available via Universal Audio (UAD Little Labs PhAline).
- The Goal: Adjust the phase until the waveform of your recorded IR is as symmetrical as possible, with roughly equal energy above and below the zero line.

Normalize for Full Power
Once your phase is corrected and the waveform looks symmetrical, normalize the IR file to 0dBFS (or just under). This ensures your IR is at its maximum possible volume without clipping, providing a strong, consistent signal when you load it into an IR player.
Why Just One Sample? Precision is Key
Why such a short signal? Andrew explains it’s the “shortest length that I can possibly do at this resolution. And that’s all you need to do. It’s all you should do. If you do more, you’ll get a less accurate sound.” Trust the process; that tiny click is mighty!
Putting Your Custom IRs to Work
Now that you’ve got your shiny new .wav IR file, what do you do with it?
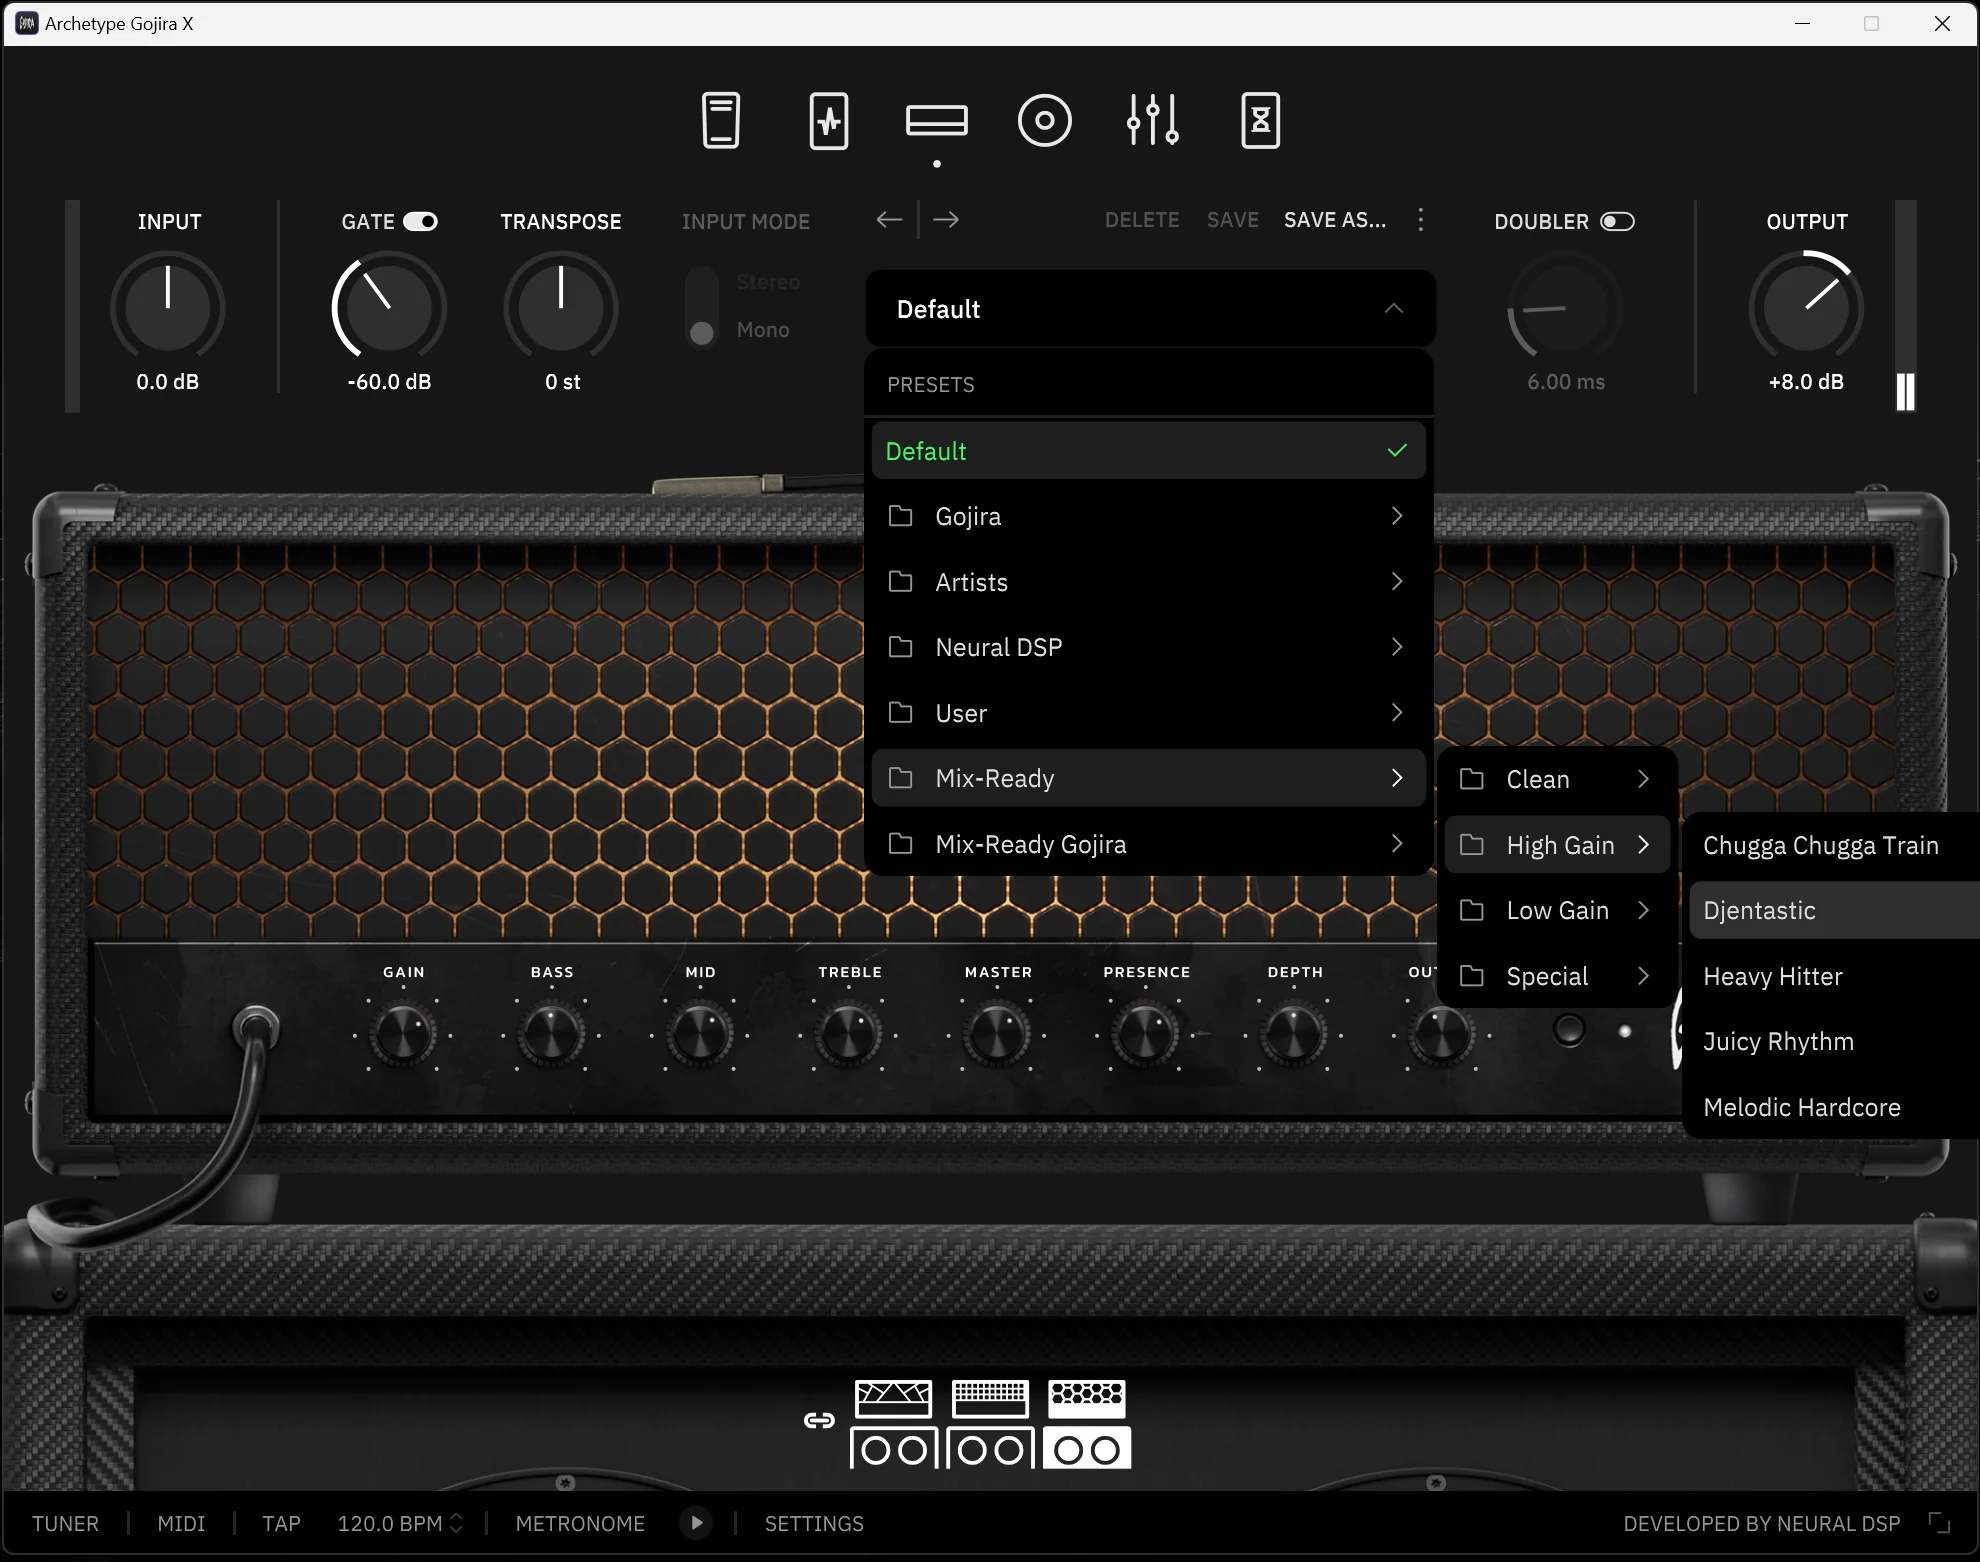
- Load it Up: Import it into your favorite IR loader plugin. There are many out there, like Two Notes Wall of Sound, Celestion SpeakerMix Pro, NadIR (free!), or even built-in convolution reverb plugins in some DAWs that can load .wav files (like REVerence in Cubase or Space Designer in Logic with a bit of tweaking).
- Our recommendations for the best IR loaders overall, and the best free IR loaders
- Pair with Amp Sims: Use your custom IR with the preamp section of your favorite amp modeling software for a truly customized virtual rig.
- Re-Amp DIs: Got some dry DI guitar tracks? Slap an amp sim on them (or even just a preamp plugin) and then run them through your custom IR. This is super helpful during mixing if you decide the original amp tone isn’t quite cutting it. You can also pair your custom IRs with a load box setup to capture your real tube amp’s preamp and power section silently, then apply the IR in your DAW for the best of both worlds. And if the band didn’t record DI tracks at all, Andrew Wade has an EQ-matching trick for re-cabbing guitars from just the amp recording.
Taking Your Guitar Tones Further
Creating custom IRs is a fantastic way to gain more control over your guitar sounds. But it’s just one part of the equation for monster metal tones. How you shape those tones with EQ and control their dynamics with compression is equally critical.
- For a deep dive into surgically shaping your guitars, check out our guide on EQ Strategies for Mixing Modern Metal.
- To get your guitars punching and sitting perfectly in a dense mix, explore these Metal Compression Secrets Beyond Just Making It Loud.
Want to see how pros like Andrew Wade craft these tones from start to finish, using custom IRs, dialing in amp sims, and applying killer EQ and compression in real-world sessions? That’s where Ultimate Guitar Production comes in. Learning individual tricks is great, but seeing them applied in the context of a full mix by the original producers of massive metal tracks is next level. If you’re ready to move beyond presets and truly unlock your sound for mixing modern metal, UGP offers the deep dives you need.
Wrap Up: Your Cab, Your Sound
Andrew Wade’s white noise method for creating impulse responses is refreshingly straightforward and yields incredibly accurate results. It demystifies a process that many find daunting and puts the power of custom cabinet emulation directly in your hands.
So, grab a solid-state power amp, fire up your DAW, and start experimenting. You might be surprised at how easy it is to capture the unique voice of your favorite guitar cabinets.
Gojira on Nail The Mix
Logan Mader mixes "Toxic Garbage Island"
Get the Session
If you loved this glimpse into pro techniques and want full access to hours of in-depth mixing sessions with world-class producers like Andrew Wade, Joey Sturgis, Eyal Levi, and many more, detailing every step of their process on real hit songs, then definitely check out Ultimate Guitar Production. Happy mixing!