How to Build a “Mix-Ready” Metal Tone with Neural Amp Modeler
Nail The Mix Staff
So, you’ve downloaded Neural Amp Modeler (NAM), found a capture of a 5150, and loaded it onto your DI track. You hit play, and… it probably sounds raw, fizzy, and a bit thin.
This is the exact moment where many producers get frustrated and go back to their paid plugins.
Here’s the secret: Neural Amp Modeler is an engine, not a finished product.
Unlike an all-in-one suite like an Archetype or STL Tonality, the free NAM plugin isn’t designed to be a “mix-ready” solution out of the box. It’s a powerful, hyper-realistic tool that models one part of a signal chain with stunning accuracy.
A raw amp capture sounds “raw” for a reason—it’s missing the other components that make a guitar tone sit in a dense metal mix. Your job as a producer is to build that chain.
Here is the complete, four-step professional workflow to take a raw DI track and a NAM capture and turn it into a tight, articulate, and “mix-ready” metal tone.
Step 1: The Boost (The “Secret Weapon” for Tightness)
This is the most crucial and most-overlooked step for modern metal. The “chug” and articulation of a high-gain tone doesn’t come from just the amp; it comes from slamming the front of that amp with a boost pedal, like an Ibanez Tube Screamer or a Fortin 33.
The goal here isn’t to add more gain. It’s the opposite. The goal is to shape the signal before it hits the amp.
- What it does: The boost cuts flubby, uncontrolled low-end and tightens the transient response of your pick attack. This is what turns a “boomy” palm mute into a “tight” and percussive “chug”.
- How to do it: Place an overdrive plugin (like the free TSE 808) before the NAM plugin in your DAW chain.
- Settings:
- Drive: 0%
- Level/Volume: 100%
- Tone: 50-70% (to taste)
This “boost-before-amp” technique is the secret weapon for 90% of modern metal rhythm tones.

Step 2: The Amp (Loading Your NAM Capture)
This is the step you’ve already done, but placement is key. The NAM plugin acts as your “amp head”.
- How to do it: Place the stock Neural Amp Modeler plugin on your DI track, after your new boost plugin.
- What to load: Find a high-quality “Amp-Only” capture. You can find thousands of free captures on TONE3000 (formerly ToneHunt). For metal, you’ll want captures of legends like the Peavey 5150/6505, Mesa Rectifier, or modern amps like an ENGL or Revv.
- Why “Amp-Only”? You want to avoid “Full Rig” captures (which include the cabinet and mic) because they lock you into one sound. Capturing the amp-only tone gives you the flexibility to use your own professional Impulse Responses (IRs) in the next step, which is where the real tone shaping happens.
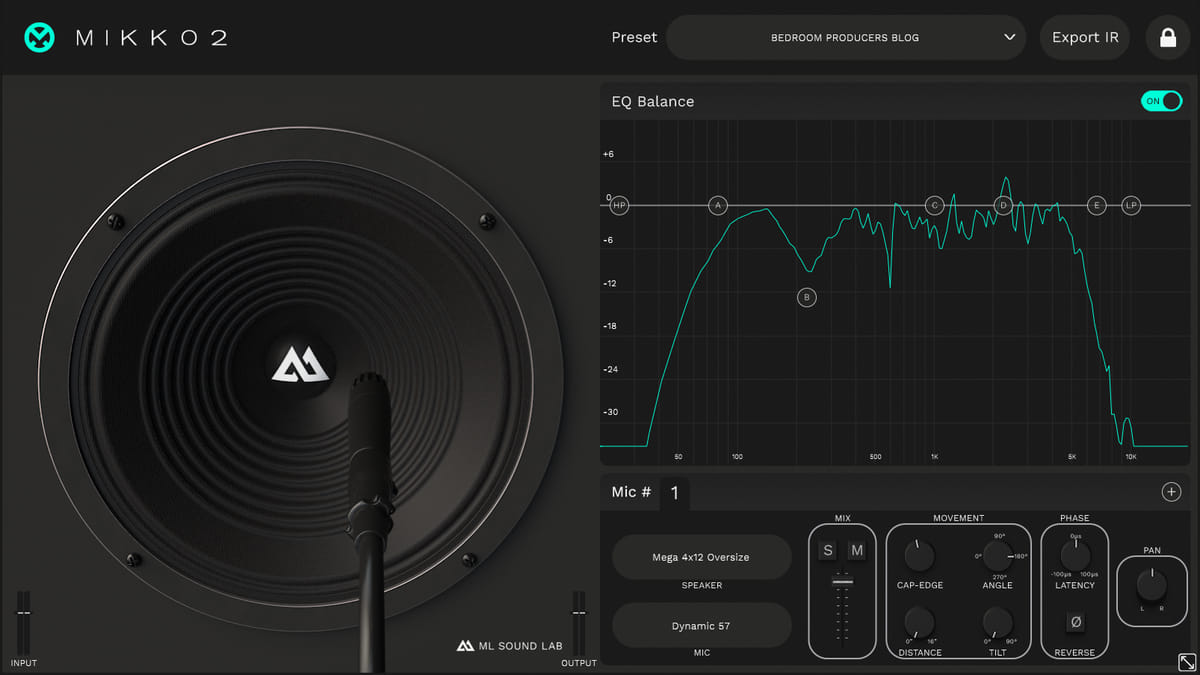
Step 3: The Cabinet (The Impulse Response)
A raw amp signal without a speaker cabinet sounds like a swarm of angry, fizzy bees. This is non-negotiable: your cabinet IR is at least 50% of your final tone.
The stock NAM plugin has a built-in IR loader, and it’s functional. But as a professional producer, you already have a collection of IRs you trust.
- How to do it:
- In the NAM Plugin: Click the “IR” button on the NAM plugin’s interface to open its built-in loader. Find and load your favorite third-party IR (e.g., from Bogren Digital, York Audio, GGD, etc.).
- The “Pro” Method: Disable the IR loader in the NAM plugin (by un-clicking the “IR” button) and place your own dedicated IR loader plugin (like the free NadIR or your personal favorite) after NAM in the chain. This gives you more flexibility for blending mics and post-processing.
Do not judge a NAM capture until you have paired it with a high-quality, professional IR.
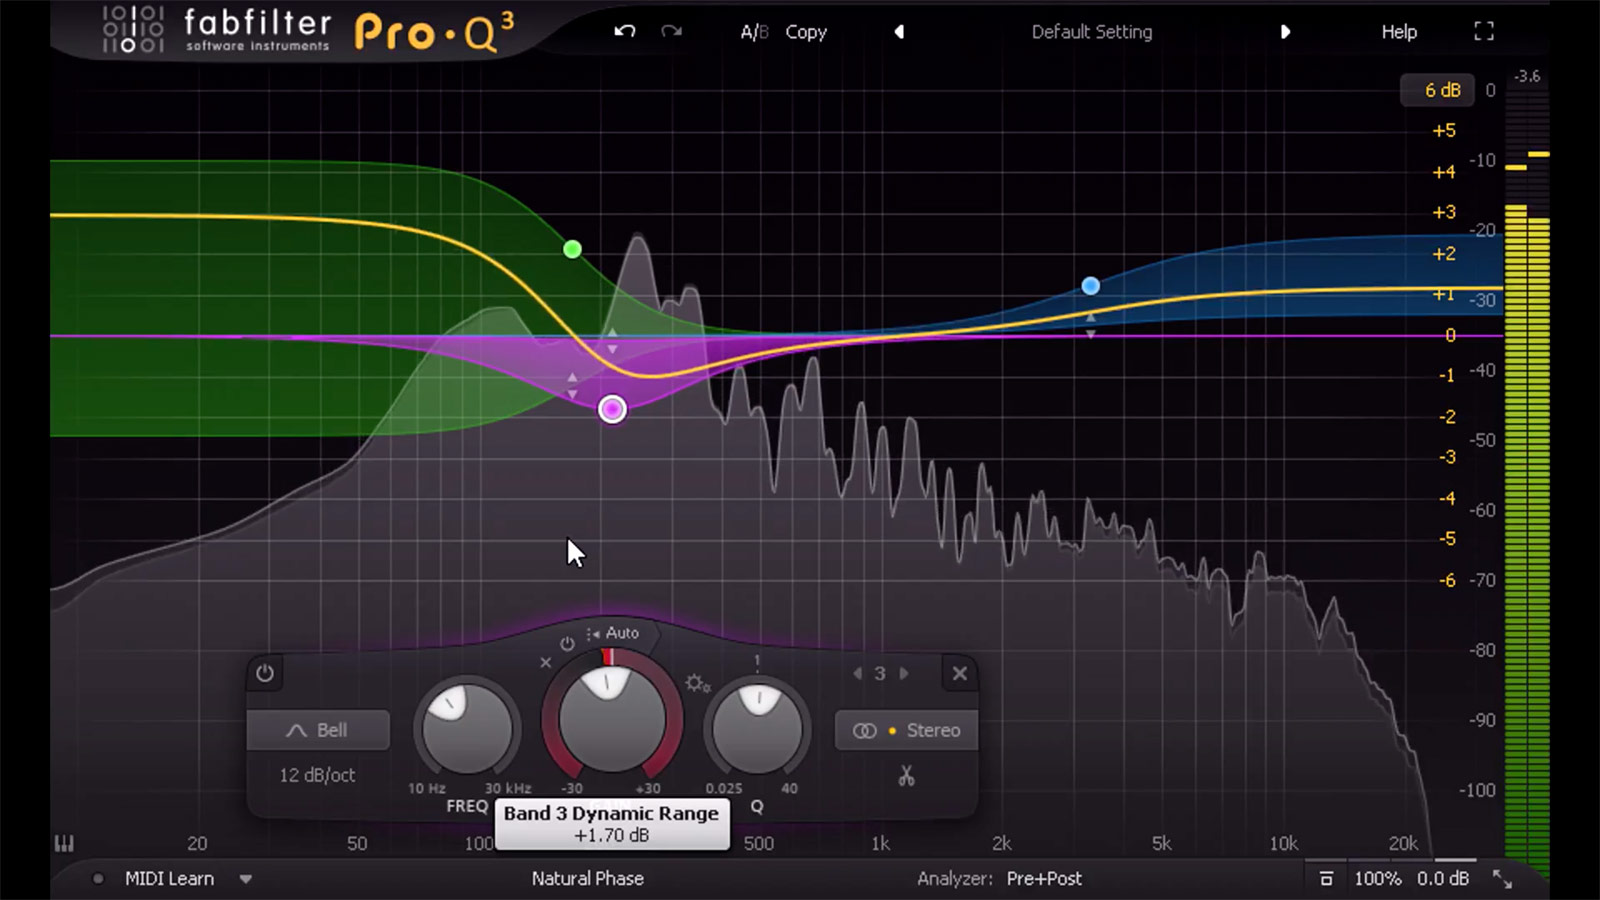
Step 4: The Polish (Post-EQ for the Mix)
Your signal chain (Boost -> NAM -> IR) now sounds like a real, mic’d amp. But is it “mix-ready”? Not yet.
Commercial plugins like Neural DSP Archetypes often sound more “polished” because they are already EQ’d and compressed to sit in a mix. Your “raw” NAM tone needs that final 10% of studio processing.
- How to do it: Place a parametric EQ plugin (like Pro-Q 3 or your stock DAW EQ) after your IR loader.
- The “Mix-Ready” Moves:
- High-Pass Filter: This is essential. Cut everything below 80Hz-120Hz to remove low-end rumble and make room for the kick drum and bass guitar.
- Low-Pass Filter: This tames the “fizz.” A gentle cut (12dB/octave) starting anywhere from 8kHz-12kHz will clean up the harsh, artificial-sounding high-end.
- Surgical Cuts: Find any “honky” or “fizzy” resonant frequencies (often in the 400Hz-600Hz or 2kHz-5kHz range) and apply narrow cuts to clean them up.
The Workflow Upgrade: The “Nail The Mix” Way
Let’s be honest: that four-plugin chain (Boost + NAM + IR Loader + EQ) is a clunky, CPU-hungry workflow.
The community has solved this.
The best way to build a mix-ready tone is with a free, third-party plugin called NAM Universal by Wavemind. This is a “shell” plugin that hosts NAM files but puts them in a full-featured, “Archetype-style” suite you’re more familiar with.
It’s the professional workflow you’ve been missing, and it solves many of our signal chain problems in one interface:
- Dual Profile Loading: It has two NAM slots. This is the game-changer. You load a NAM capture of a boost pedal into the “Pedal” slot and your amp capture into the “Amp” slot. This perfectly recreates Step 1 without needing a separate plugin.
- Built-in IR Loader: It has a high-quality, dual IR loader, covering Step 3.
- The “Aggravator” Section: This is the magic. It has two knobs that replace your post-processing:
- “Tight”: A built-in low-end compressor specifically for taming “chug”.
- “Smooth”: A high-end tamer to eliminate “fizz”.
By using NAM Universal, you consolidate your entire “mix-ready” chain into a single, powerful, and free plugin, which also happens to offer stereo processing and an AAX version for Pro Tools users.
The takeaway is simple: NAM is a world-class amp engine. To make it “mix-ready,” you just have to build the rest of the professional signal chain that it’s designed to be a part of.
Vitriol on Nail The Mix
Dave Otero mixes "Shame and its Afterbirth" Get the SessionMore on Neural Amp Modeler: