Mixing Archspire’s Insane Drums with Parallel Compression
Nail The Mix Staff
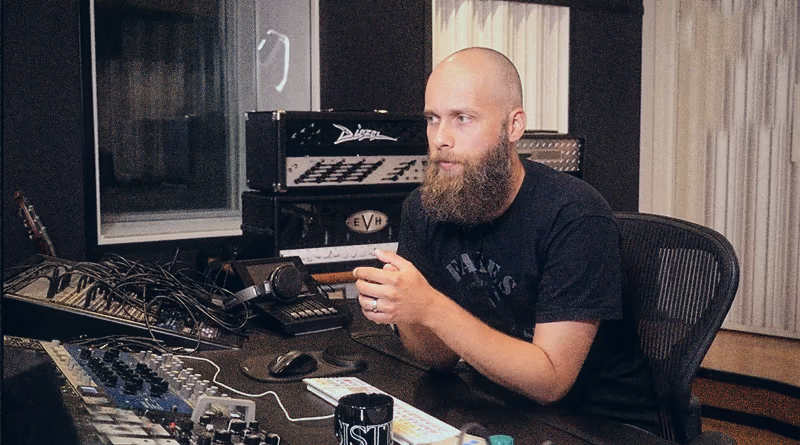
Let’s be honest, mixing a band like Archspire is a unique challenge. The sheer speed and technicality can easily turn a drum mix into a washy, undefined mess. So how do you get every single kick, snare, and tom hit to cut through with power and clarity? For producer Dave Otero (Cephalic Carnage, Akhlys), a huge part of the answer lies in a powerful and creative approach to parallel processing.
We’ve all tried parallel drum compression. It’s a classic technique for adding punch. But Dave takes it a step further, running three distinct parallel compressors simultaneously, each with its own specific job. It’s a method that turns simple compression busses into “excitement faders” that inject life and aggression into the kit. Let’s break down his entire technique.
The Three-Headed Monster: Otero’s Parallel Setup
Instead of a single parallel bus, Dave Otero creates three separate ones, each feeding a different compressor. The first two are all about adding attack and punch, while the third is for adding a “squashed” vibe and character. By blending these three distinct flavors, he can create a drum sound that’s bigger, punchier, and more intense than what you could get with just one compressor.
Crafting Punch and Attack with Hardware
The first two parallel channels are the main drivers of the drum sound’s punch. They are set up to be aggressive, fast, and in-your-face, using a couple of choice pieces of hardware.
The Compressors: Compex and Decomp
The workhorses for this task are two hardware units: a Compex F760 and an Audio Scape Decomp. Dave fell in love with hardware compression and its parallel applications thanks to the Decomp, and you can hear why. Both are set up to do one thing really well: add a ton of attack.
The settings are key here. To achieve that punch, he uses a very slow attack and a fast release on both units. This allows the initial transient of the drum hit to pass through untouched before the compressor clamps down hard, which exaggerates the initial “thwack” of the drum. Check out our complete guide to using an audio compressor to learn more about how attack and release times shape your sound.
Gain Staging with a “Set and Forget” Mentality
Here’s a brilliant workflow hack from Dave. Instead of constantly tweaking the knobs on his analog gear for every session, he keeps his hardware compressors in a static “sweet spot” position. He found the settings he loves on each unit and just leaves them there.
So, how does he control how hard the compressor is working? He does it all in the box. Before the signal is sent to the hardware, he uses plugins like the Slate Digital VCC and Tremor to manage the gain staging. If he needs to hit the compressor harder, he just pushes the output gain on the Tremor plugin. This keeps his analog chain consistent and allows all his adjustments to be saved and recalled perfectly with his DAW session data. No more taking pictures of your outboard gear.
Taming the Noise
Slamming hardware compressors this hard comes with a side effect: noise. The Compex, in particular, can generate some line noise or hiss. You won’t hear it when the full band is playing, but during a quiet guitar part, that hiss can be a problem.
The fix is simple but effective: an audio gate is placed on the channel after the compressor. The gate’s threshold is set just high enough so that it closes when only the compressor’s self-noise is present, but opens instantly when a drum hit comes through. This cleans up the parallel tracks without affecting the drum tone itself.
The “Squash” Layer: Adding Vibe with Plugins
The third parallel bus is what Dave sometimes calls “Para Squash.” For the Archspire mix, this was handled by a plugin: the classic Soundtoys Devil-Loc. This isn’t about clean, punchy compression; it’s about adding a crushed, distorted, and vibey character.
While the first two compressors are all about attack, the Devil-Loc is a “squasher.” On less insane material, Dave might send a lot of the room mics to this bus to really accentuate a smashed, energetic room sound. For Archspire’s hyper-fast drumming, it was used primarily to add another layer of aggressive texture to the snare.
The Secret Ingredient: Tailored Sends for Each Compressor
This is arguably the most important part of Dave’s technique. He doesn’t just send the entire drum mix to these three parallel busses. Each compressor receives a completely unique, tailored mix of drum elements via sends, allowing him to cherry-pick the best qualities of each unit.
Deconstructing the Sends
Here’s a look at what each compressor was being fed:
- Para Compex (Compex F760): This channel gets a ton of snare—the fader is pushed over unity. It also gets a healthy amount of toms, overheads, and room mics. Dave knows the Compex excels at making snares crack, so he feeds it what it loves.
- Para Decomp (Audio Scape Decomp): This compressor has a built-in sidechain high-pass filter, which means it handles low-frequency information a bit better without pumping. As a result, it often gets a little more kick drum and a more balanced blend of the kit overall, while still getting a significant amount of snare.
- Para Squash (Devil-Loc): For this mix, the squash channel was also getting fed mostly snare. The goal was to create another layer of distinct texture that could be blended in to help the snare cut.
By tailoring the sends, Dave can use the Compex for extreme snare punch, the Decomp for a more balanced low-end thump, and the Devil-Loc for grimy character, then blend them all to taste.
Blending It All for Maximum Impact
When you hear these parallel tracks on their own, they sound ridiculously over-compressed and extreme. But that’s the point. You blend just a little bit of that extremity back in with your clean, processed direct mics, and they suddenly transform the entire drum sound.
These busses become “excitement faders.” They add a ton of pop, push, and intensity that you can’t get from just compressing the individual tracks. One crucial note: because these parallel busses are so snare-heavy, you have to mix into them. If you get your drum balance right and then mute the parallel channels, the snare will suddenly feel way too quiet. The parallel compression becomes an integral part of the snare’s overall level and character.
The end result is that even during the most chaotic blast beats, every single drum hit sounds hard, defined, and powerful. Dave even mentions that you have to make things sound a little more extreme in the mix than you think, because the final mastering stage will inevitably shave off some of those sharp transients.
Archspire on Nail The Mix
Dave Otero mixes "Remote Tumour Seeker"
Get the Session
Take It to the Next Level
This detailed, multi-layered approach to parallel compression is a perfect example of the advanced techniques that separate a good mix from a great one. Applying these concepts—from smart gain staging to tailored sends—can drastically elevate your own drum sounds.
But reading about it is one thing. Seeing it happen is another. In Dave Otero’s full Nail The Mix session, you can watch him build this entire drum sound from scratch, explaining every plugin, fader move, and creative decision along the way. You get the raw, unedited multitracks from Archspire to practice on yourself.
At Nail The Mix, we provide this level of deep-dive access every single month with the world’s best producers. You’ll learn not just about compression, but also about crafting perfect drum mixes, dialing in guitar and bass tone, and gluing the entire mix together into a professional, release-ready track.
If you’re ready to see how pros like Dave Otero get these insane sounds, check out our courses and unlock the advanced techniques that will elevate your own mixes.