Audio to MIDI Conversion in Pro Tools for Flawless Drum Samples
Nail The Mix Staff
Tired of your drum samples sounding thin, flammy, or just plain off? You’ve probably tried slapping a real-time trigger plugin like Slate Trigger on your drum tracks. It’s fast, sure, but it’s a gamble. Real-time processing can give you slightly different results every time you hit play, and it’s notorious for missing subtle hits or creating false triggers that kill your groove.
If you want perfectly aligned, phase-coherent drum samples that punch through a dense metal mix every single time, you need a more precise method.
This is the definitive guide to professional audio to MIDI conversion in Pro Tools. We’re going beyond the basics to show you a bulletproof workflow for turning your raw drum audio into perfect MIDI. This technique guarantees your samples are locked to the transient, gives you ultimate control over dynamics, and lets you pull off some killer gating tricks to clean up your close mics.
Let’s get to it.
The Setup: Prepping Your Pro Tools Session
First things first, let’s get our session organized. A clean setup is a fast setup.
Create and Name Your MIDI Tracks
For this process, we’re going to focus on the shells: kick, snare, and toms. You’ll need one new MIDI track for each.
- Fire up the New Tracks dialog (Shift+Command+N).
- Create the number of MIDI tracks you need (e.g., 5 for a kick, snare, and three toms).
- Name them clearly: “Kick MIDI,” “Snare MIDI,” “Tom 1 MIDI,” and so on.
- Drag each MIDI track so it sits directly above its corresponding audio track in the Edit Window. This visual pairing is crucial for the next step.
Grouping for a Faster Workflow
This little trick will save you countless clicks. We’re going to create Edit Groups that link each audio track to its new MIDI track.
- Select your “Kick MIDI” track.
- Hold Command and select your main “Kick” audio track.
- Create a new group (Command+G). In the dialog, make sure you’re creating an Edit Group (not a Mix Group) and name it “Kick MIDI Group.”
- Repeat this process for your snare and all of your toms.
Now, when you make a selection on the kick audio track, the kick MIDI track will also be selected. This is essential for our alignment process later.
The Conversion: From Audio Waveform to MIDI Data
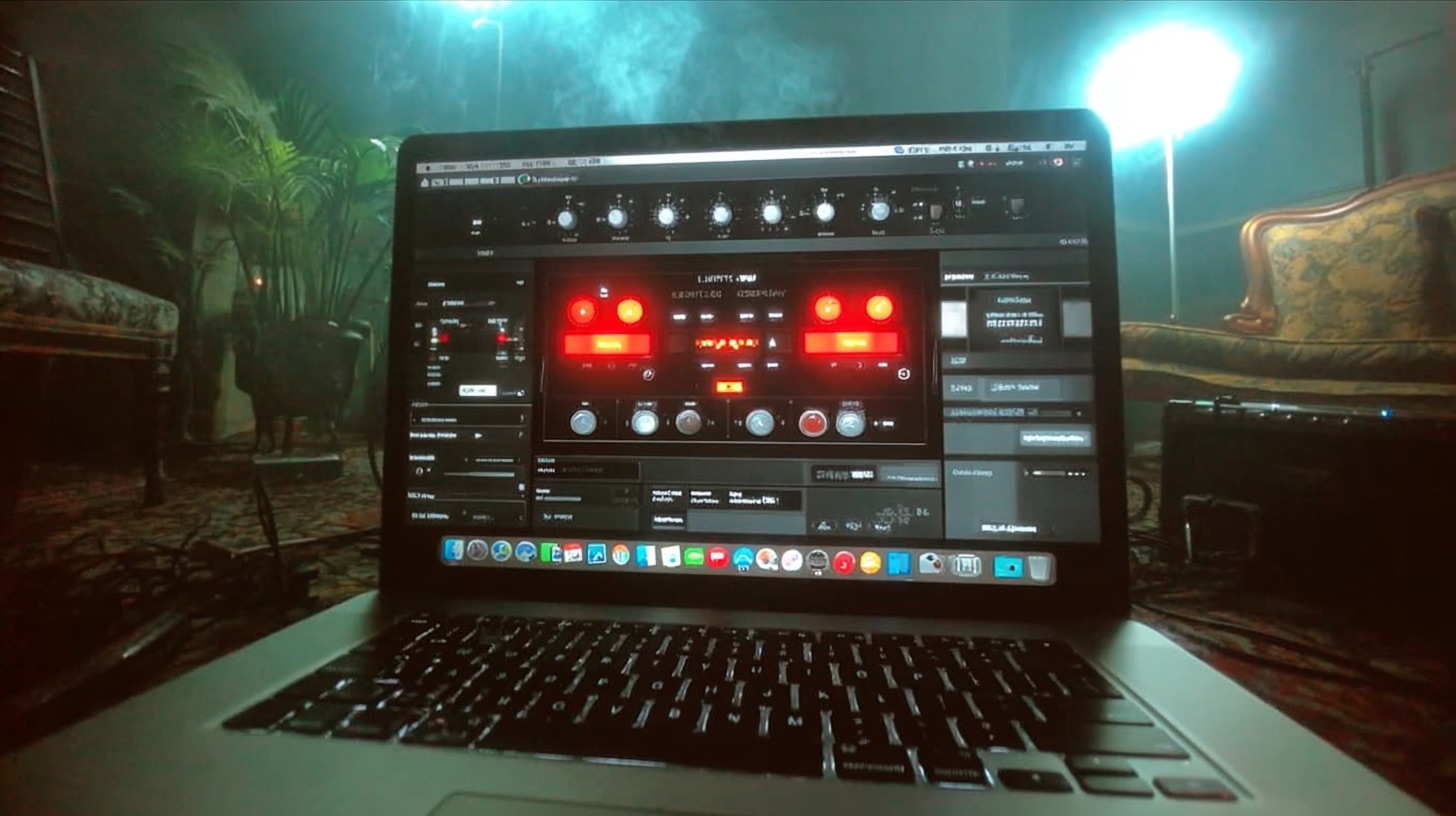
Now for the magic. There are a few tools that can handle this, but for a detailed, offline process, you can’t beat an AudioSuite plugin.
Why AudioSuite is Your Best Friend Here
Unlike a real-time insert, an AudioSuite plugin analyzes and renders a change directly to an audio clip. This is perfect for our needs because it’s not guessing on the fly; it analyzes the entire track at once to generate MIDI.
Our weapon of choice for this is Massey DRT (Drum Replacement Tool). It’s an AudioSuite-only plugin that is incredibly accurate. While Slate Trigger has a similar function and the tracker in Toontrack’s Superior Drummer 3 is also a powerful option, the visual feedback in DRT is fantastic for this workflow.
Dialing in DRT for Kick Drums
- Select your entire kick drum audio clip.
- Open Massey DRT from your AudioSuite > Instrument menu.
- Set the MIDI Output Note. For kicks, C1 is the standard.
- Click Analyze.
You’ll see a display of all the transients DRT has detected. The two main sliders, Loudness and Sensitivity, are your key controls. Drag the Loudness threshold up to filter out bleed and quiet noise, and adjust Sensitivity to catch the main hits. The goal is to set the thresholds so that every kick hit is detected, but snare bleed isn’t.
Once it looks good, simply drag the MIDI from the DRT window directly onto your “Kick MIDI” track.
Tackling the Snare
Repeat the process for the snare track, setting the MIDI note to D1 (a common standard for snares). Snare tracks can be trickier due to ghost notes and dynamic fills.
Pro-Tip: Separate MIDI Tracks for Snare Fills
For ultimate control, it’s a great idea to have separate MIDI tracks for your hard backbeats and your softer fills or ghost notes.
- Duplicate your main “Snare MIDI” track (Shift+Option+D), but deselect “Active Playlist” so you get a blank track that’s still in the group. Name it “Snare Fill MIDI.”
- On your main snare track, dial in DRT to only catch the loud, powerful backbeats. Drag the MIDI to the “Snare MIDI” track.
- Now, on the same snare audio, re-analyze with DRT but lower the thresholds to catch all the quiet ghost notes and fill details. Drag this new MIDI to your “Snare Fill MIDI” track.
We'll clean this up later, but this gives you a separate lane for controlling the velocity and sample choice for your fills.
Handling Toms
Tom tracks are mostly bleed. Crank the Loudness and Sensitivity thresholds in DRT way up to isolate only the actual tom hits. Don’t worry if a few snare hits sneak in; we’ll delete those manually. Set your MIDI notes to something logical, like A1, G1, and F1 for Tom 1, 2, and 3.
MIDI Cleanup: The Secret to a Flawless Performance
Now you have MIDI, but it’s not perfect yet. This cleanup phase is what separates the pros from the amateurs.
Get Your Clips in Order
First, let's make this MIDI easier to work with.
- Consolidate: Select each MIDI clip and consolidate it (Shift+Option+3) so it’s one continuous clip, just like your audio.
- Shorten Duration: Select all your new MIDI tracks. Open the Event Operations window (Option+0). Go to Change Duration and set all notes to a very short value, like 10 ticks. This prevents notes from overlapping and makes editing individual hits much easier.
Verification: Hunting Down False Triggers and Missed Hits
This is where you use your ears. Solo each drum group (e.g., Tom 1 Audio and Tom 1 MIDI) and listen through.
- See a MIDI note where there’s no drum hit? That’s a false trigger from bleed. Delete it.
- Hear a drum hit with no MIDI note? DRT missed it. Copy a nearby MIDI note and paste it in.
Go through your kick, snare, and toms one by one. On the toms, you’ll likely be deleting a lot of MIDI notes that were accidentally triggered by loud snare hits.
Dialing in Velocities for Realistic Dynamics
For heavy metal, we often want the main kick and snare hits to be absolutely punishing.
Select all the notes on your main “Snare MIDI” track. In the Pro Tools toolbar, find the velocity view and drag them all up to the max value of 127. This ensures every backbeat triggers your sample at full power.
For your “Snare Fill MIDI” track, you can be more creative. Select those notes and set their velocity to something lower to create a more natural dynamic feel. This is where you can truly humanize your samples. Having total control over velocity is a key part of crafting a powerful, dynamic drum sound, which is a cornerstone of great mixes. Fine-tuning these dynamics is just as important as applying the right metal compression secrets later on.
The Final Polish: Perfect Transient Alignment
This is the most tedious, but most important, step. We are going to manually align every single MIDI note to the exact start of the audio transient. This guarantees zero phase issues.
Workflow Hacks to Save Your Sanity
- Zoom Presets: Zoom in to a single transient at a sample-level view. Hold Command and click the number 5 on your numeric keypad (or the numbers above your letters) to save it as a zoom preset. Create another, wider preset on number 4. Now you can instantly jump between a close-up and a wider view.
- Tab to Note: With your MIDI/Audio group active, placing your cursor on the track and hitting Tab will jump you to the start of the next MIDI note, not the next audio transient. This lets you fly through the notes.
The Nudge-and-Align Process
Here’s the high-speed workflow:
- Tab to the first MIDI note.
- Hit your zoom preset key (5) to get a close look.
- If the note isn’t perfectly aligned with the very beginning of the waveform, cut the MIDI note (X).
- Click your cursor on the exact start of the audio transient.
- Paste the MIDI note (V).
- Hit Tab to jump to the next note and repeat.
Yes, you’re doing this for every single hit. Put on a podcast and get in the zone. This detailed work is what will make your drum samples sound like they are part of the original performance, not just layered on top.
What Now? Putting Your Perfect MIDI to Work
You now have sample-accurate MIDI that perfectly matches your drummer’s performance. The possibilities are endless:
- Trigger Samples: Route this MIDI to your favorite sampler like Superior Drummer 3, Kontakt, or Slate Trigger 2 (in MIDI-trigger mode) to blend in powerful, consistent samples.
- Perfect Gating: Use this MIDI as the key input on a noise gate placed on your original audio tracks. The gate will only open when a MIDI note occurs, giving you perfectly clean close-mic tracks with zero bleed. This makes tasks like dialing in your core EQ strategies a thousand times easier.
This level of meticulous drum editing is the foundation of a professional-sounding metal mix. It’s not a shortcut, but it’s the right way to do it for results that are tight, punchy, and flawless.
Want to see exactly how top-tier producers like Will Putney, Dan Lancaster, and Taylor Larson apply these techniques in real-world sessions? Imagine watching them take this perfect MIDI and build a colossal drum mix around it, explaining every plugin, every fader move, and every decision along the way. At Nail The Mix, that’s exactly what you get. Every month, you get the raw multitracks from a massive metal song and watch the original producer mix it from scratch.
Unlock your sound and start mixing modern metal beyond presets with Nail The Mix. And if you’re hungry for more, URM Enhanced offers over 1,500 more tutorials covering every aspect of metal production.