Getting Realistic Drums with the Mixwave Underoath Library
Nail The Mix Staff
Let’s be honest, we’ve all heard it: the dreaded sound of fake, programmed metal drums. They’re sterile, they’re robotic, and they have that awful “plastic drums in space” vibe. Nowhere is this more obvious than in a blast beat that sounds like a machine gun firing the exact same snare sample over and over.
The thing is, samples aren't the problem. Even on massive-sounding metal records where the drums feel 100% real, there are almost always samples and heavy editing involved. The problem isn’t that they’re used, but how they’re used.
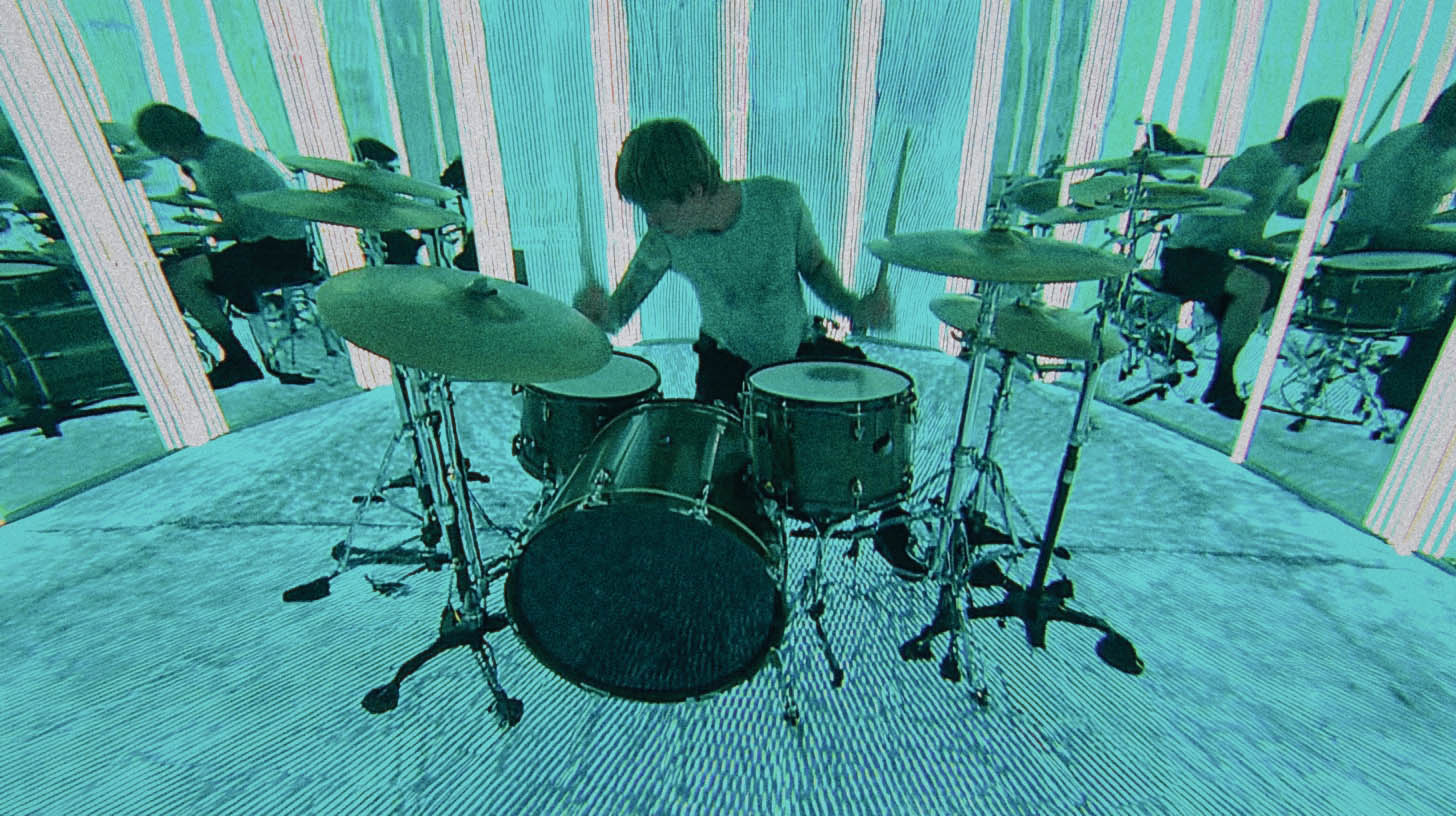
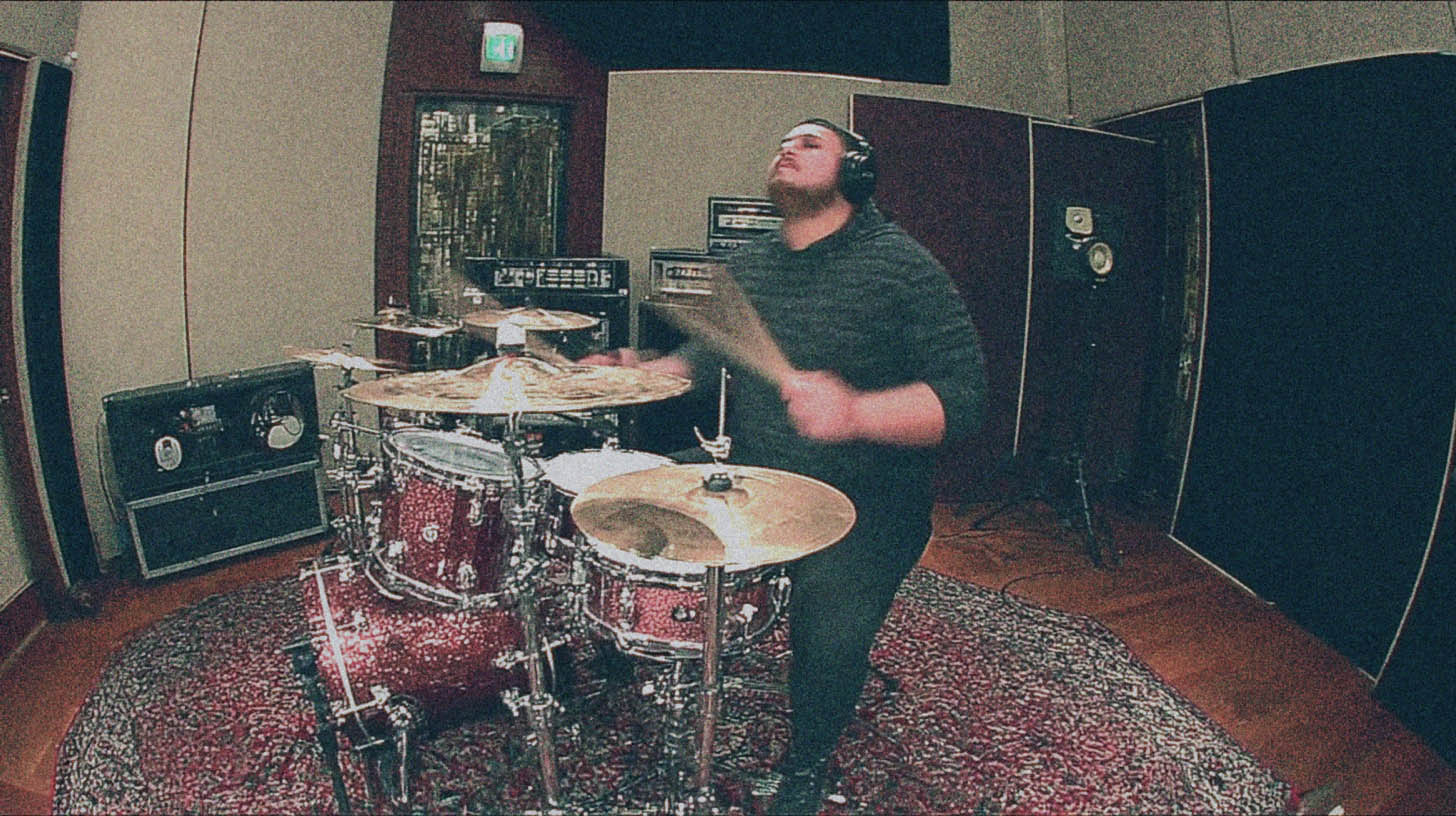
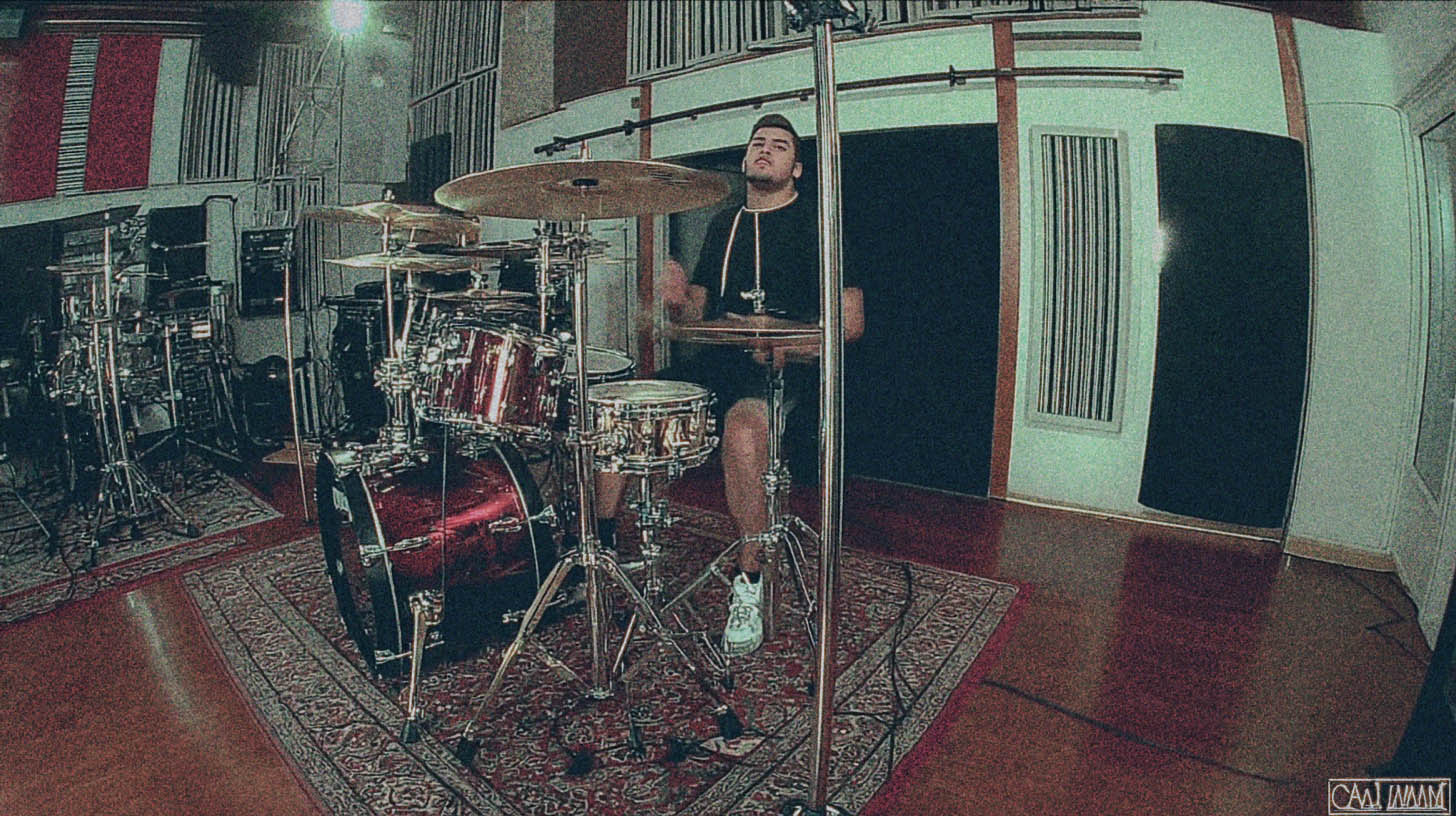
Enter the Mixwave Underoath Drum Library. This thing is a monster. Sampled from Aaron Gillespie’s legendary C&C kit, it gives you a production-ready sound right out of the box. But like any powerful tool, you have to know how to wield it to avoid those robotic pitfalls. We’re going to break down how to use this library to get powerful, aggressive, and most importantly, human-sounding drums for your mixes.
Product Overview: What Is The Mixwave Underoath Drum Library?
At its core, this library is a meticulously sampled virtual instrument featuring Aaron Gillespie's custom C&C drum kit and his personal collection of Zildjian cymbals. Mixwave captured every nuance of his setup, giving you access to a kit that has defined a generation of post-hardcore and metalcore.
But it’s more than just a collection of one-shots. You get:
- Multiple Mic Positions: Kick In, Kick Out, Snare Top, Snare Bottom, Overheads, multiple Room mics, and even a "Trash" mic for extra vibe.
- A Full-Fledged Mixer: Each channel has its own fader, pan, and processing, including studio-grade EQ, compression, transient shaping, and effects sends.
- Pre-Mixed Presets: You can load up totally raw sounds or get started instantly with presets crafted by top-tier producers.
It's a fantastic tool, but just loading it up and programming MIDI on the grid can lead you straight back to robot-drummer territory. Let’s fix that.
The #1 Mistake: Avoiding "Machine Gun" Drums
The fastest way to make programmed drums sound fake is by making them too perfect. Human drummers are beautifully inconsistent. They never hit a drum with the exact same force, at the exact same time, in the exact same spot on the head. That subtle variation is what our brains register as "real."
When you program a fast fill or a blast beat where every hit is identical—same sample, same velocity, dead on the grid—it sounds like a machine. Our brains get bored and tune it out. Here’s how to fight back.
The Power of Velocity
In your DAW, every MIDI note has a velocity value, typically from 1 to 127. This tells the virtual instrument how "hard" to play the note. In a modern library like Mixwave Underoath, a low-velocity hit isn't just a quieter version of a loud hit; it's an entirely different sample recording.
Actionable Tip: Program Like a Drummer
Instead of slamming every snare hit in a blast beat at velocity 127, think about how a real drummer plays. They can’t physically hit that hard that fast.
- Vary Your Velocities: In your piano roll, grab those MIDI notes and start dragging the velocities (they look like little lines or diamonds under the notes in most DAWs). For a blast beat, try alternating your snare hits between, say, 115 and 125. For a standard rock beat, make the backbeat on 2 and 4 (e.g., 120-127) louder than the ghost notes in between (e.g., 30-60). This focus on dynamics is just as important as learning how to hear compression sculpt a groove.
Humanizing Your Grid
The grid is your friend, but it's not the law. Quantizing every single hit to be 100% perfectly in time is a surefire way to sound robotic.
Actionable Tip: Quantize with Feel
When you quantize your drums, don't set the "Strength" or "Tightness" to 100%. Back it off to around 90%. This will move the notes closer to the grid, tightening up the performance without completely erasing the human feel. It’s the perfect middle ground between sloppy and sterile. For super-fast sections like bomb blasts, you might push this to 95%, but almost never 100%.
You can also manually nudge key hits. Try moving the first kick of a chorus just a hair before the beat to give it an urgent, aggressive feel. It's these tiny, intentional imperfections that make a drum performance breathe.
Getting Aggressive Tones with the Built-in Mixer
The Mixwave library’s built-in mixer is where you can do some serious damage (in a good way). It saves you from having to route 12+ channels out to your DAW and lets you shape the tone right inside the plugin.
Dialing in the Kick
A modern metal kick needs both low-end weight and a sharp, cutting click to slice through dense guitar tracks. For a deeper dive, check out our guide on how to mix a metal kick drum from start to finish.
- Blend the Mics: Start with a good balance of the "Kick IN" (for beater attack) and "Kick OUT" (for body and low end) channels. Sprinkle in the "Kick SUB" fader to add foundational weight.
- EQ Moves: Use the channel EQ to cut any boxiness around 300-500Hz. Boost the low-end thump around 60-80Hz and add that essential click between 4-8kHz.
- Punchy Compression: Use the built-in compressor to add punch. Try a VCA-style compressor model with a slow attack (10-30ms) to let the initial transient through, and a fast release to bring up the body of the drum. Check out more metal compression secrets here.
Crafting the Perfect Snare
The snare is the heart of a metal beat. It needs to be authoritative and clear, and applying the basics of compression is a great way to give it that punch.
- Balance Top and Bottom: Blend the "Snare TOP" for the crack and body with the "Snare BOT" for the snap and sizzle of the snare wires. Don't be shy with the bottom mic; it's key for clarity in fast passages.
- Add Space: Instead of a separate plugin, use the built-in reverb sends. A touch of the Plate or Room reverb can give the snare dimension without washing it out.
- Solving the Blast Beat Problem: When a real drummer plays a blast beat, their snare hits are naturally weaker. Trying to fix this by just turning up the snare mic in a real recording brings up a ton of nasty cymbal bleed. With samples, you don't have this problem! Go into your MIDI editor and simply turn up the velocity of the snare hits only during the blast beat sections. You get all the power and aggression you want with zero compromise.
Mixing Overheads and Rooms
These mics are what make the drum kit sound like a cohesive instrument in a physical space. Even if you’re not working with perfectly captured room mics, there are ways to make smaller drum rooms sound massive.
- Actionable Tip: Crush Your Rooms: For that explosive, larger-than-life drum sound, get aggressive with the Room mic channels. Send them to a bus within the plugin's mixer and slam them with a FET-style compressor (think a UAD 1176 or Slate FG-116). All-buttons-in mode, fast attack, fast release. This technique, often called parallel drum compression, is a staple in modern metal. Blend this crushed signal back in under the main kit to add massive energy and sustain.
- Tame Harsh Cymbals: The overheads are primarily for your cymbals. If they sound harsh or washy, use the overhead channel EQ to make a surgical cut in the 3-5kHz range. This can clean things up without losing brightness. If you want to dive deeper into surgical EQ moves, these principles for EQing metal guitars apply here too.
Beyond the Library: Blending and Reinforcing
The Mixwave Underoath library is incredible on its own, but in pro productions, it’s often used to reinforce live drums. If you have a decent live drum recording that just lacks consistency or punch, you can use a plugin like Slate Trigger 2 to layer these samples underneath.
Blend the Mixwave kick sample in under your live kick to add a consistent low-end thump. Layer the snare sample to give every backbeat a powerful crack. You don’t need to fully replace the original performance—just tuck the sample in underneath to give it support. This is just one of several killer drum sample replacement techniques that pros use.
Put It All Together and Go Deeper
The Mixwave Underoath Drum Library is an absolute beast, but it’s just a tool. The real magic happens when you use it with intention—when you focus on humanization through velocity and timing, and when you make smart, aggressive mixing moves.
These are exactly the kinds of techniques you need to master to create professional-sounding metal productions. Imagine watching the producers behind your favorite albums—guys like Will Putney, Jens Bogren, and Nolly Getgood—build a mix from the ground up, explaining every decision they make about drum samples, compression, and EQ.
That’s what Nail The Mix is. Each month, you get the raw multi-tracks from a massive song and watch the original producer mix it from scratch. You get to see how the pros really make it happen.
Check out our full catalog of Nail The Mix sessions and see the world-class producers you could be learning from on our list of NTM instructors. Stop guessing and start learning the techniques that actually work.