Using the Mixwave Mike Mangini Drum Library to Avoid Robotic Drums
Nail The Mix Staff
We’ve all heard it. That programmed drum sound that’s just… wrong. It’s sterile, lifeless, and clinical. The blast beats sound like a machine gun firing plastic pellets, and the fills have zero feel. It’s what producers mean when they complain about “plastic drums in space.”
You might think the problem is using samples at all. But here's the thing: most of the massive, modern metal drum sounds you love are loaded with samples. The difference between a killer drum track and a robotic mess isn’t if you use samples, but how you use them. A tool like the Mixwave Mike Mangini Drum Library is incredibly powerful, but it’s still just a tool. It’s up to you, the producer, to make it sound like a living, breathing performance.
Let’s dig into how you can take this monster of a library and make it sound human, powerful, and absolutely devastating in your mix.
A Quick Look at the Mixwave Mike Mangini Drum Library
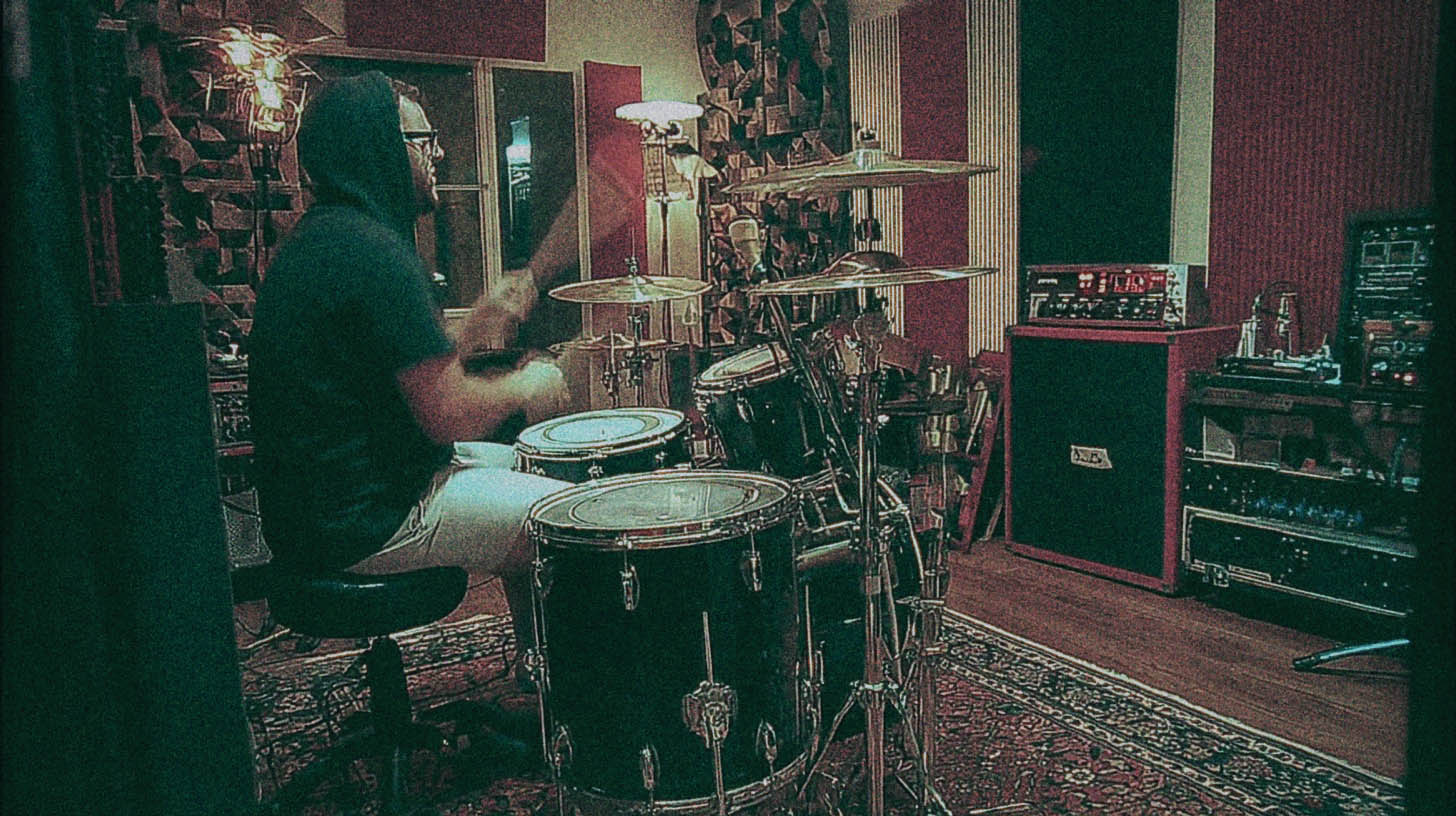
Before we get into the nitty-gritty, let's appreciate what we're working with. This isn't just a handful of one-shots. The Mixwave library, captured with Dream Theater’s legendary drummer, is a fully realized virtual instrument. You get his complete Pearl Masterworks kit, meticulously sampled with insane detail.
What this means for you as a producer is options. You have multiple layers of velocity for every single hit, meaning a light tap on the snare sounds completely different from a full-force crack—not just quieter. You also get a fully-featured mixer inside the plugin, giving you control over close mics, overheads, and multiple room mic options. It's a fantastic starting point, but the real magic happens in your DAW.
The Real Problem: Why Programmed Drums Sound Fake
So, if the library is so good, why do programmed drums often fall flat? It comes down to perfection. Or rather, the pursuit of it. Human drummers, even titans like Mike Mangini, are beautifully imperfect. Those tiny variations in timing and velocity are what create groove and feel. When we program drums by snapping everything perfectly to the grid and setting all velocities to 127, our brains check out. It becomes repetitive and uninteresting.
The Human Element: Velocity is Everything
Think about a real drummer. No two hits are identical. The stick lands in a slightly different spot, at a slightly different angle, with a slightly different force. This is the core principle you need to embrace.
In your DAW’s MIDI editor, velocity is your best friend. In Pro Tools, it’s those little diamond shapes; in Cubase or Reaper, it's the vertical lines under the MIDI notes. Don’t just leave them maxed out. Vary them intentionally.
- Ghost notes: Pull the velocity way down (e.g., 20-40) for those subtle notes in between the main backbeats.
- Fills: A fast tom fill will naturally have slightly lower velocities than a slow, powerful one.
- Blast Beats: This is where things get interesting. A real drummer playing a blast beat can't hit the snare as hard as they would on a breakdown. However, in a dense metal mix, that natural, lower-velocity snare can get lost. The solution isn't to just turn up the fader—that also turns up all the cymbal bleed. The pro move is to use sample reinforcement, or in this case, slightly increase the MIDI velocity of the snare sample on top of the real performance to give it the necessary cut and aggression without adding noise.
Getting Off the Grid (Just a Little)
The second enemy of good drum programming is the grid. Quantizing everything to 100% is the fastest way to create a robotic performance. The goal is to create a blend of precision and feel that enhances the performance without sterilizing it.
Instead of hitting "Quantize 100%," try setting the strength to 90% or 95%. This tightens up the performance while retaining some of the original human variation. A good editor knows the genre and knows what the drummer is trying to do. For a frantic bomb blast, you want it tight and aggressive. For a half-time groove, you might want the snare to lay back just a hair behind the beat. This is where you manually nudge a few key hits to create the right feel.
Making the Mangini Library Crush Your Mix
Okay, let's get actionable. You've got your MIDI part programmed with humanized velocities and smart timing. Now what?
Blending and Reinforcing Live Drums
One of the most powerful uses for a library like this is reinforcing a live drum recording. Let's say you have a great-sounding live kit, but the kick drum lacks sub-bass or the snare just isn't cutting through.
- Generate MIDI from Audio: Use a tool like Slate Trigger 2, Superior Drummer 3’s Tracker, or your DAW’s "audio-to-MIDI" function to create a MIDI track that perfectly matches the live drummer’s performance.
- Choose Your Sample: Load up the Mangini library and find a kick or snare that complements the original sound. You’re not trying to replace it, you’re trying to enhance it. Maybe you need the sub-thump of Mangini's 24" kick or the aggressive crack of one of his signature snares.
- Blend and Phase Align: Layer the sample underneath the live drum. The most critical step here is to check the phase. Zoom in on the waveforms and make sure the sample and the live drum are moving in the same direction. If not, flip the polarity on the sample track. Blending in a perfectly phase-aligned sample will make the original drum sound massive, not just louder.
Building a Sound From Scratch with Bus Processing
If you're building the entire drum performance from the MIDI, you need to treat the Mangini library like a real kit. Don't just rely on the stereo output from the plugin.
- Route to Individual Tracks: Route the Kick, Snare, Toms, and Overheads/Cymbals from the Mixwave plugin to separate audio or aux tracks in your DAW. This gives you complete control over processing.
- Bus Compression for Glue: Send all these individual tracks to a master "Drum Bus." Slap a compressor on it to glue the kit together. An SSL-style bus compressor or something versatile like a FabFilter Pro-C 2 is perfect for this. Aim for just 2-4 dB of gain reduction to make the kit feel cohesive. This is one of the most important steps in learning how to apply compression to your metal mixes.
- Parallel Compression for Punch: Want more aggression? Create another aux track, send your kick and snare to it, and absolutely crush it with a compressor (like an 1176-style plugin on the "all buttons in" setting). Then, blend that crushed signal in underneath your main drum bus. This adds incredible punch and excitement without sacrificing the dynamics of the main kit.
- Surgical EQ: Now you can EQ each piece individually. Carve out some mud from the kick around 300-400Hz to make room for bass and guitars. Add some snap to the snare around 5kHz. High-pass your overheads to get rid of kick and snare bleed, letting them focus on the cymbals. These are the same principles a pro would use when EQing metal guitars—it's all about making space for each element.
The Right Tool in the Right Hands
The Mixwave Mike Mangini Drum Library is a phenomenal tool. But like any tool, its effectiveness depends entirely on the person using it. By focusing on humanized velocity, smart timing, and treating the library like a real, multi-miked drum kit, you can create drum tracks that are powerful, realistic, and serve the song perfectly.
These fundamentals are a great start, but there's no substitute for seeing how the pros put it all into practice. Imagine watching the actual producers behind bands like Gojira, Periphery, and Lamb of God build a drum sound from the ground up, explaining every plugin choice and every automation move.
At Nail The Mix, that’s exactly what you get. Check out our massive catalog of sessions and see how some of the best instructors in the business transform raw tracks into radio-ready metal mixes.
Get a new set of multi-tracks every month from a world-class artist, a livestream with the producer who mixed it, 100+ tutorials, our exclusive plugins and more
Get Started for $1


