Your Home Studio Room Treatment FAQs Answered
Nail The Mix Staff
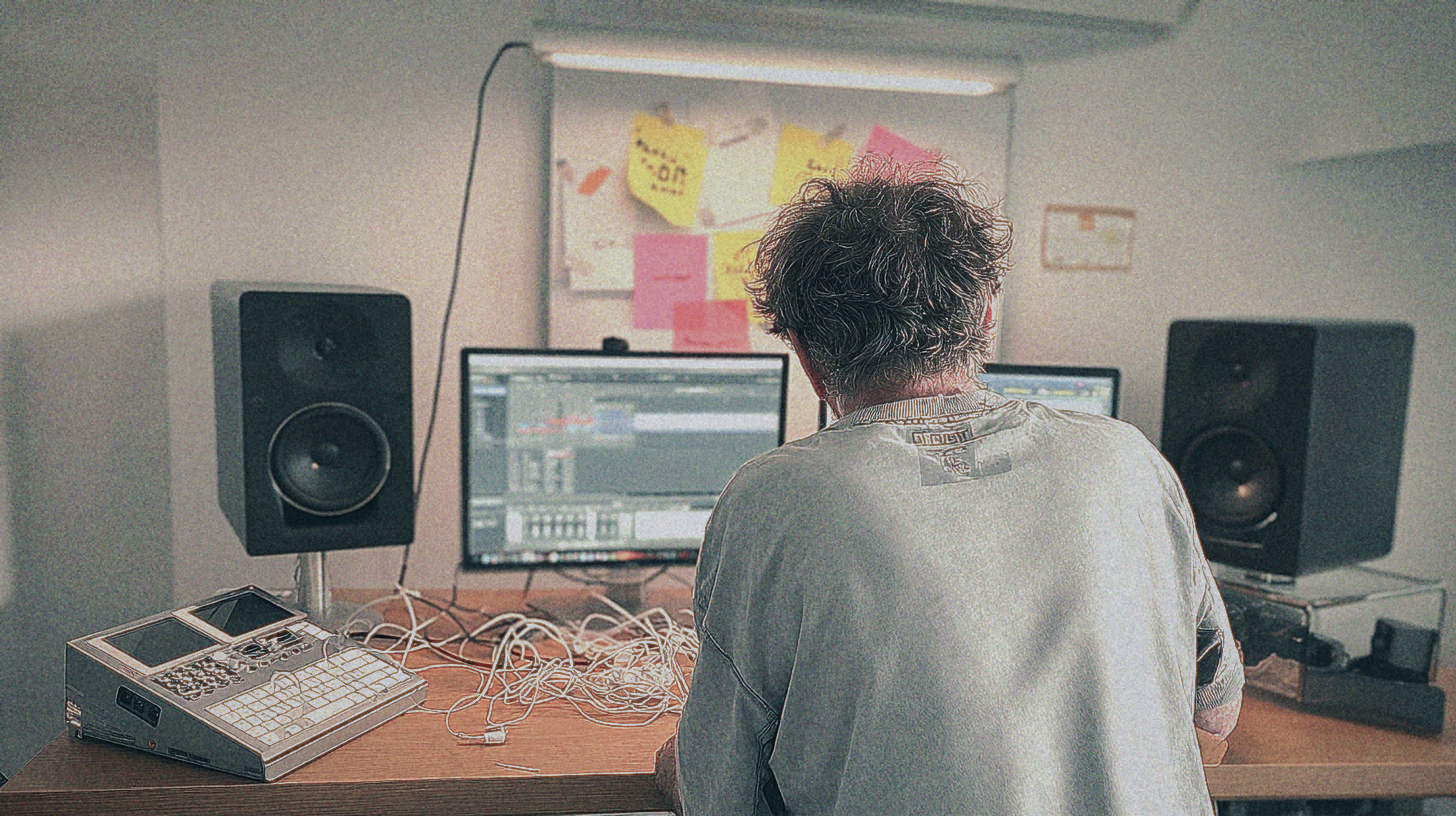
You’ve got the 7-string, the Neural DSP plugins, and a killer drum library like GetGood Drums. You’re ready to craft a brutal, polished metal mix that can stand up to bands like Periphery or Spiritbox. But when you hit playback, something’s off. The low end is a muddy mess, the kick drum disappears, and you can’t get the guitars to sit right. It’s not your plugins—it’s your room.
In modern metal, the bar for production is higher than ever. That razor-sharp clarity and chest-thumping low end you hear on records from producers like Will Putney or Adam “Nolly” Getgood don’t happen by accident. They happen in rooms where they can actually hear what they’re doing. An untreated room lies to you, and you can’t mix what you can’t hear accurately.
Let’s dive into the most common questions about room treatment, specifically for the unique challenges of mixing heavy, dense, low-tuned metal.
Can’t I just “fix it in the mix” with plugins?
This is the first roadblock for a lot of producers. You see something like Sonarworks SoundID Reference and think you can just slap a plugin on your master bus and call it a day. While room correction software is a powerful tool, it’s not a magic bullet. Think of it as the final 10% polish, not the entire solution.
Room correction EQ can help flatten the frequency response at your listening position, but it can’t fix two massive problems:
- Modal Ringing (Bass Issues): In a small, untreated room, low frequencies bounce around and build up in certain spots, creating peaks, and cancel each other out in others, creating deep nulls. A plugin can’t put back a frequency that has been completely cancelled out in your listening spot. It also can’t fix the fact that a bass note might ring out for a full second longer than it should, smearing your kick drum and 8-string chugs into an undefined swamp.
- Reverb Time (RT60): It can’t eliminate the reflections and echoes that blur your stereo image and hide details. You won’t be able to hear the subtle tail of a reverb or gauge snare verb decay times accurately if your room’s natural reverb is overpowering it.
Trying to mix in a bad room without treatment is like trying to EQ a guitar tone that was recorded with a broken SM57. You’re just fighting a losing battle from the start. Get the source right—and in mixing, your room is the source.
What’s the difference between absorption and diffusion?
You’ll hear these two terms thrown around a lot. They’re the fundamental tools for treating your room, and they do two very different things.
Absorption: Taming Reflections and Killing Echo
Absorption is exactly what it sounds like: it absorbs sound energy, converting it into a tiny amount of heat. Its main job in a home studio is to kill unwanted reflections and echoes.
- What it fixes: Flutter echo (that zinging sound when you clap), first reflections that smear your stereo image, and overall reverb decay time.
- What it’s made of: The good stuff is made of dense, rigid materials like Owens Corning 703 or Rockwool. This is what you’ll find inside high-quality panels from companies like GIK Acoustics or RealTraps.
- How to use it: You’ll use absorption panels to create a reflection-free zone (RFZ) around your mix position and to build bass traps to control the low end.
Diffusion: Scattering Sound to Keep a Room Alive
Diffusion doesn’t absorb sound; it scatters it in random directions. Think of a flat wall as a mirror for sound—it reflects sound directly back at you. A diffuser breaks up that reflection and spreads it out.
- What it fixes: It prevents your room from sounding too small and “dead” after you’ve added a bunch of absorption. A well-placed diffuser can make a small room feel larger and more open, without re-introducing problematic direct reflections.
- What it’s made of: Usually wood or dense plastic, constructed in complex, mathematically designed patterns like a Quadratic Residue Diffuser (QRD).
- How to use it: Diffusion is typically a secondary step after you’ve handled absorption. It’s great for the back wall of your studio to break up the sound waves bouncing back at you from behind.
For most home studios, your budget and effort should be 80% focused on absorption, especially bass trapping.
Okay, I’m sold. Where do I actually put the panels?
Placement is everything. You can have the best panels in the world, but if they’re in the wrong spots, they won’t do much. Follow this order of priority for maximum impact.
Priority #1: Bass Traps in the Corners
This is non-negotiable for modern metal. With 8-string guitars, sub drops, and pounding kick drums, your low-end management is critical. Low frequencies build up uncontrollably in the corners of your room.
- Where: Every vertical corner you can manage (floor to ceiling is ideal). If you can, also treat the corners where the walls meet the ceiling.
- What to use: Use the thickest broadband absorption panels you can get—at least 4″ thick, but 6-8″ is even better. These are often called “bass traps.” They’re just very thick absorption panels.
Priority #2: First Reflection Points
First reflections are the first place sound bounces off a surface before reaching your ears. These reflections from the side walls and ceiling mess with your stereo imaging, making it hard to precisely place those panned guitars.
- Where: The spots on your left and right walls, and on the ceiling, that are halfway between you and your monitors.
- The Mirror Trick: This is the easiest way to find them. Sit in your mix position. Have a friend slide a small mirror along the left wall. The spot where you can see the left speaker’s tweeter in the mirror is the first reflection point. Mark it. Repeat for the right wall and the ceiling.
- What to use: Standard 2-4″ thick absorption panels work perfectly here.
Priority #3: Front and Back Walls
- Front Wall (Behind Monitors): Placing an absorption panel here can help tame speaker-boundary interference response (SBIR), another source of low-mid frequency issues.
- Back Wall: This is a great spot for either thick absorption to further tighten the low end, or diffusion to add a sense of space without creating slap-back echo.
Is that cheap foam on Amazon good enough?
In short: no. It’s one of the biggest mistakes new producers make.
That thin, egg-crate foam you see all over Amazon is basically a scam. It only absorbs high frequencies. This creates a horribly unbalanced room that sounds muffled, boxy, and unnatural. It will suck the “air” out of your cymbals and the aggressive “fizz” from your guitars while doing absolutely nothing to fix the muddy 300Hz buildup that’s burying your snare drum.
You are far better off buying just two high-quality, 4-inch-thick broadband panels made from Rockwool or OC 703 and putting them at your first reflection points than covering your entire room in cheap foam.
How can I measure my room to see what’s wrong?
You don’t have to guess. You can get real, hard data on your room’s problems using a simple measurement setup.
The industry standard software for this is Room EQ Wizard (REW), which is completely free. All you need is a measurement microphone (like the Behringer ECM8000 or a Dayton Audio UMM-6) and your audio interface.
With REW, you can run frequency sweeps and generate graphs that show you exactly what your room is doing. Look at the “Waterfall” plot—it will visually show you which bass frequencies are ringing out way too long. This is an incredibly powerful way to see the before-and-after effects of your treatment and know that you’re actually fixing the problems.
Your Room is Your Most Important Piece of Gear
Once your room is dialed in, you can finally trust your monitors. You can make confident decisions about your kick and bass relationship, you can craft powerful guitar tones without guessing, and you can build mixes that translate everywhere.
A properly treated room is the foundation for every pro mix. It allows you to hear the subtle compression settings and make the precise EQ moves that separate an amateur demo from a professional release. Learning the techniques used by the world’s best metal producers is the next step. On Nail The Mix, you can watch our instructors work their magic in world-class, acoustically treated studios, explaining every move they make.
Imagine knowing exactly how to handle that low-end buildup on an 8-string guitar or learning the secrets behind punchy, modern drums. Once your room is ready, dive into our full catalog of sessions and see how producers for bands like Loathe, Lamb of God, and Gojira build their mixes from the ground up.