Mixing and Mastering Metal: DAW Choices & Essential Workflow
Nail The Mix Staff
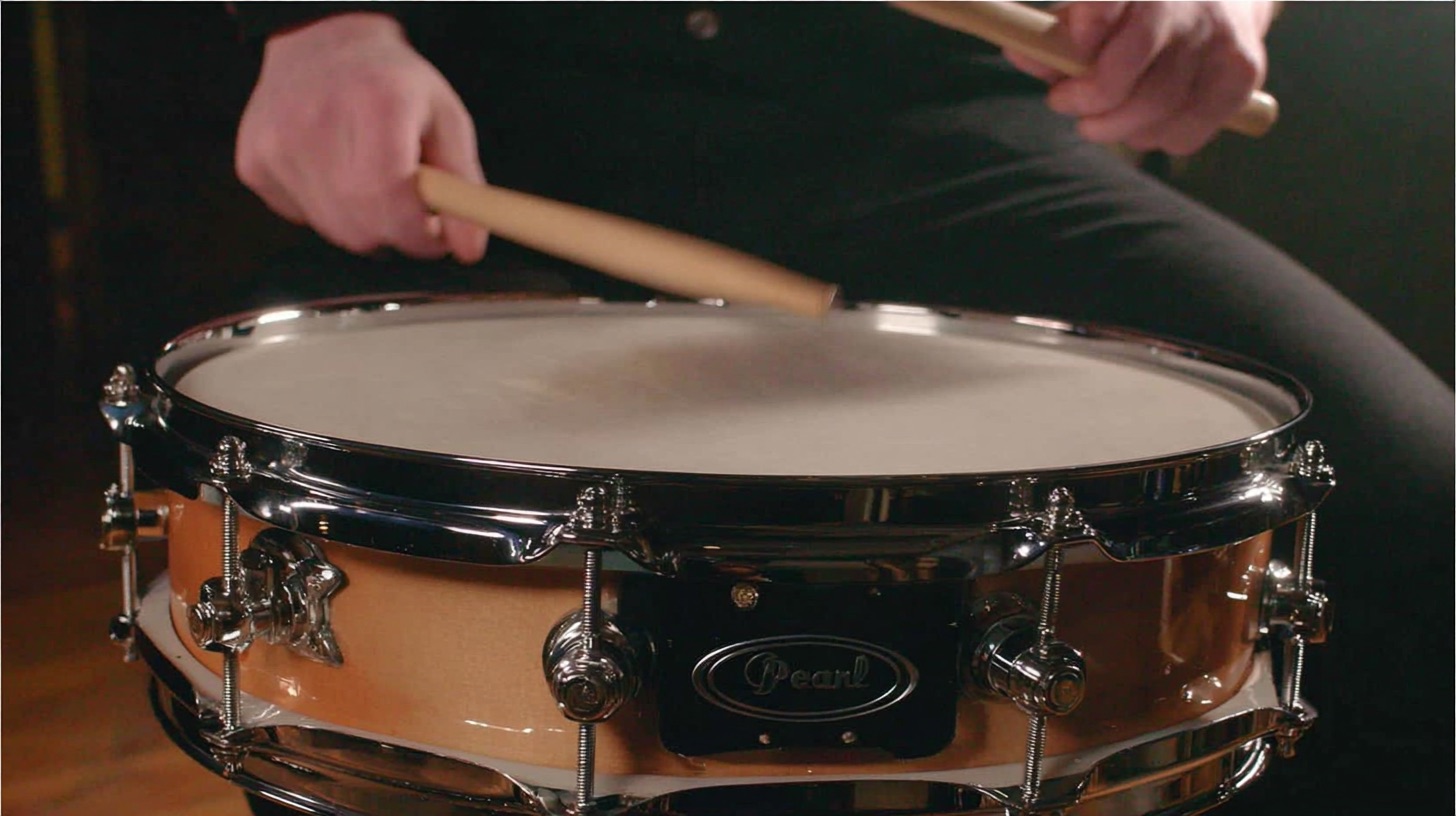
So, you’re in the trenches, crafting brutal riffs and earth-shattering drum patterns. You’ve got the performance nailed, but turning those raw tracks into a polished, professional-sounding metal monster? That’s where the art and science of mixing and mastering come in. It’s not just about making things loud; it’s about clarity, punch, aggression, and making sure your vision translates to the listener.
This isn't about gatekeeping or mythical "secrets." It's about understanding the tools, the techniques, and the mindset. We'll dive into choosing the right command center for your productions – your Digital Audio Workstation (DAW) – and then get into the nitty-gritty of the mixing and mastering processes, especially for the unique demands of modern metal.
Mixing vs. Mastering: Why You Need Both in Your Metal Arsenal
First up, let's clear the air. “Mixing” and “mastering” get thrown around a lot, sometimes interchangeably, but they’re two distinct, crucial stages.
Mixing is the process of taking all your individual recorded tracks (drums, bass, guitars, vocals, synths, etc.) and blending them together to create a cohesive, balanced, and impactful stereo track. This involves:
- Level balancing: Making sure every instrument sits right in the sonic landscape.
- Panning: Placing instruments in the stereo field (left, right, center) to create width and separation.
- EQ (Equalization): Sculpting the frequency content of each track to make them fit together, remove mud, add clarity, or enhance character.
- Compression & Dynamics: Controlling the dynamic range of instruments, adding punch, or making them sit consistently.
- Effects: Using reverb, delay, modulation, and other effects to create space, depth, and vibe.
- Automation: Programming changes in volume, panning, effects, etc., over time to bring the song to life.
Mastering, on the other hand, is the final step of audio post-production. You take the final stereo mixdown from the mixing stage and prepare it for distribution. This typically involves:
- Critical Listening: Evaluating the mix in an acoustically treated environment on high-quality monitors.
- Final EQ Touches: Making subtle tonal adjustments to enhance overall balance and clarity across the frequency spectrum. This isn’t about fixing individual instruments – that’s the mix engineer’s job.
- Overall Dynamic Control: Using compression or limiting to manage the overall dynamics of the track and achieve competitive loudness.
- Stereo Widening: Enhancing the stereo image, if needed, with care.
- Loudness Optimization: Bringing the track to an appropriate level for its intended playback medium (streaming, CD, vinyl) while trying to preserve dynamics.
- Sequencing & Fades: Arranging tracks in order for an album, adding fades, and ensuring consistent levels between songs.
- Metadata & Dithering: Adding ISRC codes, track info, and applying dither if changing bit depth.
Why should a modern metal producer care about doing both?
Simple: Creative Control. In metal, the nuances of aggression, punch, and clarity are paramount. Handing your meticulously crafted mix off to a mastering engineer who might not get your specific vision for that djent-infused breakdown or the biting attack of your guitar tone can be a gamble. By understanding and executing both mixing and mastering, you maintain control over the entire sonic fingerprint of your music, ensuring your creative intent is fully realized from the first fader move to the final limited master. You can tailor the master to perfectly complement the mix, pushing the boundaries where needed, and making sure it slams exactly how you envisioned.
The Right Tools for the Job: Choosing Your Digital Audio Workstation (DAW)
To even begin mixing and mastering, you need a central hub: your Digital Audio Workstation. This is where all the magic happens.
Does Your DAW Choice Really Matter?
This is a classic debate. On one hand, not really. Modern DAWs are incredibly powerful, and if you’ve got the skills, you can make killer-sounding metal in pretty much any of them. They all record audio, allow for editing, support plugins, and let you mix.
However, they do have different strengths, weaknesses, and workflows. This is where it starts to matter. You can switch DAWs later, but let's be real, once you're deep into a workflow and know a piece of software inside out, the thought of starting over is a drag.
So, when you're starting out, or if you're considering a switch, try a few demos. Don't just pick one because your buddy uses it or because it's hyped online. See what clicks with your brain and workflow. Note what you like, what feels clunky, do a bit of research, and then commit. You'll thank yourself later.
DAW Deep Dive for Metal Producers: Strengths & Weaknesses
Let's look at some of the main players in the DAW world, especially concerning metal production.
Pro Tools: The (Aging?) Industry Standard
Pro Tools has been a dominant force for ages, especially in big studios across America.
- Strengths: It's the closest thing to an "industry standard," meaning compatibility with commercial studios is high. Plugin support is generally excellent for AAX. If you're primarily recording and editing live audio (drums, guitars, vocals), it's very robust. Features like Beat Detective are powerful for drum editing.
- Weaknesses: Pro Tools' DNA comes from mimicking analog consoles. This means its MIDI and loop-based workflows can feel tacked-on and clunky compared to others. It’s not built for heavy MIDI sequencing or the kind of creative looping you'd find in Ableton Live. Time-stretching isn't its forte. If your metal involves a lot of synth layers, complex MIDI programming, or sample manipulation, Pro Tools might fight you.
Steinberg Cubase: The All-Rounder Powerhouse
Cubase is another long-standing heavyweight, particularly popular in Europe and gaining traction in the US.
- Strengths: Cubase is a beast that handles pretty much everything well – digital audio recording and editing are top-notch, and its MIDI capabilities are incredibly deep. It’s a very well-rounded DAW that won’t hold you back, whether you're tracking a full band or programming intricate orchestral VSTs. Steinberg also invented the VST plugin format, so support is obviously a given.
- Weaknesses: Honestly, it’s hard to find major weaknesses for its intended purpose. It's a solid, reliable choice.
Apple Logic Pro: Mac-Only Might & Its Quirks
Logic Pro is a popular choice for Mac users.
- Strengths: It’s pretty capable across the board, handling both digital audio and MIDI tasks competently. It comes with a massive library of high-quality stock plugins and virtual instruments.
- Weaknesses: The biggest one is obvious: Mac only. This is a deal-breaker if you're on Windows or collaborate extensively with Windows users. Its audio editing, especially for the kind of surgical drum and guitar edits common in metal (think aligning multi-miked drums or tightening chugs), isn't considered as fluid or powerful as Pro Tools' Beat Detective or Reaper's editing tools. Some producers might track and mix in Logic but jump to Pro Tools just for editing drums – a clunky workaround.
Ableton Live: The Loop & Sample King (But for Metal?)
Ableton Live is hugely popular, especially in electronic music.
- Strengths: Unparalleled for MIDI composition, loop-based creation, and creative sample manipulation. Its Session View is revolutionary for songwriting and live performance. Features like Drum Rack and its audio warping capabilities are fantastic for electronic genres.
- Weaknesses: While you can record and edit multi-track audio in Live, its workflow isn't really optimized for traditional band recording or heavy audio editing tasks that metal often requires. If you're doing a full drum kit with 12+ mics, intricate guitar edits, and vocal comping, Pro Tools, Cubase, or Reaper will likely feel more natural. We've only had one producer use Ableton Live on Nail The Mix, for the Real Friends session, which gives you an idea of its prevalence in heavy music mixing.
FL Studio: From Fruity Loops to Beat Machine
FL Studio (formerly Fruity Loops) has a massive user base, known for its ease of entry.
- Strengths: Super easy to get started with, especially for beat-making and electronic music. Its piano roll is often praised. Soulja Boy famously made "Crank That" on a cracked copy – testament to its accessibility for getting ideas down quickly.
- Weaknesses: Similar to Ableton, while technically capable of handling digital audio, it's not optimized for the heavy lifting of multi-track metal production. It excels at quickly assembling loop-based and MIDI-driven music where audio is an element, not the primary focus. For a metal producer, this probably isn't your first pick.
Reaper: The Customisable Dark Horse
Reaper has carved out a significant niche, especially in rock and metal.
- Strengths: Very robust digital audio functionality, on par with Pro Tools and Cubase for recording and editing. It's incredibly lightweight, stable, and highly customizable through scripting and themes. The free trial is extremely generous (fully functional, no time limit, just a nag screen), making it accessible. There's a very active and helpful user community.
- Weaknesses: While popular among home studio enthusiasts and some pros, it's not common in large commercial studios. If you collaborate frequently with people using other DAWs, you might be the "Reaper guy/gal," leading to more stem bouncing.
Newer Contenders: Bitwig Studio & Studio One
DAWs like Bitwig Studio and PreSonus Studio One are more modern offerings.
- Strengths: Being newer, they've learned from the design choices and mistakes of older DAWs. They often have sleek interfaces and innovative features, without the burden of decades-old codebase (less technical debt). They are very capable and can definitely get any job done.
- Weaknesses: Their main hurdle is popularity. This means a smaller community for support, fewer online tutorials tailored to them, and a higher chance your collaborators won't have them. This can lead to workflow issues like constantly bouncing stems if you're working with others.
Key Considerations When Picking Your Metal DAW
Beyond the general pros and cons, think about these:
- Pricing Tiers: Pro Tools and Cubase, for instance, have multiple versions (e.g., Pro Tools Artist/Studio/Ultimate, Cubase Elements/Artist/Pro). These tiers differ in track counts, included virtual instruments, and advanced features. Make sure the tier you pick actually meets your needs without overpaying for stuff you'll never touch.
- Subscription vs. One-Time Purchase: Some DAWs (like Pro Tools) are moving heavily towards subscription models, while others (like Reaper or Cubase if you buy a specific version) offer perpetual licenses. Decide what works for your budget and philosophy.
- Plugin Support: Most major plugin companies release their stuff in VST (Virtual Studio Technology, very common, especially on Windows), AU (Audio Units, Apple's native format), and AAX (Avid Audio eXtension, for Pro Tools). However, many smaller indie developers or freeware gems might only be available as, say, a Windows VST. If you want access to the widest possible range of plugins, especially freeware impulse response loaders or niche tools, a Windows-based DAW that supports VSTs is often a safe bet.
The Bottom Line on DAWs
For metal production, Pro Tools, Cubase, Logic (if you're Mac-based and can live with its editing), and Reaper are all perfectly viable choices. You can make killer records in any of them. Plenty of Nail The Mix producers have showcased incredible results using these various platforms.
Don't get bogged down in endless online debates about which DAW is "best." Pick one that feels good, learn it inside out, and spend your time making music, not arguing on forums.
The Mixing Process: Crafting Your Metal Masterpiece
Alright, you've got your DAW fired up. Now the real work begins. Mixing metal is about aggression, clarity, and impact. It’s a balancing act.
Foundation First: Gain Staging and Organization
Before you even touch an EQ:
- Gain Staging: This is HUGE. Make sure your individual tracks are hitting your plugins and busses at optimal levels. A good starting point is to aim for an average level of around -18dBFS to -12dBFS on each track. This leaves plenty of headroom for processing and prevents unwanted digital clipping.
- Organization: Color-code your tracks (drums blue, guitars red, bass yellow, vocals green, etc.). Set up busses for your main instrument groups: Drum Bus, Guitar Bus, Bass Bus, Vocal Bus, FX Bus. This makes managing complex sessions way easier and allows for group processing.
Sculpting the Core: EQ Strategies for Brutal Clarity
EQ is where you carve out space for everything. Think surgical, not just broad, lazy strokes.
- Kick & Bass Relationship: This is fundamental. Often, you'll boost the kick's sub thump (e.g., 60-80Hz with a plugin like FabFilter Pro-Q 3) and cut a corresponding notch in the bass to make space. Then, find the bass guitar's fundamental punch (maybe 100-250Hz) and give it a slight lift, perhaps with a small, corresponding dip in the low-mids of the kick or guitars.
- Guitars:
- High-Pass Filter (HPF): Essential. Cut out unnecessary low-end rumble, typically starting around 80-100Hz, sometimes higher depending on the tuning and desired tone. This cleans up mud and leaves room for the bass and kick.
- Low-Pass Filter (LPF): Tame that nasty high-end "fizz" that can make distorted guitars sound cheap. Experiment with LPFs anywhere from 12kHz down to even 7-8kHz on super heavy rhythm guitars.
- Mid-Scoop vs. Presence: The classic metal mid-scoop (cutting somewhere between 300Hz-1kHz) can work, but be careful not to suck the life out of the tone. Often, a more targeted cut is better. Balance this with a boost in the upper-mids/presence range (2kHz-5kHz) to help guitars cut through.
- Surgical Cuts: Use a narrow Q on your EQ (like with FabFilter Pro-Q 3's spectrum analyzer guiding you) to notch out specific resonant frequencies or annoying whistles.
- Vocals: HPF to remove rumble (100-120Hz). Look for boxiness in the low-mids (250-500Hz) to cut. Add air and clarity around 5-10kHz.
- Check out our EQ hub page: Carve Your Core: EQ Strategies for Mixing Modern Metal for more in-depth techniques.
Dynamic Control: Compression That Slams (Not Squashes)
Compression controls dynamics, adds punch, and helps things sit consistently.
- Drums:
- Snare: Try a compressor like a software emulation of an SSL G-Comp (e.g., Waves SSL G-Master Buss Compressor or Cytomic The Glue) or an 1176-style FET compressor. Medium attack (5-15ms to let the transient through), fast release, 4:1 to 6:1 ratio, aiming for 3-6dB of gain reduction on peaks.
- Kick: Similar settings to snare, maybe a slightly slower attack to emphasize the "click" or a faster one for more "thump."
- Drum Bus Parallel Compression: Send your drum bus to an aux track. On the aux, CRUSH the drums with a fast, aggressive compressor (an 1176 emulation like the UAD 1176 Rev A "Bluestripe" is classic here, all buttons in mode!). Then, blend this crushed signal back in subtly underneath your main drum bus. This adds thickness and excitement without killing transients.
- Vocals: Often benefit from serial compression. Use two (or more) compressors doing less work each.
- First compressor: Fast attack/release (e.g., 1176-style) to catch peaks, aiming for 2-4dB reduction.
- Second compressor: Slower, smoother (e.g., LA-2A style emulation) for overall leveling, another 2-4dB.
- Guitars: Heavily distorted guitars are already quite compressed. Often, they don't need much individual compression. Light bus compression on the main guitar bus can help glue them together.
- Dive deeper into Metal Compression Secrets: Beyond Just Making It Loud.
Adding Depth and Space: Reverb and Delay
Metal mixes are often dense, so use spatial effects judiciously.
- Vocals: Plate reverbs (like Soundtoys Little Plate or ValhallaPlate) can add sheen and space without washing them out. Delays (1/8th note, 1/4 note, or slapback via something like FabFilter Timeless 3 or Soundtoys EchoBoy) can add rhythmic interest and width. Send vocals to aux tracks for these effects.
- Drums: A short room reverb or a subtle plate on the snare can give it life. Avoid overly long reverb tails that muddy the mix.
- Guitars: Usually kept fairly dry in modern metal, but a very short room ambience or a subtle stereo delay can sometimes add width and depth.
Automation: Bringing Your Mix to Life
A static mix is a boring mix. Automation is key!
- Vocal Rides: Automate the lead vocal level phrase by phrase, even word by word, to ensure it's always intelligible and sits perfectly against the instruments.
- Guitar Solos/Leads: Boost their level, maybe automate some extra delay or reverb.
- FX Throws: Automate delay sends on specific words or snare hits for emphasis.
- Automate filter sweeps, panning, anything to add movement and interest.
The Mastering Touch: Polishing Your Metal Gem
Your mix is slamming! Now it’s time for that final coat of polish: mastering. Remember, mastering enhances a great mix; it doesn’t fix a bad one.
What Mastering Actually Involves (for Metal)
- Final EQ Tweaks: Subtle, broad strokes. Maybe a gentle low-end lift with a wide Q using something like a digital emulation of a Manley Massive Passive, or a slight air band boost with FabFilter Pro-Q 3 to add overall brightness.
- Overall Compression/Limiting: This is where you bring the track up to a competitive loudness. A good mastering limiter like FabFilter Pro-L 2 or iZotope Ozone Maximizer is essential. You might use a touch of bus compression before the limiter for glue.
- Stereo Widening: If needed, use a plugin like iZotope Ozone Imager very carefully. Too much can cause phase issues.
- Saturation/Clipping (Tastefully!): Sometimes, a touch of analog-style saturation or even controlled digital clipping (with plugins like StandardCLIP or Kazrog KClip) before the final limiter can add character, harmonic richness, and perceived loudness without eating up as much headroom. This is a common trick in aggressive genres.
Mastering for Metal: Loudness and Punch
Metal is expected to be loud and impactful.
- LUFS Targets: While the "loudness war" has calmed slightly with streaming normalization, metal still tends to be mastered hotter than some genres. Aiming for around -7 to -10 LUFS integrated might be a ballpark, but prioritize how it sounds. Don’t sacrifice all your dynamics for sheer level.
- True Peak Limiting: Use a limiter that has excellent true peak detection to avoid inter-sample peaks that can cause distortion on some playback systems. Set your true peak ceiling to -0.3dBTP to -1.0dBTP.
- Listen on Multiple Systems: Check your master on studio monitors, headphones, in your car, on a laptop – everywhere your listeners might hear it.
Reference Tracks: Your Sonic Compass
This is non-negotiable.
- Pick a few professionally mixed and mastered metal tracks in a similar subgenre to yours that you think sound amazing.
- Use a referencing plugin like ADPTR AUDIO Metric AB or SampleMagic Magic AB to quickly switch between your master and your reference tracks at matched loudness. This helps you identify if your track is too bassy, too bright, not wide enough, etc.
Elevate Your Skills: Beyond the Basics
Mixing and mastering metal is a deep rabbit hole. Choosing the right DAW is just the first step. Understanding how to wield EQs like the FabFilter Pro-Q 3 for surgical precision, dialing in compressors like an SSL Bus Comp or an 1176 for maximum punch, and applying mastering processors like iZotope Ozone or FabFilter Pro-L 2 to get that final commercial polish… it all takes practice, knowledge, and a good ear.
The techniques we’ve touched on are solid starting points. But imagine seeing the actual producers behind some of metal’s biggest albums demonstrate exactly how they dial in these sounds, make critical decisions, and overcome common mixing challenges, all while working with the actual multitracks from legendary bands.
That’s what Nail The Mix is all about. Every month, you get to be a fly on the wall as a world-class producer mixes a real song from scratch, explaining their thought process every step of the way. If you’re serious about taking your metal productions to the next level and truly want to Unlock Your Sound: Mixing Modern Metal Beyond Presets, this is where you learn from the best in the game.
Keep Cranking!
Ultimately, becoming proficient at mixing and mastering metal is a journey. Experiment with different DAWs until one clicks. Dive deep into EQ, compression, and spatial effects. Don't be afraid to push boundaries (that's what metal is about, right?). Most importantly, keep practicing, keep learning, and keep making killer music. Now go make some noise!