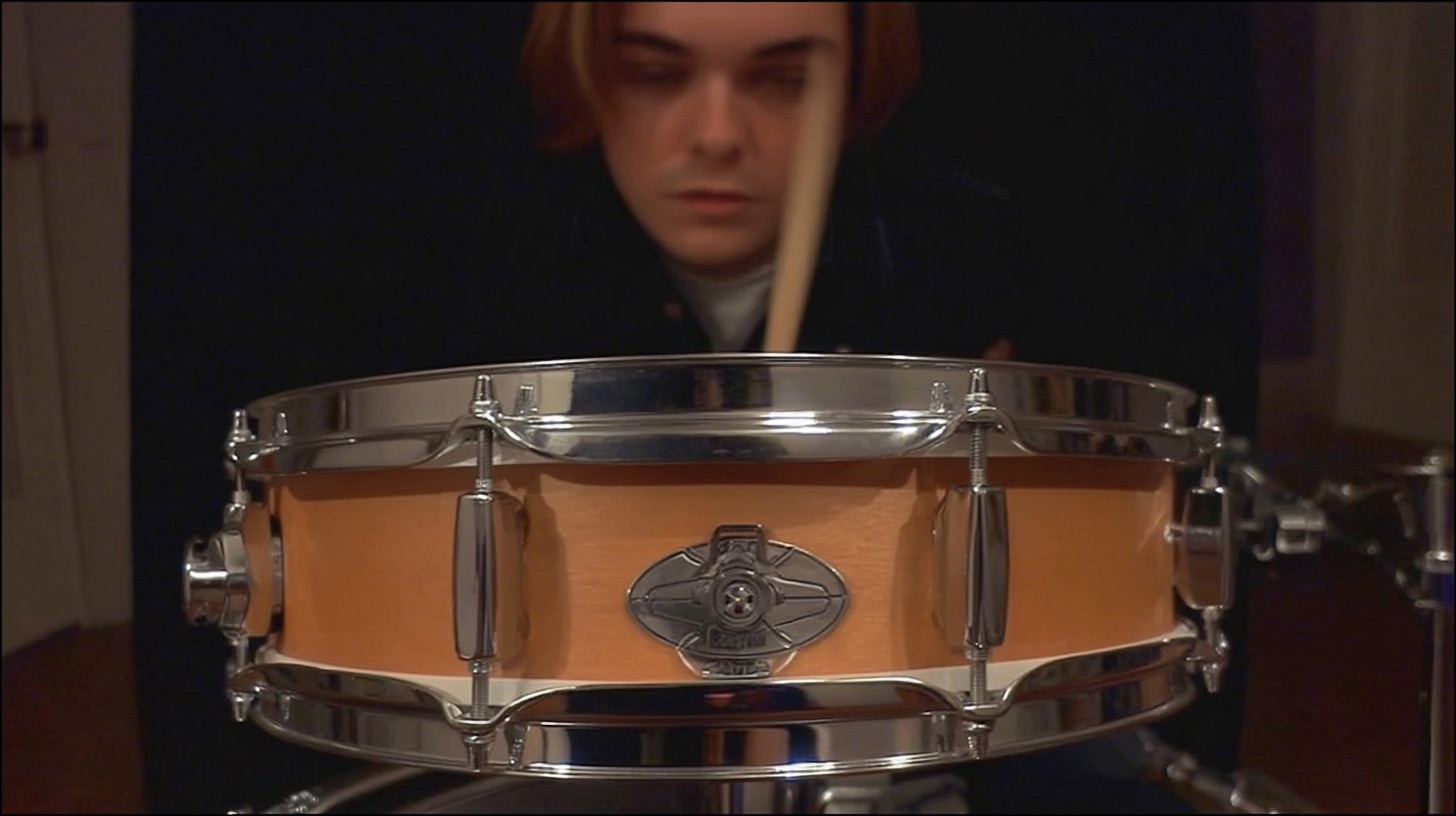
How to Use Compression on a Snare Drum
Nail The Mix Staff
Snare compression is one of those fundamental mixing tasks we all learn. You slap on a compressor to tame wild dynamics, add some punch, or make the drum hit harder. Standard stuff, right? But what if you could use compression to do more than just control the volume? What if you could use it to inject life, swing, and undeniable groove into your snare track?
This isn't about simply squashing peaks. This is about shaping the envelope of the snare drum to make it breathe and bounce with the song's tempo. It's an advanced technique that top-tier producers use to make their drum mixes feel electric and alive.
Let’s break down how to hear and dial in this "movement" to make your snare drum a driving force in your mix.
The “Listen Mode” Trick: How to Hear What Your Compressor is Actually Doing
Before you can dial in the perfect groove, you need to be able to clearly hear the effect of your compressor’s settings. The best way to do this is to push it to its absolute limits. No, we're not going to leave the snare sounding like a nuked, distorted mess—this is a temporary diagnostic tool to train your ears.
Step 1: Start with Extreme Settings
Grab a versatile compressor plugin. Something with full control over attack, release, ratio, and threshold will work best. The Empirical Labs Distressor is a legendary hardware unit for this, so plugins that emulate it like the Slate Digital FG-Stress or UAD Empirical Labs Distressor are perfect. Even your stock DAW compressor will do the job if it has the right controls.
Now, set it up to be as aggressive as possible:
- Ratio: Set it to the highest possible setting. 20:1, "Nuke," "Limit"—whatever crushes the signal the most.
- Attack: Start with it in the middle—around 50% or a medium setting (e.g., 10-15 ms).
- Release: Set this to its absolute fastest setting.
- Input/Threshold: Crank the input or lower the threshold until you are seeing a massive amount of gain reduction on your meter. We're talking 10-20dB or more.
The goal isn't to make it sound good. The goal is to make the compressor’s action so painfully obvious that you can easily hear the changes you're about to make.
Dialing in the Release for Groove and Sustain
With your snare getting absolutely hammered, the most important parameter for creating movement is the release. The release time dictates how quickly the compressor stops compressing after the signal drops below the threshold. This "letting go" is what creates the push-and-pull effect we're after.
The Problem with a Too-Fast Release
With your release set to its fastest setting, you’ll probably hear that the snare sounds choked, thin, or just "splatty." The compressor is engaging and disengaging so quickly that it kills the natural decay and body of the drum. It might sound aggressive, but there's no movement or breath. It’s a sonic dead end.
Finding the Sweet Spot for Movement
This is where the magic happens. Instead of slowly sweeping the release knob (which can be confusing to your ears), start A/B testing different settings.
- Keep the fastest release as your reference point.
- Now, jump to a much slower setting—try slowing it down by about 75% (so the knob is at 25% of max).
- Listen to the difference. You should hear the tail of the snare suddenly get longer. It has more sustain, more body. You can start to hear the space after the hit.
- Now, try a setting in between, like 50% of the max release time. Compare that to your fastest and slowest settings.
Listen for how the compressor "breathes" in time with the track's tempo. You’re looking for the setting where the snare seems to swell and pump in a way that compliments the song’s groove. A faster song might need a quicker release to keep up, while a slow, groovy track might benefit from a longer, lazier release time.
This technique is essential for getting powerful, modern drum sounds. Understanding how attack and release shape your drums is a core concept in our Metal Compression Secrets hub page.
Shaping the Initial Hit: Setting the Attack
Once your release is giving you that awesome bounce and sustain, it's time to refine the initial "crack" of the snare with the attack control. The attack time determines how much of the initial transient gets through before the compressor kicks in.
Faster Attack vs. Slower Attack
- Slower Attack: Lets more of the initial, sharp transient of the snare hit through before the compression starts. This makes the snare sound punchier, more aggressive, and gives it a satisfying "crack."
- Faster Attack: Clamps down on the transient almost immediately. This softens the initial hit, making the snare sound fatter, rounder, and can help it sit back in the mix more.
In the context of our extreme settings, A/B a few attack times. You might find that the medium setting you started with was letting too much "splat" through, and a slightly slower attack gives you a cleaner, more defined punch without being overly harsh. Or maybe you need a faster attack to tame an annoying poke in the raw track.
Putting It Back Together: From Extreme to Musical
Okay, you've used exaggerated settings to perfectly time your attack and release. The character of the compression is dialed in. Now it’s time to make it musical.
Simply back off the settings that control intensity:
- Ratio: Bring this down from "Nuke" to something more typical for a snare, like 4:1 or 6:1. For really heavy tracks, 8:1 can work wonders.
- Input/Threshold: Back this off so you’re getting a more subtle amount of gain reduction. Aim for maybe 3-6dB of reduction on the loudest hits as a starting point.
The attack and release times you worked so hard to find? Leave them exactly where they are. You've dialed in the shape, and now you're just controlling the amount of that shape.
The final step is to A/B your compressed snare against the bypassed signal (make sure to level-match them!). The compressed version shouldn't just be louder or quieter; it should have more energy, more swing, and a groove that the raw track was missing.
The Bigger Picture: Movement Across Your Mix
This concept of creating movement with compression isn't just for snare drums. Imagine applying this same principle to your kick drum, your bass guitar, and even your rhythm guitars. You can create a complex, interwoven groove where all the core elements of your mix are pushing and pulling against each other in a musical way. This is how you go from a static, boring mix to one that feels powerful and dynamic.
Learning these nuanced techniques is what separates good mixes from great ones. This is just one of many deep-dive tutorials available to our members. With over 1,500 more available inside URM Enhanced, you can learn every trick in the book.
Want to see exactly how pro mixers like Andrew Wade, Will Putney, and Adam "Nolly" Getgood apply these concepts in a real session?
At Nail The Mix, we give you the keys to the studio. Every month, you get the raw, unedited multitracks from a massive metal song and get to watch the original producer mix it from scratch, explaining every single decision along the way. You don’t just learn a trick—you learn a workflow.
Check out our full catalog of sessions and see how your favorite tracks were brought to life.