Crafting a Modern Metalcore Kick Drum Sound (ft. Wage War)
Nail The Mix Staff
Let’s be honest, in metalcore, the kick drum is king. It’s the engine that drives the riffs and the anchor for the entire mix. Getting it to punch through dense guitars and a thunderous bass without sounding like a typewriter can be a serious challenge. We got an inside look at how super-producer Andrew Wade (A Day To Remember, The Ghost Inside) dialed in the massive kick sound on Wage War’s track for Nail The Mix, and it’s a masterclass in blending samples, clever processing, and understanding phase.
It all starts with a sample you’ve definitely heard before: Kick 10. But as Wade demonstrates, using a popular sample isn’t a crutch; it’s about how you shape it and integrate it with your live drums to create something unique and powerful.
More Than a Sample: Building the Foundation
The first major takeaway is that the final sound isn’t just the Kick 10 sample pulled straight from a library. The foundation is a careful blend of the sample and the live drum room mics.
Processing Rooms and Samples Together
A common question for producers is where to route your room mics. Do they get their own bus? Do they stay separate? Wade’s approach is to route the room mics directly to the main kick bus along with the Kick 10 sample.
Why do this? By sending them to the same bus, you process them together. This means any compression, EQ, or saturation you apply hits both the clean sample and the ambient room mics simultaneously. This “glues” them together, making the room sound like a natural extension of the kick rather than a separate, washy layer. It becomes one cohesive, powerful sound.
Phase: The First and Most Critical Decision
Before a single EQ knob is turned, the most important move is checking the phase relationship between the live kick track and the sample. This is where you can make or break your low end.
Punchy Low-Mids vs. Super-Low Subs
Using a simple phase-invert plugin, Wade flips the polarity of the Kick 10 sample while listening to it against the live kick mics. The difference is massive and creates a distinct choice:
- In Phase: The kick has more punch and presence in the low-mids. It’s aggressive and forward.
- Out of Phase (Inverted): The ultra-low sub frequencies (the “girth”) become much more prominent, while the low-mids feel a bit softer.
For the Wage War mix, Wade opted for the inverted phase to favor those deep, subby lows. There is no right or wrong answer here; it’s a creative decision. By just flipping the phase, you are essentially EQing your low end without ever touching an EQ plugin. This is a crucial step to test every time you blend a sample with a live drum.
Adding Grit and Energy with Processing
A Touch of Parallel Distortion
Using the stock Pro Tools “Lo-Fi” plugin, a bit of distortion is blended in with the main kick bus. The mix is set low—around 14%—so it’s not an overt effect. What this does is add a subtle layer of harmonic saturation that brings out the midrange energy and makes the room mics pop just a little bit more. It’s a different flavor than compression or EQ and a great trick for adding vibe and aggression.
Dialing in Girth with R-Bass
To enhance the choice made during the phase check, it’s time for the legendary Waves R-Bass. Wade focuses the frequency at 80Hz and cranks the intensity to +13. This injects a powerful, focused low-end boom that you can feel.
A crucial pro tip here: be careful not to get carried away with super-low frequencies. While they might sound amazing on a studio sub, they often don’t translate to consumer headphones or speakers, leaving your kick sounding weak to most listeners. Sticking to a range like 80Hz ensures the low end is both powerful and audible on most systems.
Shaping the Attack with Transients and EQ
Now it’s time to dial in the “smack” and “click” of the kick so it can cut through the wall of guitars.
Dynamic Punch with a Transient Designer
Instead of a standard transient shaper, Wade uses the Waves Trans-X Multi. He sets it to boost the low-mids, but a key feature of this plugin is that its effect is dynamic; it reacts more aggressively to the start of a new phrase or a harder hit.
You can see and hear it kick in on the first hit of a double-kick run, giving it an extra bit of punch and aggression that makes the performance feel more dynamic and exciting. It adds that impact right where you need it without making every single kick hit unpleasantly sharp.
Surgical EQ for the Perfect Kick Tone
EQ is where the kick is truly sculpted to fit the mix. The processing is split between the sample bus and the individual live mics.
On the Sample Bus (SSL E-Channel)
- High-End Boost: A big, wide boost around 16kHz adds the clean, modern “click” to the kick sample.
- Low-Mid Cut: A significant cut around 400-500Hz carves out some of the “boxiness” from the sample, making room for the bass guitar and low-end of the guitars.
On the Live Kick Mics (Beta 91A)
- Massive Low-End Cut: The live kick mic is aggressively high-passed, removing almost all the frequencies below 450Hz. This completely prevents any low-end phase issues with the sample, letting the Kick 10 sample handle the “boom” while the live mic handles the “smack.”
- Beater Attack Boost: A healthy boost around 3.5kHz brings out the natural, aggressive sound of the beater hitting the drum head. This provides a more organic, “real” attack than the very high-frequency click from the sample.
By blending the high-end “click” from the sample with the upper-mid “smack” from the live mic, you get a kick attack that is both modern and menacing.
Final Touches for Presence
As a final move on the main kick bus, a Waves L1 Limiter is used to bring up the overall level. This gently shaves off the sharpest peaks, crushing the transients just a touch, which has the effect of making the entire body and tail of the kick sample more present and powerful in the mix.
Learn How the Pros Do It
So, crafting that brutal Wage War kick involves:
- Blending the Kick 10 sample with live room mics on a single bus.
- Making a critical phase decision to define your low-end character.
- Using subtle parallel distortion to add energy.
- Enhancing the sub-bass with Waves R-Bass.
- Adding dynamic punch with a transient designer like Trans-X Multi.
- Using surgical EQ to blend the best parts of the sample and the live mics.
- Finishing with a limiter for maximum presence.
These are the exact kinds of techniques that separate amateur mixes from pro-level productions. And while reading about them is great, imagine watching Andrew Wade himself dial in every single plugin, make these decisions in real-time, and explain his thought process every step of the way.
Wage War on Nail The Mix
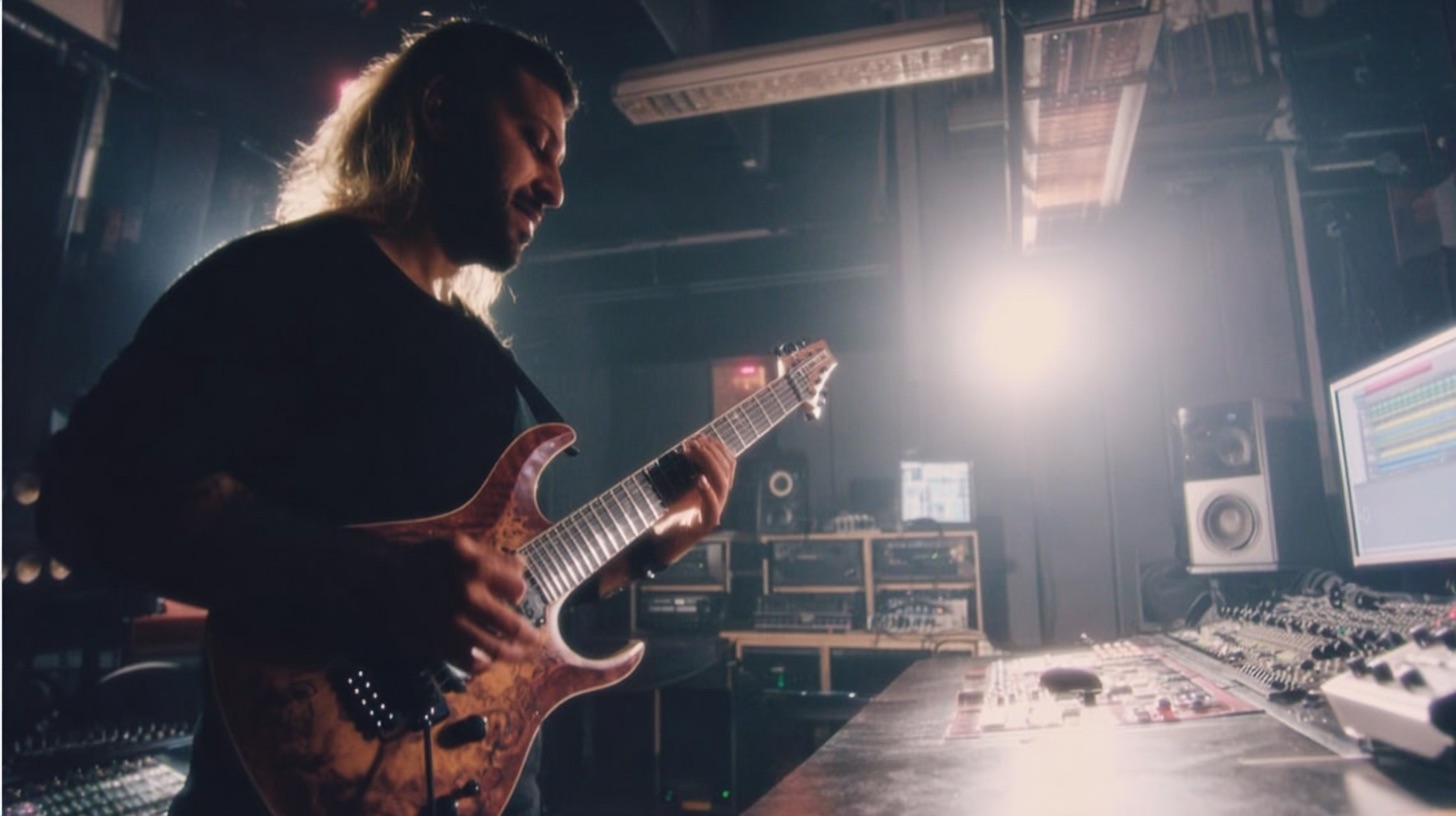
Andrew Wade mixes "Stitch"
Get the Session
With Nail The Mix, you can. Every month, you get the raw multitracks from a massive song and watch the original producer mix it from scratch. You can learn how to unlock your sound and move beyond presets by seeing exactly how the pros get it done. Check out the full Wage War mixing session with Andrew Wade to see these kick drum tricks and much more in action.