High Pass Filter: A metal mixer’s best friend
Nail The Mix Staff
Alright, let’s talk about one of the most deceptively powerful tools in your metal mixing arsenal: the high pass filter (HPF). You might know it as a low-cut filter, but whatever you call it, this thing is an absolute beast for carving out clarity, creating massive headroom, and making your metal tracks hit like a sledgehammer instead of a wet noodle. It’s not always about the crazy distortion or the biggest EQ boosts; sometimes, the gnarliest improvements come from what you take away.
If you’re already producing music, you’ve definitely encountered HPFs. But are you wringing every last drop of sonic violence out of them, especially for those dense, aggressive metal mixes? Let’s dig in.
What is a High Pass Filter & Why Should Metal Mixers Worship It?
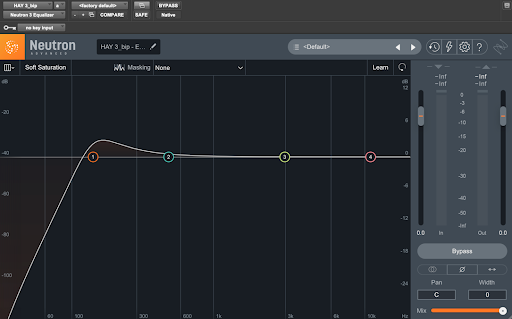
At its core, a high pass filter does exactly what it says on the tin: it lets the high frequencies pass through while attenuating (cutting) the low frequencies below a specific cutoff point. You’ve got your frequency knob to set that cutoff, and usually a slope control (measured in dB per octave, like 6dB, 12dB, 18dB, 24dB/octave, or even steeper) that determines how aggressively those lows are rolled off.

Why is this so damn crucial for metal?
- Mud Removal: Low-end rumble, sub-bass nonsense, and general low-frequency garbage can build up FAST in a metal mix, turning your kick, bass, and guitars into an undefined mess. HPFs are your first line of defense.
- Headroom Creation: All that useless low-end eats up valuable headroom. Cut it out, and suddenly you’ve got more space for the stuff that actually matters to be LOUD.
- Instrument Separation: By carefully filtering out unneeded lows from each instrument, you create distinct pockets for everything, letting each part shine without trampling on others. This is key for that punchy, articulate sound.
Think of it like decluttering your sonic workspace. You wouldn’t try to build a killer riff in a room full of junk, right? Same goes for your frequencies.
HPF in Action: Surgical Strikes for a Brutal Mix
Okay, enough theory. Let’s get practical. Where and how should you be slapping these things on in your next metal session?
Kick Drums: Cutting the Crap, Keeping the Click & Thump
Your kick drum needs to punch through without turning into a sub-bass cannon that just eats headroom.
- The Problem: Unnecessary sub-bass below the kick’s fundamental, floor tom resonance bleeding in, or just general low-end flab that competes with the bass guitar.
- The Fix: Start with your HPF around 30-40Hz. Use a decent EQ plugin like FabFilter Pro-Q 3 (its spectrum analyzer is great for visualizing what you’re cutting) or even your stock DAW EQ like Logic’s Channel EQ or Ableton’s EQ Eight.
- Actionable Tip: Slowly sweep the frequency upwards. Listen for the point where you lose the undesirable rumble but keep the solid “thump” and impact. For a modern metal kick, you might end up anywhere between 40Hz and 60Hz.
- Slope: A 12dB or 18dB/octave slope is often a good starting point. Steeper slopes (24dB/octave) can be more surgical but might sound less natural if pushed too high.
- Dig deeper into EQ strategies on our EQ hub page.
Snare Drums: More Snap, Less Boom
You want that snare to crack like a whip, not sound like someone hitting a cardboard box full of pillows.
- The Problem: Low-frequency ringing from the shell, sympathetic vibrations from the kick or toms, or just general muddiness clouding the snare’s body and attack.
- The Fix: An HPF here can be a lifesaver. You’ll generally go higher than the kick. Try starting around 80-100Hz and sweep up.
- Actionable Tip: Listen for the “body” of the snare. You want to cut the mud below it without making the snare sound thin or weak. Sometimes you can get up to 120Hz or even 150Hz, especially if you’re layering samples that already have plenty of low-end.
- Plugin Power: Most EQs work great. For instance, the stock Pro Tools EQ3 7-Band has perfectly usable HPF and LPF sections.
Toms: Tightening Up the Thunder
Toms can be notorious for lingering low-end that muddies up fast fills and the overall drum sound.
- The Problem: Excessive sustain in the low frequencies, making fills sound indistinct and cluttered.
- The Fix: Be fairly aggressive with your HPF on toms. Find the fundamental tone of the tom, then filter below that.
- Actionable Tip: You might HPF floor toms around 60-80Hz and rack toms higher, perhaps 80-120Hz. Don’t be afraid to push it until the tom is tight and punchy, then use other EQ bands to shape the remaining tone. Some engineers even automate the HPF to be more aggressive between hits.
Cymbals & Overheads: Air Without the Rumble
Overheads and cymbal spot mics are there to capture the shimmer, attack, and excitement of the cymbals, not the low-end rumble of the whole kit or the room.
- The Problem: Kick and snare bleed (especially low-frequency thumps), stage noise, general low-end wash.
- The Fix: HPF is your best friend here. You can often be quite aggressive.
- Actionable Tip: For overheads, start your HPF around 200-300Hz and sweep up. You might be surprised how high you can go while retaining the cymbal character and cleaning up a ton of mud. For hi-hats or rides, you could even go to 400-500Hz if they’re just there for top-end definition. Always check in the full mix – soloed cymbals can sound thin with aggressive HPFing, but perfect in context.
Guitars: Chug Without the Mud – This is CRITICAL!
This is where HPFs truly separate the clear, crushing metal mixes from the muddy, amateur-sounding ones, especially with detuned guitars.
- The Problem: Low-end “flub” or “woof” that builds up from multiple rhythm guitar tracks, clashing with the bass guitar, and generally making your chugs sound undefined and weak.
- The Fix: Every. Single. Guitar. Track. Gets. An. HPF. (Almost always).
- Actionable Tips for Rhythm Guitars:
- Start your HPF around 80Hz and sweep up. For standard E-tuned guitars, you might land around 100-120Hz. For 7-strings or drop-tuned monsters, you might stay closer to 80-100Hz, but don’t be afraid to go higher if the bass guitar is handling the lower frequencies.
- The “Sweet Spot” Hunt: Listen for the point where the guitars lose that boomy mud but retain their weight and power. It’s a balancing act.
- Resonant HPF Trick: Some EQs, like FabFilter Pro-Q 3, allow you to add a resonant bump right at the cutoff frequency of your HPF. A small bump here (e.g., +1-2dB with a moderate Q) before the steep cut can give the illusion of more low-end punch without actually adding problematic sub frequencies.
- Many amp sims like Neural DSP plugins (e.g., Archetype: Gojira, Archetype: Nolly), STL ToneHub, or Positive Grid BIAS FX have pre-EQ or post-EQ sections where you can implement an HPF right within the plugin. Use them!
- Lead Guitars: Can often be high-passed even higher than rhythm guitars to help them cut through and sit on top of the mix. Maybe 150-200Hz or more.
- For more on sculpting those brutal tones, check our EQ hub page.
Bass Guitar: Defining the Foundation (Yes, Even Here!)
“Wait, high-pass the BASS?!” Yep. Even the mighty bass guitar can benefit from a judicious HPF.
- The Problem: Uncontrolled sub-bass frequencies (below ~30-40Hz) that don’t contribute musically but eat headroom, make your speakers work overtime, and can make the low-end feel loose or disconnected.
- The Fix: A gentle HPF.
- Actionable Tip: Be subtle. Set your HPF very low, around 25-35Hz, with a gentle slope like 6dB or 12dB/octave. The goal is to tame the extreme, inaudible lows, not to thin out the bass. This tiny move can make a surprising difference in overall mix clarity and punch.
- Context with Kick: Ensure your bass HPF and kick HPF are working together, not fighting. If the kick’s fundamental is at 60Hz, make sure your bass isn’t being aggressively cut there too, unless that’s a specific choice for separation.

Vocals: Clarity Over Congestion
Whether it’s guttural roars or piercing screams, vocals need to be clear and upfront.
- The Problem: Plosives (‘P’ and ‘B’ sounds), microphone handling noise, proximity effect mud (that boomy buildup when the vocalist is too close to the mic).
- The Fix: HPF is pretty much standard procedure on vocals.
- Actionable Tip: For aggressive metal vocals, start your HPF around 80-100Hz and sweep up. You might end up around 100-150Hz, sometimes higher for very high screams. Listen for where the mud and rumble disappear, but the vocalist’s chest resonance and power remain.
- Using a pop filter during recording is step one; the HPF is your in-the-mix cleanup crew.
Advanced HPF Techniques for Metal Ninjas
Once you’ve mastered the basics, here are a few more advanced ways to wield the HPF.
The “Pre-Compression” HPF
This is a game-changer for bus compression and compressing dynamic sources.
- The Gist: Place an HPF before a compressor in the signal chain.
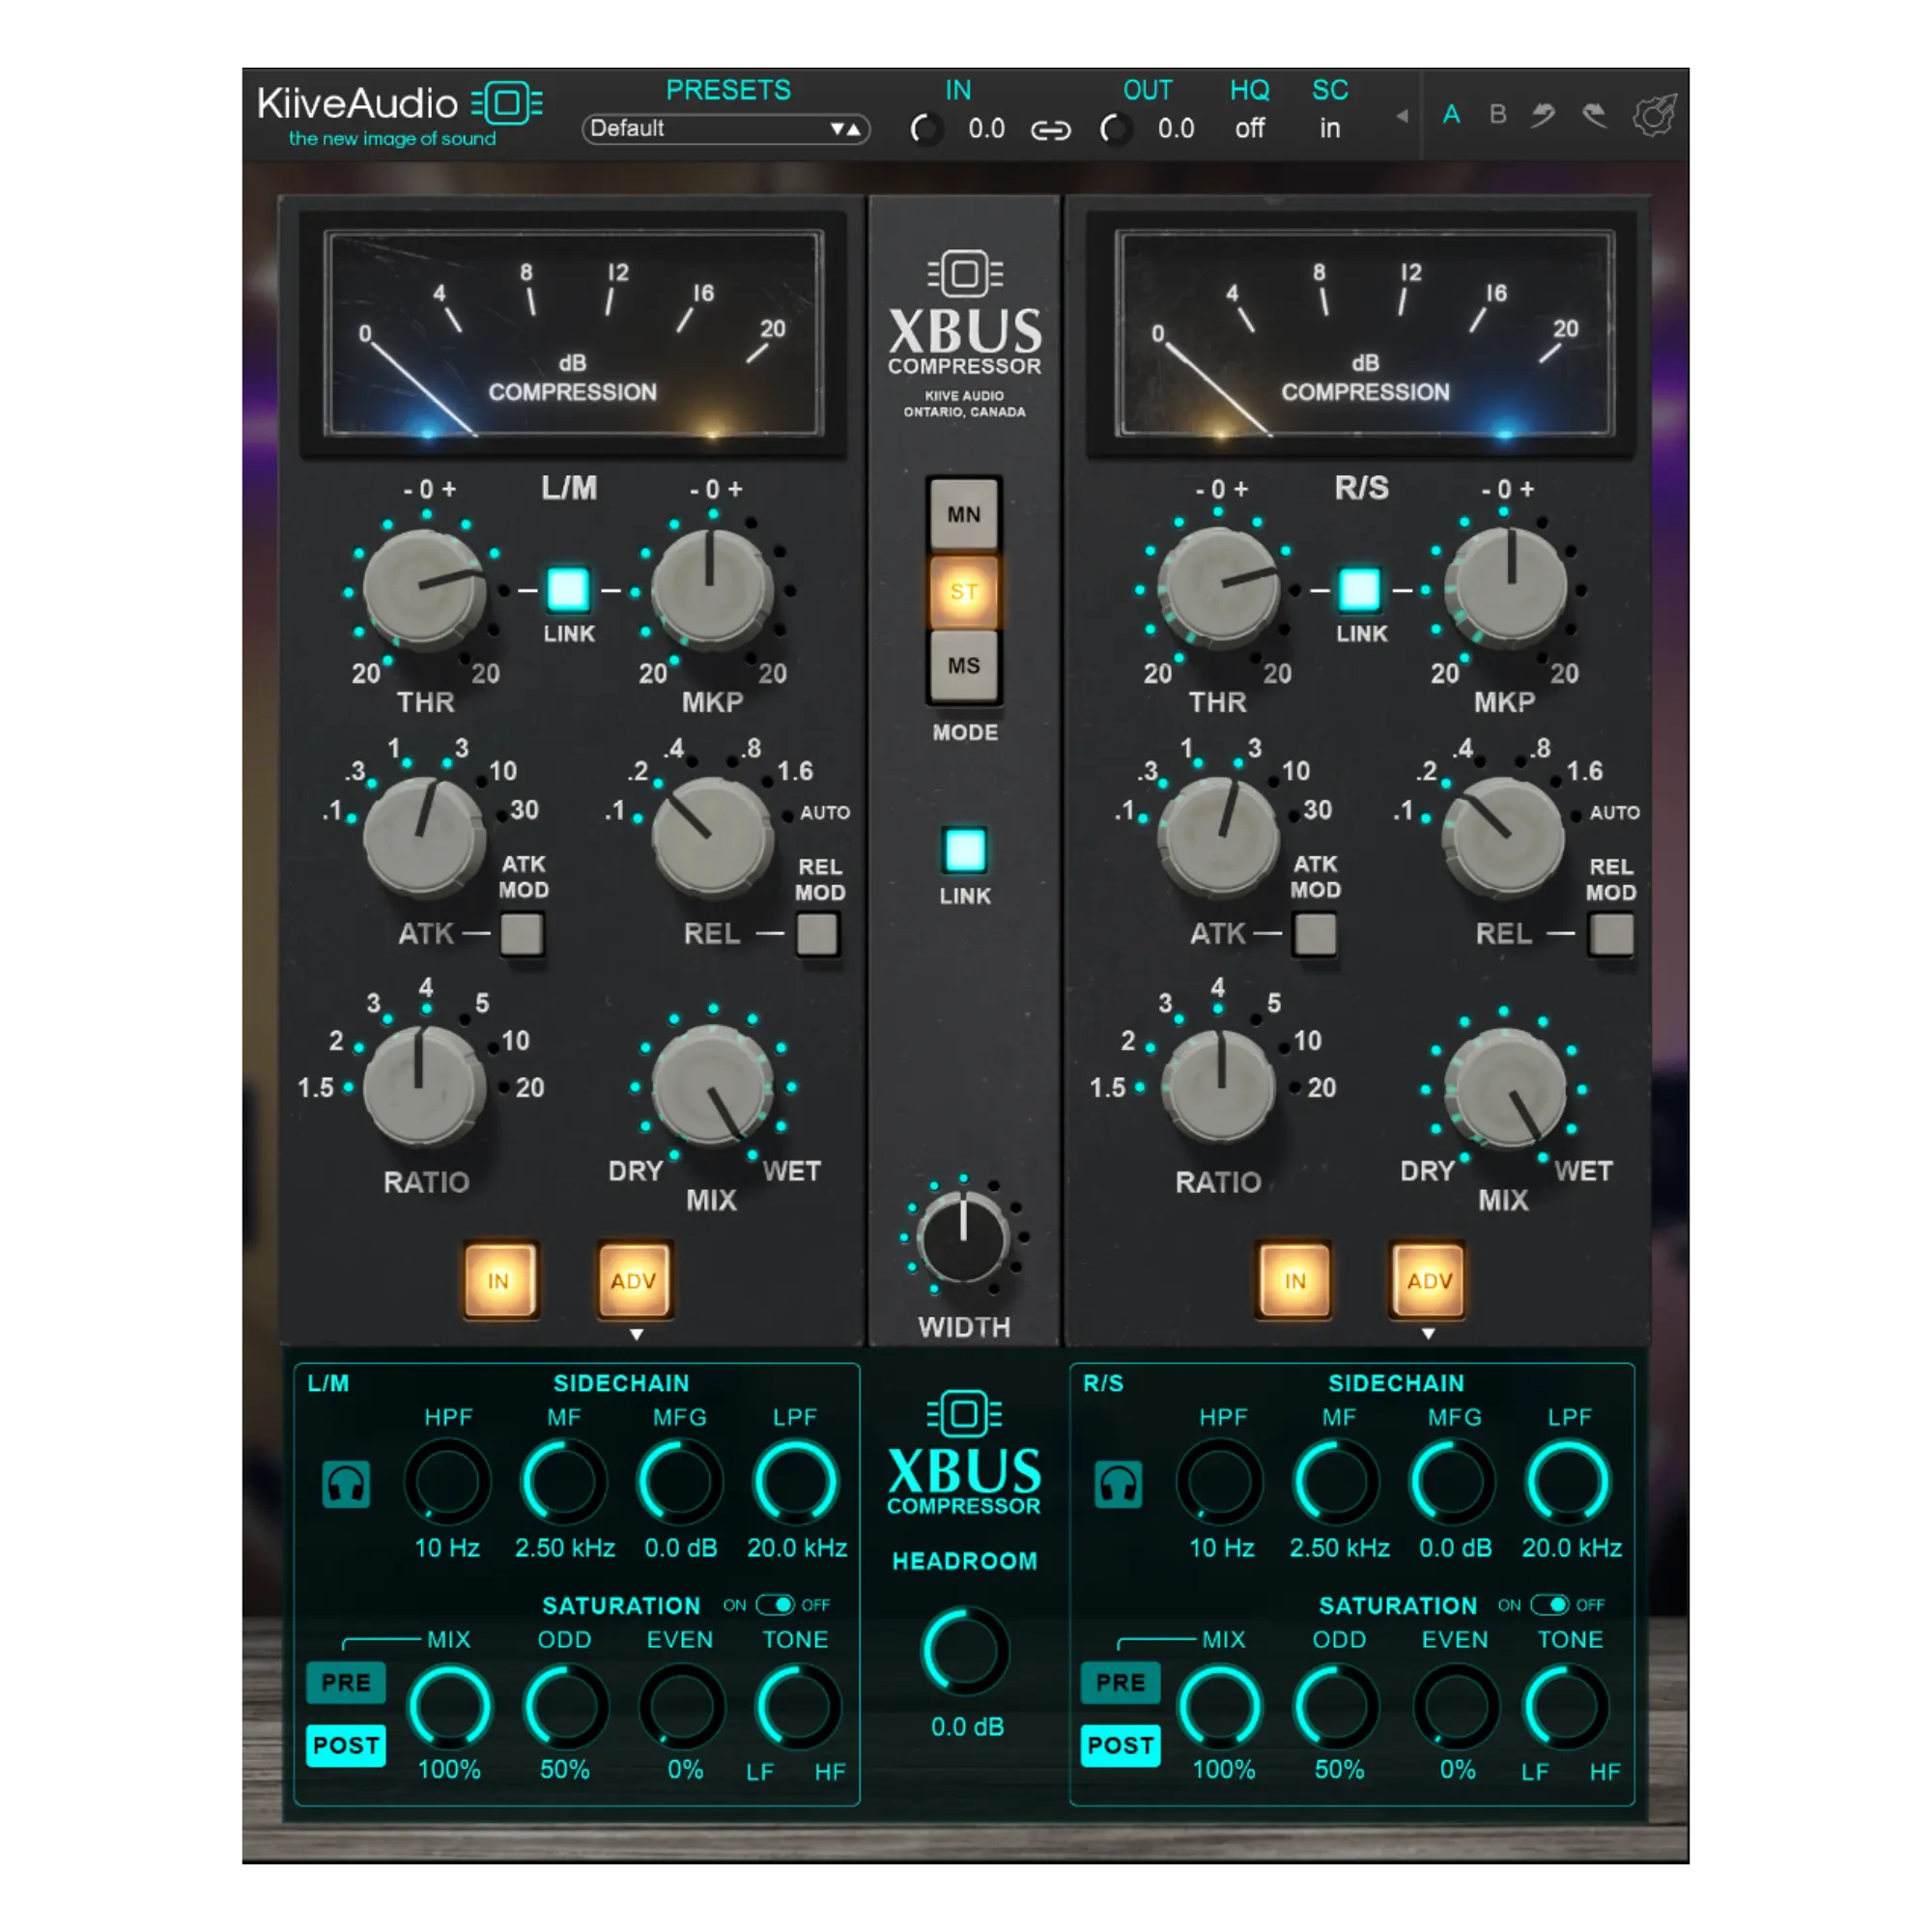
- Why It’s Awesome: Low-frequency energy (like a kick drum’s sub or a bass guitar’s rumble) can disproportionately trigger a compressor, causing it to “pump” or over-compress the entire signal based on lows you might not even want. By filtering out these lows before they hit the compressor, the compressor reacts more to the mid and high frequencies, leading to more transparent, controlled, and punchy compression.
- Example: On your drum bus, try an HPF around 80-100Hz before your bus compressor (SSL G-Comp plugin, Waves PuigChild 670, whatever your flavor). You’ll notice the cymbals breathe more and the overall compression feels more “glued” and less “squashed” by the kick.
- Dive into compression techniques on our Metal Compression Secrets hub page.
HPF in the Sidechain: Creating Intelligent Space
Using an HPF on the sidechain input of a compressor or dynamic EQ is a classic trick for creating space.
- The Gist: The compressor reacts to a filtered version of the key signal.
- Example 1 (Kick & Bass): You want your bass to duck slightly when the kick hits. Send your kick to the sidechain input of your bass compressor. Now, put an HPF on that sidechain send, cutting everything below, say, 60-80Hz. This way, the compressor on the bass reacts primarily to the punch of the kick, not its subby tail, leading to a tighter, more musical ducking effect.
- Example 2 (DIY De-Esser): A de-esser is essentially a compressor that’s being triggered by sibilant (hissy ‘S’ and ‘T’) frequencies. You can build one by sidechaining a compressor on your vocal track to an EQ’d version of the same vocal, where you’ve heavily boosted the sibilant range (e.g., 5-10kHz) and high-passed everything below it.
The “Summing” HPF: Master Bus & Group Clean-up
A final touch of finesse.
- The Gist: A very gentle HPF on your master bus or main instrument groups (drum bus, guitar bus, vocal bus).
- Why It’s Useful: To catch any stray, accumulated ultra-low frequencies that made it through your track processing. This provides a final cleanup, tightens the extreme low-end, and can even give you a touch more headroom for mastering.
- Actionable Tip: Be extremely subtle. On the master bus, think 20-30Hz with a 6dB or 12dB/octave slope. Use a high-quality linear phase EQ (like FabFilter Pro-Q 3 in Linear Phase mode, or iZotope Ozone’s EQ) to avoid phase shift at these critical low frequencies. If you hear it working too obviously, you’ve gone too far.

Don’t Just Cut – Listen! Context is King
All these numbers and settings are just starting points. The most important thing is to use your ears.
- Solo vs. Mix: What sounds good in solo might disappear or sound thin in the mix, and vice-versa. Always check your HPF decisions in the context of the full track.
- A/B Test: Constantly bypass the EQ to make sure your HPF is actually improving things and not just making them different (or worse!).
- The Sweep Technique: Don’t just dial in a number. Actively sweep the frequency knob. For cutting mud, start with the HPF frequency way too high (so the track sounds thin), then slowly bring it down until just enough body/warmth comes back, but before the mud reappears.
- Interaction is Key: An HPF move will affect how you EQ other frequencies and how your compressors react. It’s all connected.
Beyond the Basics: Seeing it in Action with Nail The Mix
These high pass filter techniques are absolutely fundamental to achieving pro-level metal mixes. They’re the bedrock of clarity and punch. But knowing what an HPF does is one thing; seeing how top-tier producers like Joey Sturgis, Eyal Levi, Joel Wanasek, and our monthly guest pros wield them in real-world sessions is a whole different level of learning.
Imagine watching Jens Bogren meticulously HPF guitars for that signature articulate chug, or seeing Adam “Nolly” Getgood dial in the perfect low-end relationship between kick and bass using HPFs and sidechains. They’re not just guessing; every move is deliberate, backed by years of experience mixing some of the biggest and best-sounding metal albums out there. You’ll see them push HPFs aggressively, then pull back, all while explaining their thought process.
If you’re ready to stop guessing and start truly understanding how to sculpt massive, clear, and powerful metal mixes, then seeing these techniques applied to actual multi-tracks from bands like Periphery, Gojira, Meshuggah, and more is invaluable. It’s about learning the why behind the settings.
Gojira on Nail The Mix
Logan Mader mixes "Toxic Garbage Island"
Get the Session
Ready to transform your mixes from muddy to mighty?
Check out Nail The Mix and get access to our huge library of mixing masterclasses, exclusive plugins, and a community of like-minded metal producers. Stop just reading about it, and start doing it with the pros.