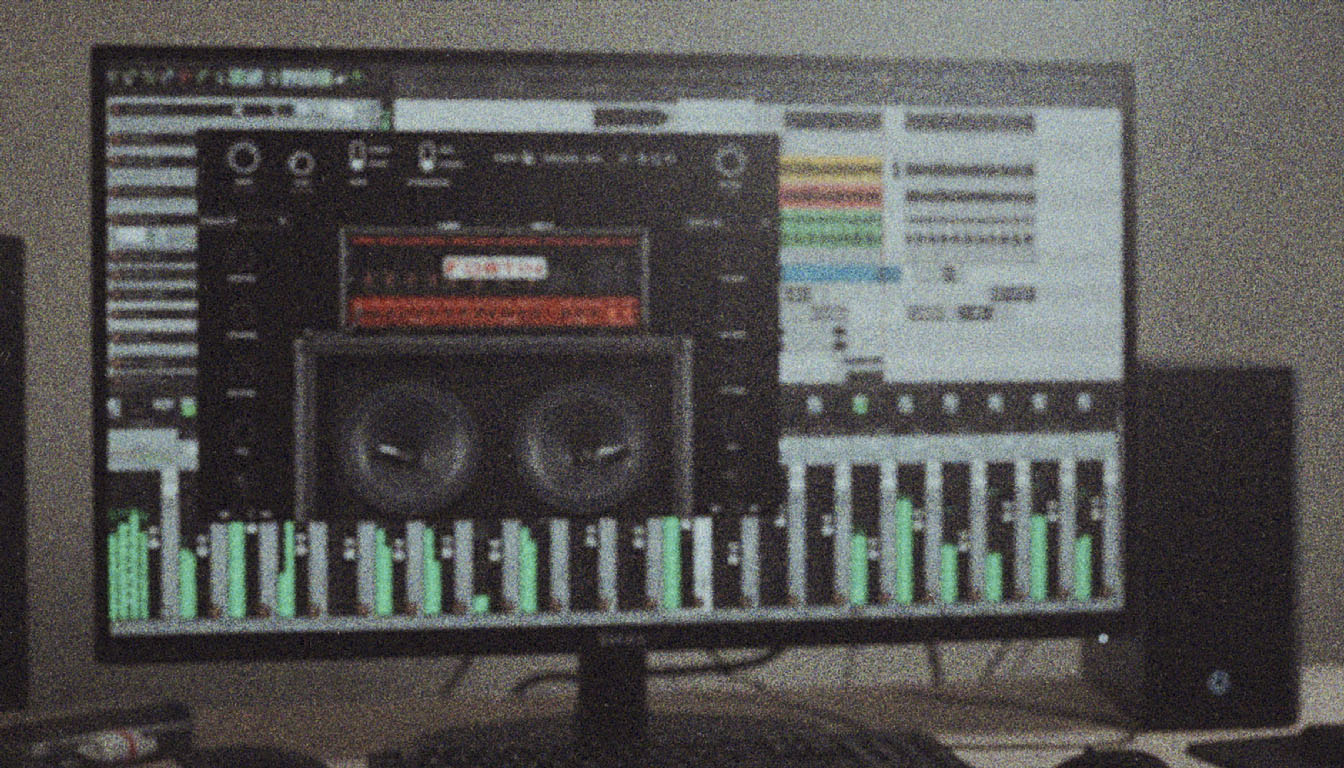
EZmix 2 Guitar Tones: From Preset to Brutality
Nail The Mix Staff
We’ve all been there. You’ve tracked some killer DIs, the riff is lethal, but now you need a tone, and you need it fast. Enter Toontrack’s EZmix 2. It’s a fantastic tool for quickly auditioning amp sounds and getting a vibe going without derailing your creative flow. But let’s be honest, presets are often just a starting point.
So, can you take a stock EZmix 2 guitar preset and push it to a professional, mix-ready level? Absolutely.
We’re going to walk through a real-world example of taking a preset and transforming it into a tone that works for a fast, thrashy metal track—a scenario where definition and cut are absolutely crucial. We’ll even be working with less-than-perfect DIs (clipped a bit, some string noise) because that’s a reality we all face.
The Starting Point: Choosing an EZmix 2 Guitar Preset
For a track with fast blast beats and intricate kick drum patterns, the guitar tone needs two things: it needs to be heavy, but it also needs to have a ton of definition. The palm mutes need to be percussive and tight to lock in with the drums, not a wash of low-end mud.
After tracking the left and right DIs, the first step is to slap EZmix 2 on them and find a solid foundation. Scrolling through one of the metal expansion packs provided a tone that had the right aggressive character out of the box.
When you solo this initial preset, it sounds pretty cool. But in the context of the drums and bass, its flaws become apparent. It’s a bit thin, a little fizzy, and doesn’t have the weight to feel truly powerful. This is where the real work begins. The preset did its job; it got us in the ballpark. Now we build the stadium.
Step 1: Corrective EQ to Tame the Muck
Before we add anything to the tone, we have to take away the junk. The first stop in our plugin chain after EZmix 2 is a solid, functional EQ for some surgical cleanup. You don’t need anything fancy here; your stock DAW EQ, like the Logic Pro X Channel EQ, is perfect for this.
Carving Out the Low-Mids
Distorted guitars are notorious for a buildup of "honk" or "boxiness" in the low-mids. This area (roughly 250-500 Hz) can make your guitars sound cheap and cluttered, and it fights directly with the snare and bass guitar for space in the mix.
The very first move is to find that problem area. For this specific tone, a cut of about 3-4 dB centered around 280-290 Hz instantly removed that boxy character. As you A/B this change, you’ll hear the guitar tighten up and sound more focused. It’s easy to go overboard here, so make small, decisive cuts. We’re just cleaning up, not gutting the tone.
For a deeper dive into these and other essential frequency zones, check out our complete guide to EQing metal guitar.
Tightening Up with High and Low Pass Filters
Next up is getting rid of frequency information we just don’t need. Use a high-pass filter (HPF) to cut out the sub-bass rumble that does nothing for the guitar but eat up headroom and clash with the kick and bass. Sweep it up until you hear the guitar start to sound thin, then back it off just a touch.
Do the same with a low-pass filter (LPF) from the top down. This is crucial for taming that high-end "fizz" that can make digital and preset-based tones sound harsh. You can often filter down to 10kHz or even lower without losing any of the "air" or "cut" you actually need.
Step 2: Adding Body and Character with Analog Emulation
That initial corrective EQ is essential, but it probably left the tone sounding a bit thin and sterile. Now it’s time to add the weight, warmth, and character back in—but in a controlled way.
The Scheps 73 for Instant Girth
When you need to add body and color, a Neve 1073 emulation is a producer’s security blanket. The Waves Scheps 73 is a fantastic choice for this. Even with the EQ knobs at zero, simply running the signal through the plugin's preamp and transformer emulation adds a pleasing harmonic saturation that gives the tone a bit of warmth.
To get the body back, we can play with the low and mid bands. For this track, a gentle boost in the lows (around 110Hz or 220Hz) brought back the necessary power in the palm mutes. The key is to add just enough to give the guitar weight without re-introducing the mud we just carved out.
Creating Depth with Console Saturation
To give the guitars a "3D" quality and help them feel like they're sitting in a real space, console emulation is a game-changer. Here, we'll use the Slate Digital Virtual Console Collection (VCC).
The strategy is to put the VCC Channel plugin on both the left and right guitar tracks, and then place the VCC MixBuss plugin on the master guitar bus. We'll use the "Brit 4K" setting, which emulates the classic SSL 4000 E series console. This desk is famous for its punchy, aggressive midrange and tight low end—perfect for metal. Driving the input on the channel plugins adds that subtle saturation and harmonic complexity that makes the guitars feel wider and deeper.
Step 3: Surgical EQ for Ultimate Clarity
The tone is now big and has some great analog character, but there are likely still some nasty resonant frequencies poking out. These are tiny, "whistling" frequencies that become fatiguing to the ear and add a layer of harshness. It’s time to go hunting.
Hunting and Destroying with the Q10
The Waves Q10 is a classic tool for this kind of surgical work. The technique is simple but incredibly effective:
- Create a band on the EQ.
- Set the Q to be extremely narrow (a setting of 100 on the Q10 is perfect).
- Boost the gain all the way up.
- Sweep the frequency slowly across the spectrum while the guitar track is looping.
- When you hear a loud, piercing, or unpleasant whistle, you’ve found a problem frequency.
- Without moving the frequency, flip the gain from a massive boost to a deep cut.
For this tone, problem spots were found around 796Hz, 1.5kHz, 3.1kHz, and 5.2kHz. Your frequencies will be different, but the process is the same. Don’t be afraid to make several of these narrow cuts. This is the difference between an amateur "fizzy" tone and a clean, professional one. This is the kind of detail you’ll see the best in the business, like legendary producer Jens Bogren, obsess over.
The Final Polish: Bringing Back the Bite
After all that surgical cutting, you might notice that some of the aggressive pick attack has gone missing. The tone is clean, but maybe a little too dark.
The solution is simple. Go back to the Scheps 73 plugin earlier in the chain and turn on the high-shelf. Just enabling it, even without a huge boost, can bring back that necessary top-end clarity and pick attack. Because you’ve already surgically removed the harsh "fizz" with the Q10, you’re only re-introducing the good part of the high end.
It’s all a balancing act. The final result is a guitar tone that is tight, clear, and percussive, leaving plenty of room for the kick and bass to provide the low-end power. This is crucial for fast metal where every note needs to be heard.
Take It to the Next Level
This plugin chain—EZmix 2 > Corrective EQ > Character EQ > Saturation > Surgical EQ—is a powerful way to turn any decent starting tone into something special. After dialing in the EQ, you might move on to compression to even out the performance, a topic with its own set of killer techniques. You can learn more by reading our guide to metal compression.
If you want to see this level of detail applied to full mixes from bands like Gojira, Periphery, and Lamb of God, check out the full Nail The Mix song list. And for an even deeper dive with over 1,500 more tutorials on every aspect of metal production, explore everything available in URM Enhanced.
Get a new set of multi-tracks every month from a world-class artist, a livestream with the producer who mixed it, 100+ tutorials, our exclusive plugins and more
Get Started for $1


