How To Record Metalcore vocals with compression (ft. ERRA)
Nail The Mix Staff
Let’s talk about ERRA’s vocals. From soaring clean melodies to vicious screams, their dynamic vocal performances are a massive part of their sound. So how do production wizards Carson Slovak and Grant McFarland capture all that power and nuance in the studio?
You might think it involves a super clean, delicate signal path on the way in, saving all the heavy lifting for the mix. But in their Nail The Mix session for the song “Snowblood”, Grant and Carson pulled back the curtain on a vocal tracking chain that’s shockingly aggressive and completely committed from the first take.
Let’s break down their go-to vocal chain and the philosophy behind why they slam vocals on the way into the DAW.
The Go-To ERRA Vocal Chain
For the Erra sessions, Grant and Carson kept things consistent for both vocalists, JT Cavey and Jesse Cash. Whether it was a soaring clean vocal or a brutal scream, the signal path stayed the same. It’s a simple, high-quality chain that proves you don’t need a dozen pieces of gear to get a world-class sound.
The Mic: Manley Reference Cardioid
The starting point for the sound is the Manley Reference Cardioid tube microphone. This mic has become the duo’s go-to for a very good reason (more on that later), and it’s responsible for capturing the raw performance.
The Preamp: Avalon 737
From the Manley, the signal runs into an Avalon 737 channel strip. However, they’re only using it for one thing: its clean, transparent preamp. Grant makes it clear that the EQ and compressor sections on the Avalon are completely disengaged. It’s all about getting a solid, high-quality signal boost before hitting the next crucial stage.
The Compressor: Universal Audio 1176 (Rev D)
Here’s where things get wild. The final piece of the hardware chain is a Universal Audio 1176, and they don’t hold back. Instead of just tickling the needle with a few dB of gain reduction, Grant pushes the compressor until the needle is practically pinned, hitting as much as 20dB of gain reduction.
“You Can’t Compress Too Much on the Way In.” Wrong.
The old wisdom says to be careful with tracking compression because you can’t undo it. But Grant and Carson throw that rule out the window. Committing to that much heavy compression on the way in is a deliberate choice that makes their entire workflow faster and more effective.
Why Commit to Hard Compression?
There are a few key reasons this aggressive approach works so well for them:
- The Sound: Grant loves the sound of the hardware 1176 and knows he’s going to use heavy compression in the mix anyway. Why not get that killer analog character from the start?
- Better Performances: When a vocalist is delivering a super dynamic performance—going from a whisper in a bridge to a full-on scream in a chorus—a compressed headphone mix helps them hear themselves consistently. This leads to more confident and controlled takes.
- Better Monitoring for the Producer: It also helps the producer hear every nuance of the performance without constantly riding the fader.
Making Downstream Processing Easier
This heavily compressed signal isn’t just about the sound; it’s a strategic move that makes the editing and mixing process way smoother.
Better Tuning Results
If you’ve ever tried to tune a vocal with a lot of dynamic range, you know the struggle. When a note sustains and gets quieter, tuning plugins can lose track of the pitch, making it impossible to process the tail end of the note. By squashing the vocal with 20dB of compression, the volume stays incredibly consistent. This allows tuning software like Waves Tune or Melodyne to “see” the note for its entire duration, giving you much cleaner and more accurate results.
Easier Visual Editing
A heavily compressed waveform is also a dream to edit visually. All the crucial information—breaths, consonants, and the body of the notes—is right there in your face. It makes gridding vocals, tightening up timing, and cleaning out unwanted noise significantly faster because you don’t have to zoom in and squint to see what’s happening in the quiet parts.
The Mic That Won the Blind Shootout
So why the Manley Reference Cardioid? It wasn’t a random choice. Years ago, Carson and Grant held a massive shootout with a drool-worthy collection of large-diaphragm condenser mics. They put the Manley up against legendary mics like a Bock 251, a Telefunken C12, and vintage Neumann U67s and U87s.
In a blind listening test, they had objective, unbiased people come in and pick which mic sounded best. The winner, every single time, was the Manley.
While Grant admits the mic can be polarizing—some producers love it, some hate it—for them, the blind test was the ultimate proof. It has a distinctly hyped top end, which gives vocals a ton of detail and a “hi-fi” sound that cuts through a dense metal mix. This often means you have to do less aggressive EQ boosting later on. Crucially, it achieves this brightness without sacrificing a full, solid body. It’s a workhorse that performs like a high-end mic without the $10,000 price tag.
A Smart Workflow for Vocal Tuning
Capturing the vocal is only half the battle. Grant also has a clever, two-stage process for tuning that helps him nail the final performance.
Step 1: Live Tuning for Monitoring
While tracking, Grant runs the vocal through a real-time tuning plugin (like Slate MetaTune or, at the time, Auto-Tune EFX) on an auxiliary track. The vocalist doesn’t hear this, but Grant does.
This clever trick allows him to judge a take based on its emotion and energy, without getting distracted by minor pitch issues. It’s like pre-visualizing the final comp. If a take sounds natural and artifact-free through the live tuner, he knows it’s a keeper that will tune up beautifully.
Step 2: Surgical Manual Tuning
For the final product, about 80-90% of the time, Grant disables the live VST and gets surgical. His tool of choice is Waves Tune. He dives in and manually corrects notes by hand to get everything precise. He notes that it’s not that Waves Tune is inherently “better” than competitors like Melodyne; it’s just the tool he knows best, allowing him to get the results he wants quickly and efficiently.
From Tracking to a Finished Mix
Putting it all together, the ERRA vocal sound is built on a foundation of:
- Aggressive tracking compression to control dynamics and aid the editing process.
- A bright, detailed microphone that won a blind shootout against industry legends.
- A smart, two-stage tuning workflow that separates performance evaluation from final polishing.
These are the exact kinds of professional techniques you can apply to your own productions. But reading about them is one thing—seeing them in action is another entirely.
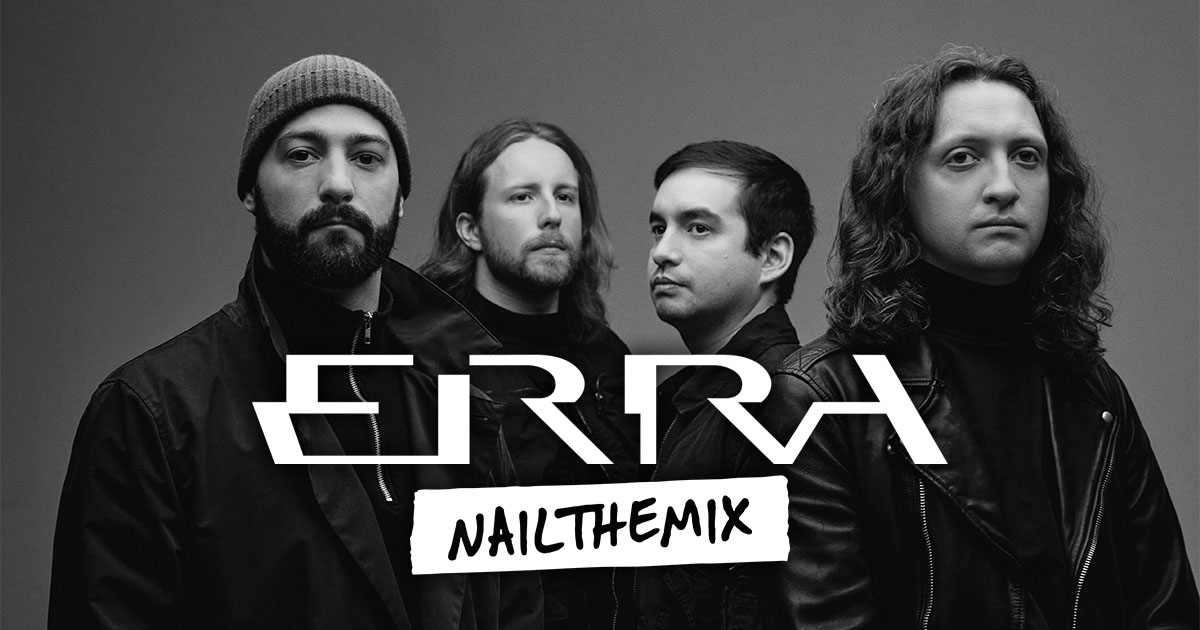
Erra on Nail The Mix
Carson Slovak & Grant McFarland mixes "Snowblood"
Get the Session
With Nail The Mix, you can watch world-class producers like Carson Slovak and Grant McFarland build a professional mix from the ground up. You get the raw multitracks from the actual album session so you can mix the song yourself, and then you watch the original producer explain every plugin, every fader move, and every decision they made. If you’re ready to unlock your sound and mix modern metal beyond presets, there’s no better way to learn than from the pros who created the albums you love.
Check out the full ERRA mixing session and see exactly how these powerful vocal tracks are processed and placed into the final mix.