Using a short slapback delay as a vocal doubler (ft. Jonny Craig)
Nail The Mix Staff
Jonny Craig’s voice is one of those instruments that’s instantly recognizable. It’s powerful, emotional, and carries a unique character that can make or break a track. When producer Erik Ron got in the studio with Slaves to work on "I'd Rather See Your Star Explode," he was faced with the challenge of capturing that raw, soul-baring performance—which Jonny laid down in a blistering 15 minutes—and making it sit perfectly in a dense, modern rock mix.
Erik Ron’s approach is a masterclass in enhancing emotion without sacrificing clarity or power. Forget overly complex signal chains; this is about deliberate, impactful moves that you can apply to your own vocal tracks. Let’s break down the vocal chain Erik used to shape this iconic performance.
The Philosophy: Character Over Perfection
Before a single plugin is loaded, the philosophy behind the vocal production sets the stage. A lot of producers will double-track everything—verses, choruses, the works. Erik takes a different route.
For this track, the verses are a single lead vocal. Why? Because doubling can often scrub away the subtle, imperfect, and emotional moments that make a performance special. You lose the sadness, the unique inflections, and the little bits of character that are impossible to replicate perfectly. You don't want to force it.
The impact comes from contrast. While the verses remain raw and singular, the choruses, harmonies, and octaves get the full doubling treatment. This makes the chorus feel wider and more powerful, creating a dynamic lift that serves the song.
Building the Foundation: The Dry Vocal Chain
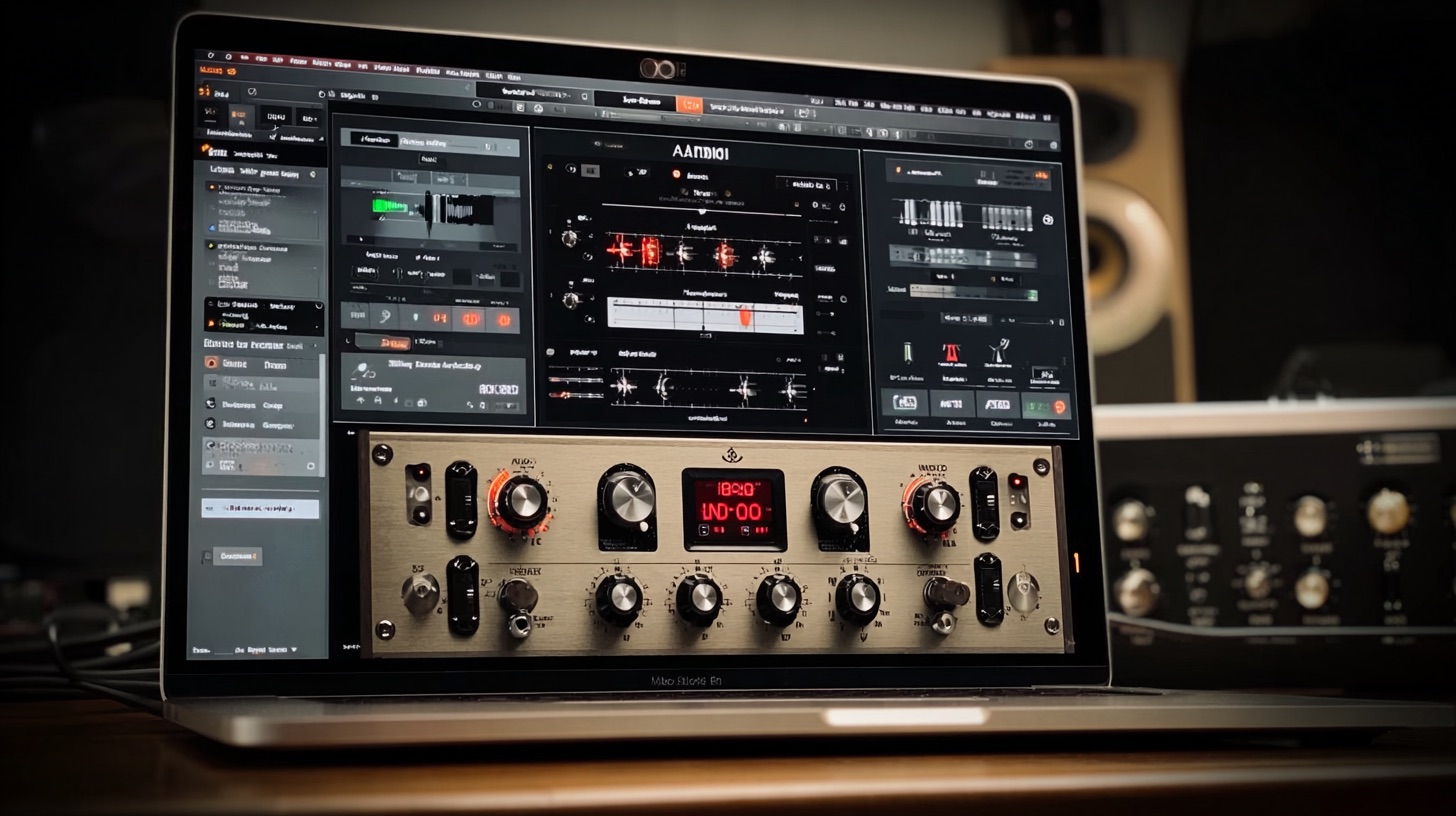
With the raw takes ready, it's time to build the core vocal sound. Erik’s dry vocal chain is all about creating a crisp, present vocal that cuts through the mix and ensures every word is understood.
Getting Crisp with Pre-Compression EQ
Erik prefers a bright, almost pop-style vocal that’s crystal clear. This isn't about a warm, vintage sound; it's about clarity and emotion. The EQ moves are surgical and designed to shape the vocal before it ever hits the main compressor.
Here's the breakdown:
- Low-Cut Filter: The first move is to get rid of any unnecessary low-end rumble and mud.
- Cutting the Mids: A significant cut is made around 1kHz. Erik isn't a fan of that "warm" frequency in vocals, as it can sound boxy or nasal. Scooping it out cleans up the tone immediately.
- Presence Boost: To get that crispness and help the vocal cut, there's a boost in the 4-5kHz range. This brings out the articulation.
- Adding Air: A high-shelf boost adds that top-end "air" that makes the vocal feel open and brings out the breathiness, enhancing what Erik calls "the crying coming out of his voice."
These EQ decisions are fundamental to crafting a professional sound. If you want to dive deeper into how the pros carve out space in a mix, check out these EQ strategies for modern metal.
Importantly, this EQ is placed before the compressor in the signal chain. By shaping the tone first, the compressor is reacting to the sound you actually want, not the raw, unfiltered audio.
Don't Be Afraid to Squash It: Aggressive Compression
Next up: compression. And Erik's advice is simple: don't be afraid to squash it. The goal is a super consistent vocal that stays right in your face, but without sounding choked or unnatural.
The compression started before the audio even hit Pro Tools. The initial recording chain was a Manly Ref Card microphone going into a Shadow Hills Gamma preamp, then into a hardware 1176 compressor.
In the box, he hits it again, and he hits it hard. The key to making this work without sounding obvious is the setting: a fast attack and a fast release. This allows the compressor to grab the peaks instantly and then let go just as quickly, controlling the dynamics without pumping. You can see the needle working hard, but you don't hear it working, which is the magic of this technique. It just makes the vocal feel solid and powerful. Learning to dial in this kind of control is what separates a good mix from a great one.
Taming the Sibilance: The Underrated Stock De-Esser
When you boost the high-end for that crisp, airy sound, you inevitably bring up sibilance—those harsh "s" and "t" sounds that can be painful on headphones. To combat this, Erik reaches for his favorite de-esser on the planet: the stock, free Pro Tools De-Esser.
He sets it around the stock 7kHz setting and adjusts the range to suit the singer. For Jonny, who has a slight lisp that almost de-esses himself, it doesn't take much. The plugin acts as a final layer of smooth compression, taming any piercing frequencies and preventing ear fatigue for the listener.
Creating Depth and Space: Erik Ron's Vocal Effects
With the dry vocal sounding solid, it's time to get it wet. Erik uses several effects on sends and returns to build a sense of space and thickness around the lead vocal. His workflow is simple: send the vocal at unity gain and control the effect level using the return fader.
The Go-To Reverb: UAD 140 Plate
For the main reverb, the choice is the UAD 140 Plate. Plate reverbs are a classic choice for vocals because they add a beautiful shimmer and decay without sounding like a specific "room," which helps the vocal float in the mix. The amount you use is purely up to you and the needs of the song.
The "Slap" Thickener: A Trick with EchoBoy
Here's a cool trick to get your vocal sounding thick and wide without using a traditional chorus or doubler plugin, which can sometimes introduce phasing issues. Erik uses Soundtoys EchoBoy to create a slap-style delay.
The setting is a 16th-note triplet delay, which translates to about 56 milliseconds. This is a super short, rhythmic delay that you feel more than you hear. It effectively acts as a tight doubler, giving the vocal more body and stereo presence in a very natural way.
Adding Ambience with Delays
To create a larger sense of space, Erik uses two more delays. The first is a longer delay (nicknamed "Echo Pro" after his old Line 6 hardware unit). He takes a lot of the high frequencies out of this delay, so you don't hear a clean repeat of the words. It's designed to be felt as ambience, not heard as a distinct echo. He'll even send this delay to a reverb to "soak it up" and push it further into the background.
From that same send, he also feeds a standard quarter-note delay. This is the more obvious, spacious echo that adds depth and fills the gaps between vocal phrases. The levels of these delays are automated throughout the song, pushed up on the last words of phrases to create that classic trailing effect.
Bringing It All Together
By combining a single, emotional lead vocal in the verses with wider, doubled vocals in the chorus, and blending in a carefully crafted chain of EQ, compression, and time-based effects, Erik Ron created a vocal sound that is both emotionally raw and commercially polished.
These are the exact kinds of techniques that take a great performance and make it truly unforgettable. Learning the "what" is one thing, but seeing the "how" and "why" is what will truly elevate your mixes. Watching a pro like Erik Ron build this sound from scratch, making decisions in real-time with the full multitracks from the actual session, is an invaluable experience.
If you want to see exactly how Erik mixed the rest of this massive Slaves track, you can get access to his full 6-hour mixing session, plus the multitracks to practice on yourself, right here at Nail The Mix.
Check out the full Godsmack & Slaves NTM session to see every plugin, every automation move, and every decision Erik made. It's time to stop guessing and start learning from the best in the business.