Your Top Metal EQ FAQs Answered
Nail The Mix Staff
Equalization is arguably the single most important tool for crafting a modern metal mix. The game has changed. We're not just dealing with Drop D guitars and a standard drum kit anymore. We’re fighting a brutal war in the low-end with 8-string guitars, synth basses, and kick drums that need to hit like a cannon. The modern metal producer's job is to create clarity, punch, and power in what is easily the densest sonic landscape of any genre.
Getting your EQ moves right is the difference between a punishing, polished mix and a chaotic, muddy mess. Let's dive into some of the most common EQ questions modern metal producers face and give you actionable answers you can use in your DAW right now.
How do I separate kick and bass with EQ?
This is the eternal struggle of metal mixing, made a hundred times harder by the low tunings that dominate the genre. When your guitars are tuned to F#, the bass guitar might as well be a seismic event. Here’s how you carve out space so both elements can have their own impact.
Find Their Fundamental Homes
First, stop thinking of them as one giant blob of low-end. They each have a specific job.
- The Kick’s "Thump": The kick drum provides the initial, gut-punching transient. This is usually found somewhere between 60Hz and 80Hz. Use a bell curve with a medium Q on your kick track and boost this area by a few dB until it pops.
- The Bass’s "Weight": The bass guitar provides the sustained low-end foundation. Its fundamental note will sit a bit higher or lower depending on the part, but you want to find its dominant root note frequency.
Once you’ve found the kick’s home at, say, 70Hz, go to your bass guitar’s EQ and use a narrow-Q bell curve to cut that same frequency by 2-4dB. This is called a "reciprocal EQ" move, creating a perfect pocket for the kick to punch through the bass every time it hits. For even more advanced control, use a dynamic EQ like the FabFilter Pro-Q 3 to make this cut only happen when the kick drum actually strikes.
Give the Bass Its Own Identity in the Mids
The bass can’t live entirely in the sub frequencies, or it will disappear on laptops, phones, and earbuds. The "clank," "grind," and character of the bass live in the midrange. Look for a spot between 800Hz and 1.5kHz to give the bass a noticeable boost. This will help it slice through the wall of guitars and be heard, not just felt. A great tool for this is a character EQ like the API 550B, which has a musical grit that works wonders on distorted bass.
What's the right way to EQ modern metal guitars?
The old-school "scoop the mids" advice is a starting point, but modern metal production demands more surgical precision. You need to control the lows, tame the highs, and make the mids work for you, not against you.
High-Pass and Low-Pass Filters are Your Best Friends
Guitars tuned to oblivion produce a ton of unnecessary sub-harmonic information that just clogs up your mix.
- High-Pass Filter (HPF): Slap an HPF on every rhythm guitar track. Start around 80Hz and slowly move it up until you hear the guitar start to sound thin, then back it off a touch. A good landing spot is often between 100Hz and 140Hz. This single move cleans up an incredible amount of low-end mud, making room for the kick and bass.
- Low-Pass Filter (LPF): The high-end "fizz" from distortion pedals and amp sims can be incredibly harsh and fatiguing. Use an LPF to gently roll off the extreme high-end. Start around 12kHz and bring it down. You can often get as low as 8-10kHz without losing any necessary aggression, resulting in a smoother, more professional sound.
For a deep dive into this topic, check out our complete guide on EQing modern metal guitars for maximum impact.
Taming the "Fizz" and "Mud"
Between your filters, there are two key problem areas to address with surgical cuts.
- The Mud/Boxiness (200-500Hz): This is where guitars can sound bloated and undefined, clashing with the snare's body and the bass's upper harmonics. A broad, gentle cut of 2-3dB in this range can instantly add clarity.
- The Fizz/Harshness (4-8kHz): This is where that annoying, scratchy "mosquito" sound lives. Use your EQ's spectrum analyzer to find the most offensive peak in this range, then use a very narrow Q to notch it out.
How do I fix harsh cymbals without making them sound dead?
Between sample-replaced drum libraries and close overhead mics, cymbal harshness is a constant battle. The goal is to reduce the painful ringing without sucking the life and air out of the performance.
The best tool for this job is a dynamic EQ. Find the primary offensive frequency—often a piercing ring around 3-5kHz—and set up a dynamic band. Instead of cutting that frequency constantly, the EQ will only dip it down when the cymbal hit exceeds a certain threshold. This tames the initial harsh transient while letting the natural decay and "air" of the cymbal breathe.
Alternatively, this is a similar concept you can achieve with multiband compression.
Should I EQ before or after compression?
The classic answer is both. This isn’t a cop-out; they perform different functions depending on their placement in the signal chain.
- EQ Before Compression (Subtractive EQ): Use an EQ before your compressor to clean up the signal. For example, high-pass your guitars before compressing them. This prevents the compressor from reacting to the unnecessary low-end rumble, resulting in a cleaner, more controlled compression that only clamps down on the frequencies you actually care about. This is your "corrective" or "surgical" EQ stage.
- EQ After Compression (Additive EQ): Use an EQ after your compressor to shape the final tone. Since compression can alter the tonal balance of a track, this post-EQ allows you to add back any character, punch, or brightness you want. This is your "tonal" or "color" EQ stage.
So, a common pro workflow is: Cut before, boost after.
What are some essential EQ plugins used by pro metal producers?
While your stock DAW EQ is powerful, certain plugins are staples in the metal world for their workflow, features, and sonic character. Here are a few you'll see used constantly by our Nail The Mix instructors:
- FabFilter Pro-Q 3: The undisputed champion of surgical, transparent EQ. Its amazing user interface, spectrum analyzer, and powerful dynamic EQ mode make it the go-to for cleaning up mud, taming harshness, and carving out precise frequency pockets.
- API 550A/B: For when you need aggressive, punchy character. The API EQs have a "proportional Q" design, meaning the bandwidth narrows as you boost or cut more. It’s a fantastic choice for adding attitude to drums and guitars.
- Pultec EQP-1A (or a good emulation): This is the "magic" EQ. It’s famous for the low-end trick where you can boost and attenuate the same low frequency simultaneously, creating a tight, powerful bottom end without the mud. It’s a secret weapon on kick drums and the mix bus.
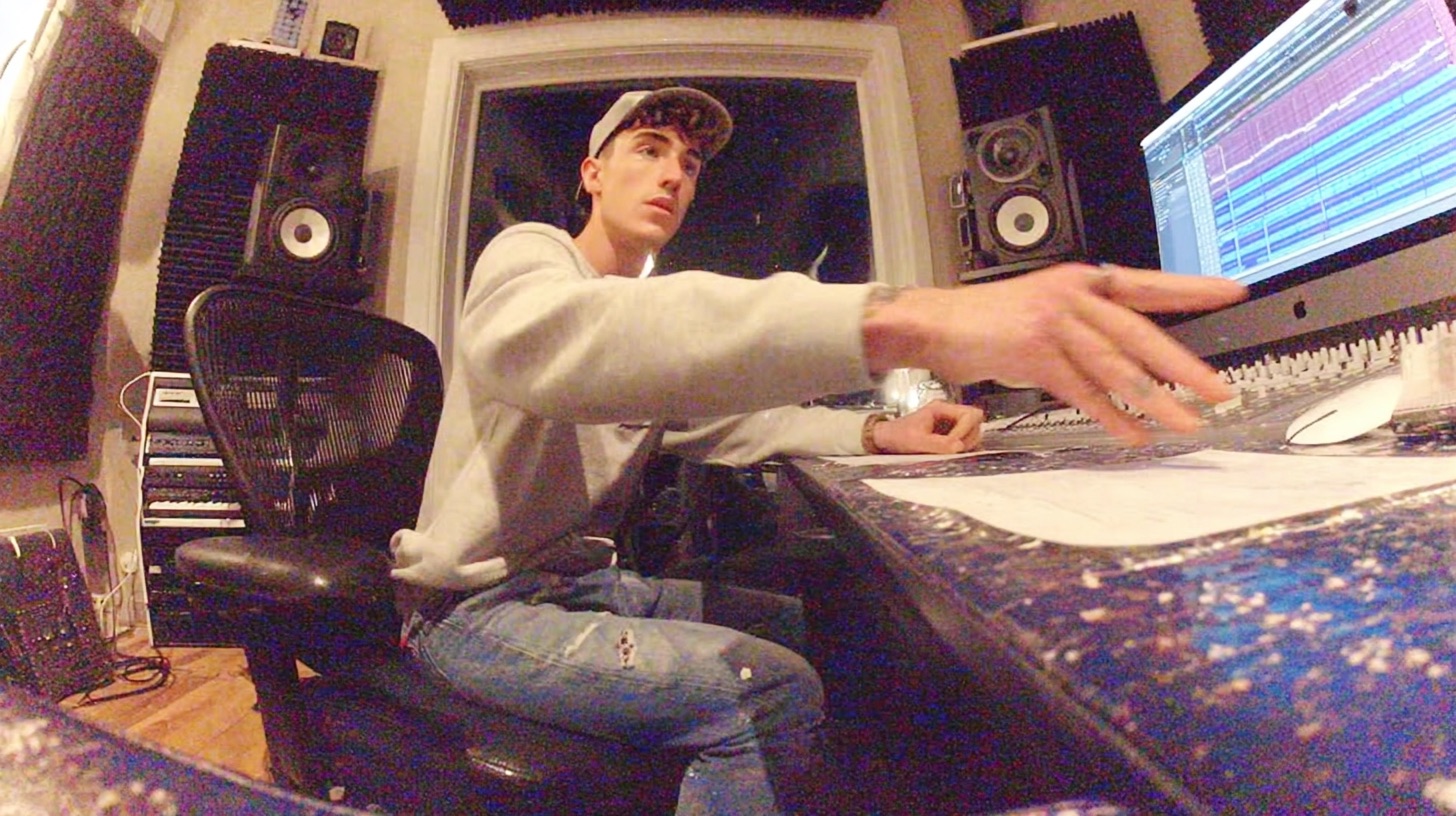
See How The Pros Really Use EQ
Reading about EQ settings is one thing. Watching a world-class producer like Will Putney or Jens Bogren surgically carve space for a 9-string guitar in a real mix is another level of learning entirely.
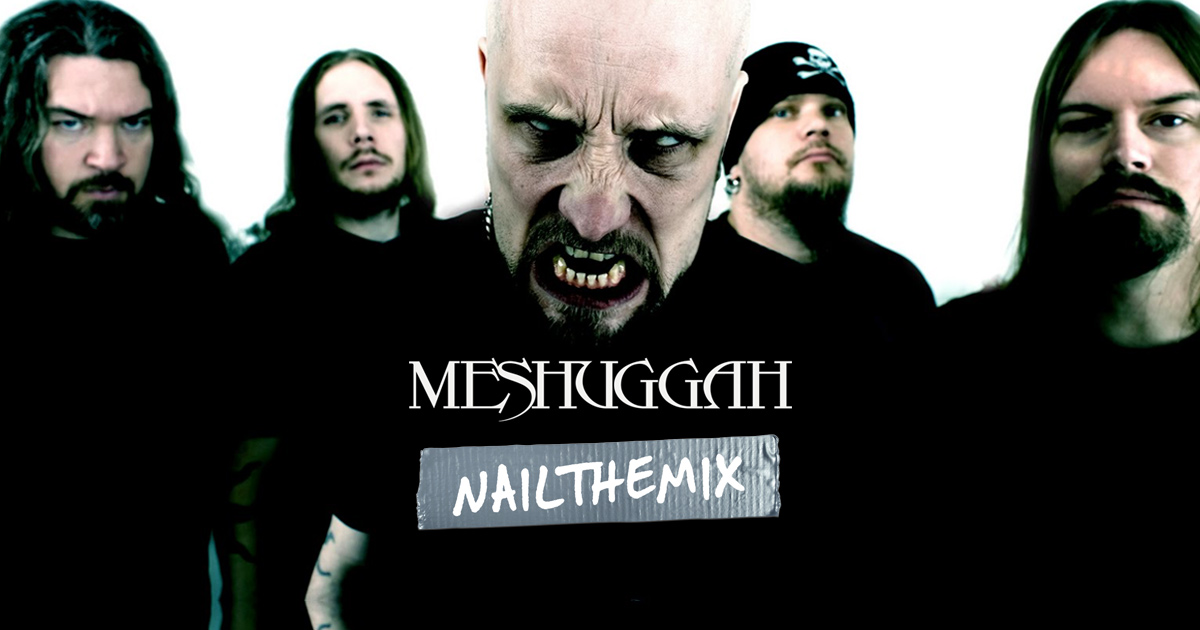
That’s what Nail The Mix is all about. We put you in the room with the producers behind bands like Gojira, Meshuggah, and Periphery as they mix their actual hit songs from scratch. You get the raw multi-tracks to mix alongside them and can see every plugin choice and every tiny EQ automation move they make.
If you’re ready to see how all these techniques are applied in a real-world, release-ready metal mix, check out our entire catalog of sessions and find your next favorite producer to learn from.