Your Modern Metal Drum Programming FAQs Answered
Nail The Mix Staff
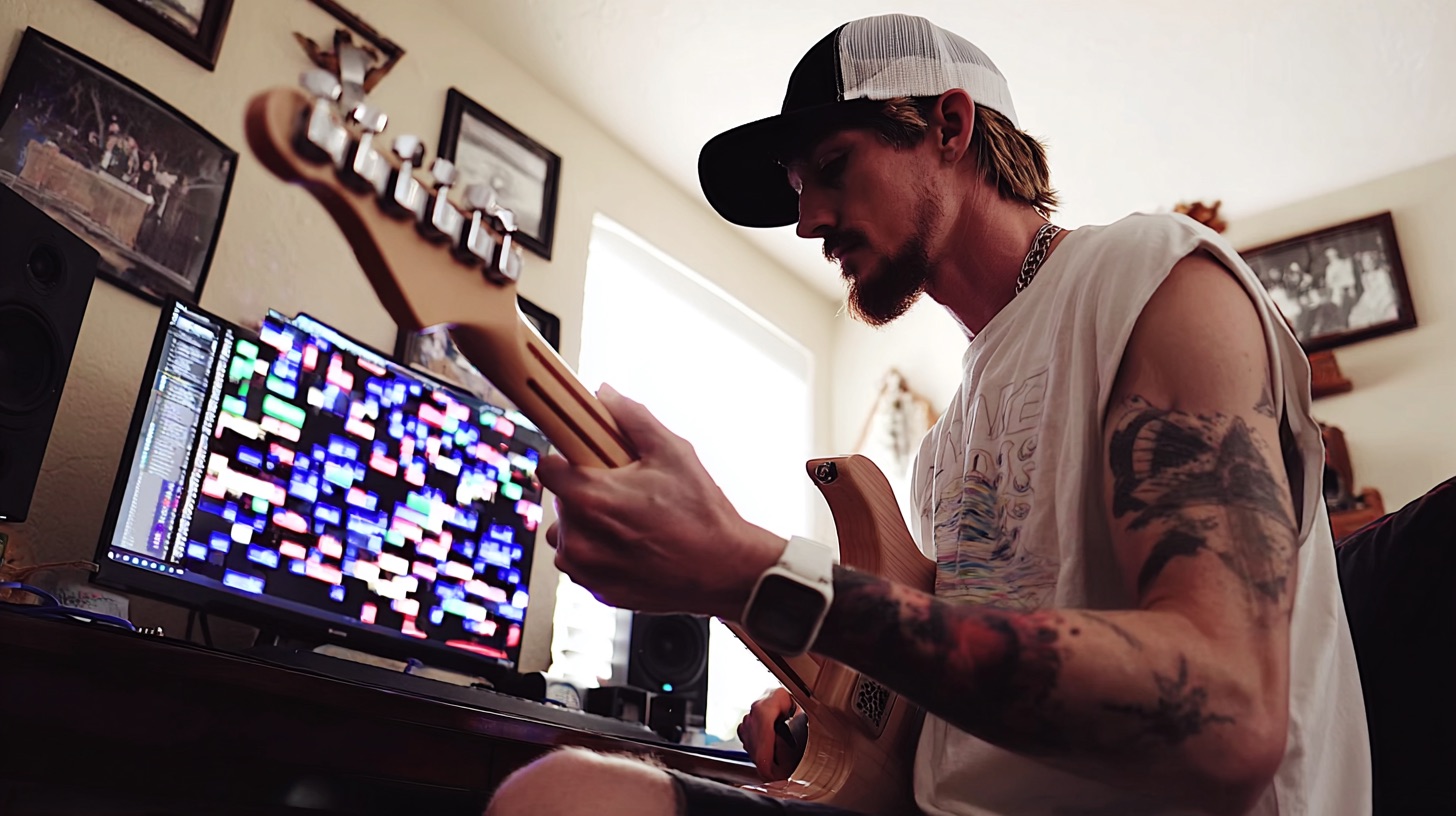
Programmed drums are no longer the dirty secret of modern metal production—they’re the standard. With the insane level of precision, power, and polish demanded by today’s listeners, crafting the perfect drum performance in your DAW is often the most direct path to a professional-sounding track.
The technology is better than ever. Tools like GetGood Drums, Superior Drummer 3, and Slate Drums give you access to world-class kits recorded in legendary studios. But having the tools is only half the battle. The real magic is in the technique.
Let’s dive into the most common questions metal producers have about programming drums that don’t just work, but absolutely crush.
What’s the Best Drum VST for Metal?
This is the big one, and the answer is: it depends on your workflow. The good news is, you can’t really go wrong with the top contenders.
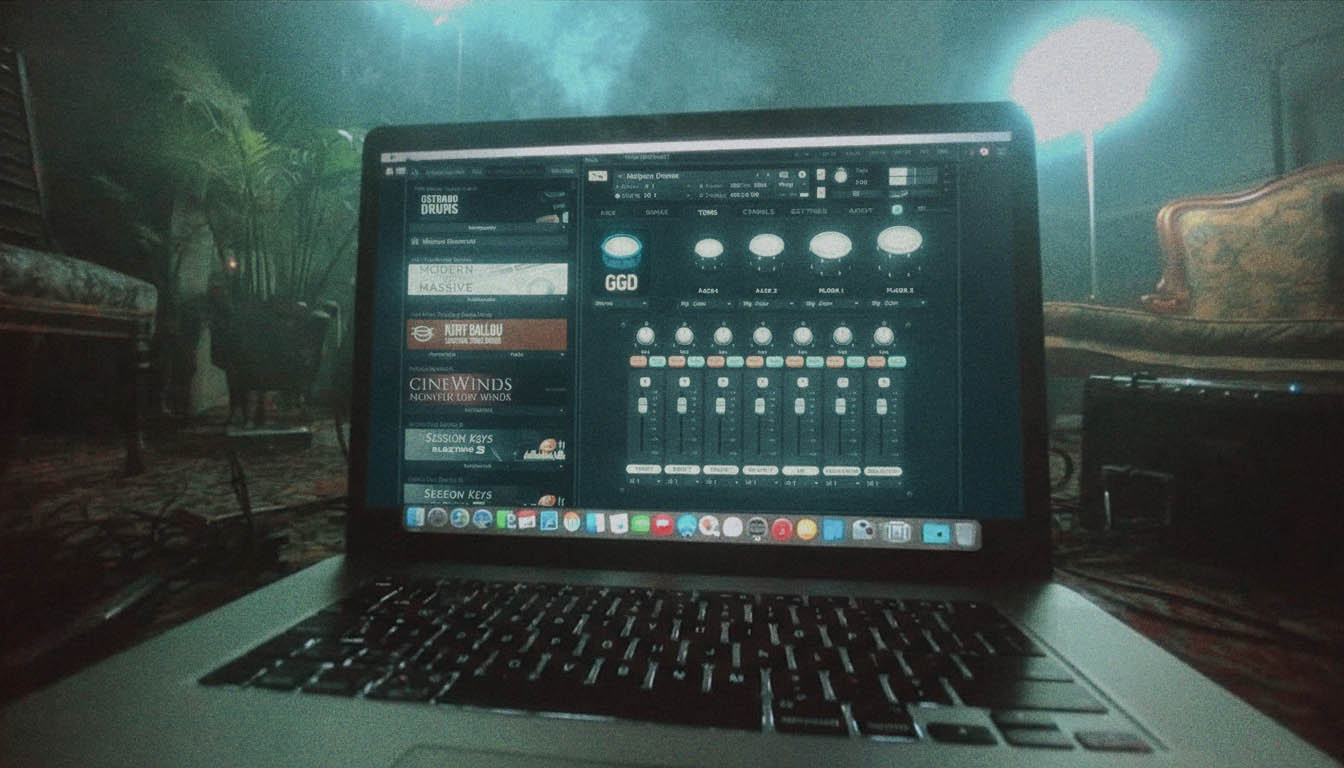
GetGood Drums (GGD)
If you want drums that sound aggressive and mix-ready right out of the box, GGD is your best friend. Kits like the P IV Matt Halpern Signature Pack or the Modern & Massive pack are specifically designed for modern rock and metal. They come pre-processed with that signature punch and bite, which is awesome for songwriting and getting killer results fast. The downside? You have less flexibility to shape the raw tone since many of the processing decisions have been made for you.
Toontrack Superior Drummer 3 (SD3)
SD3 is the ultimate power user’s tool. It gives you raw, beautifully captured multisamples with an insane level of detail. You get total control over mic bleed, room sounds, and every nuance of the kit. This means more work is required—you’ll need to do more EQ, compression, and shaping to get it to sit in a dense metal mix. But the reward is a drum sound that is uniquely yours. Its built-in tracker for turning audio into MIDI is also a game-changer for drum replacement.
Steven Slate Drums 5 (SSD5)
SSD5 sits in a nice middle ground. It offers a huge library of punchy, production-ready kits that still have a good amount of tweakability. Many producers swear by Slate’s kick and snare samples, which have defined the sound of countless modern metal records.
The verdict: There’s no single “best.” Start with GGD if you want speed and instant impact. Graduate to SD3 when you want ultimate control and are ready to do more of the mixing work yourself.
How Do I Make Programmed Drums Sound Human?
A perfectly quantized, max-velocity drum track is the fastest way to make your song sound robotic and cheap. The goal isn’t to sound sloppy; it’s to replicate the subtle imperfections and dynamics of a world-class professional drummer.
Velocity is Everything
No real drummer hits the snare at the exact same velocity every single time. This is where the magic happens.
- Accents: Your main backbeats (snares on 2 and 4) should be the hardest hits. Set their MIDI velocity to the 120-127 range.
- Ghost Notes: These are the quiet, in-between notes that add groove and feel. Program snare ghost notes with a very low velocity, somewhere between 20-50. This will trigger quieter, more nuanced samples in your VST and make your grooves breathe.
- Hi-Hats and Cymbals: Vary the velocity of your hi-hat hits slightly. For example, in a simple 8th-note pattern, you could alternate between velocities of 110 and 95. This subtle difference mimics the natural motion of a drummer’s hand.
Get Slightly Off the Grid
While modern metal is tight, it’s not perfectly robotic. Quantizing everything to 100% can suck the life out of a performance.
- Manual Nudges: Instead of using a global “humanize” function, manually nudge key notes. Drummers often play slightly ahead of the beat leading into a chorus (pushing the energy) or slightly behind the beat in a heavy groove (adding weight). Try nudging your snare hits a few milliseconds before or after the grid line.
- Fill Dynamics: When programming a fast drum fill, have the velocity gradually increase (
<) as the fill builds. It creates tension and makes the final cymbal crash feel more explosive.
Use Your VST’s Features
Modern drum libraries are incredibly deep. Don’t just stick to the main snare hit articulation. Program in rimshots for extra crack, drag articulations for slower passages, and use different cymbal articulations (bell, edge, bow) to create variety. Good libraries also use “round robins”—multiple different samples for the same velocity level—to avoid the dreaded machine-gun effect. Lean into these features.
MIDI Grooves vs. Programming From Scratch: Which is Better?
There’s no shame in using pre-made MIDI grooves, especially from packs programmed by pro drummers like the Nolly Getgood MIDI groove pack. They’re an incredible tool for songwriting and for learning how great drummers construct their parts.
The best approach is often a hybrid one:
- Start with a MIDI groove that matches the vibe of your riff.
- Deconstruct it. See where the ghost notes, accents, and kick patterns are.
- Customize it. Change the kick pattern to lock in perfectly with your guitars. Steal the feel of the hi-hats but write your own fill leading out of the section. Use the groove as a foundation, not a crutch.
Programming everything from scratch gives you the most control, but using MIDI grooves as a starting point can save you hours and expose you to new rhythmic ideas.
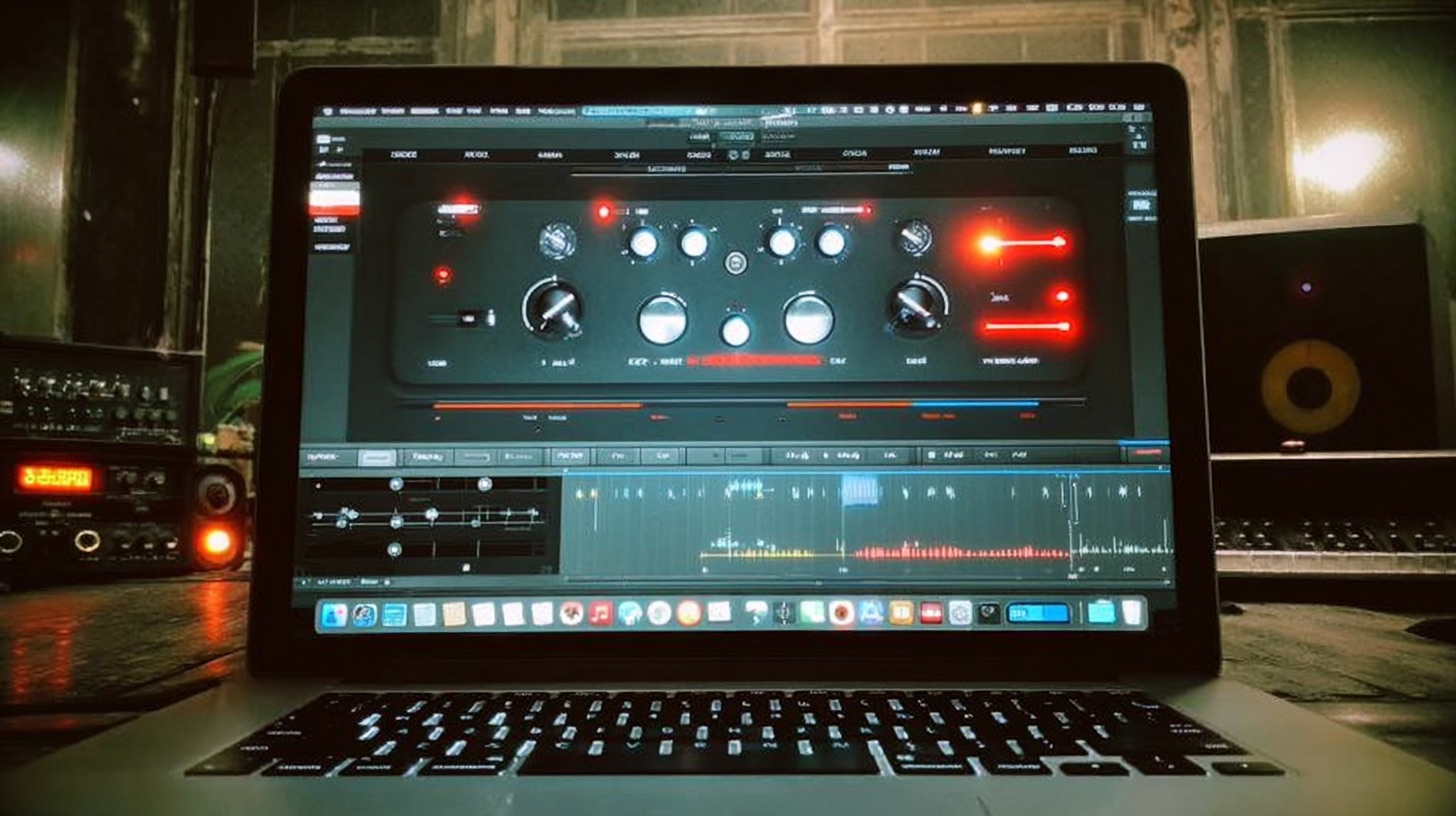
How Should I Process Programmed Drums?
Even mix-ready VSTs like GGD benefit from some extra processing to make them sit perfectly in your song.
Bus Compression and Saturation
Route all your individual drum tracks (kick, snare, toms, cymbals) to a single stereo bus. Applying a bit of “glue” compression here will make the entire kit feel more cohesive. Try a VCA-style compressor like the Slate VBC or an SSL G-Bus emulation with a slow attack and fast release, aiming for just 2-3dB of gain reduction. Following that with a touch of tape saturation can add warmth and subtle harmonic excitement.
Parallel Compression
For that ultra-aggressive, punchy sound, send your drum bus to an auxiliary track and absolutely smash it with a compressor like an 1176 “all buttons in” emulation. Blend this heavily compressed signal back in underneath your main drum bus. This adds density and aggression without sacrificing the transients of the main drum sound. For a deep dive on this, check out our guide to parallel compression.
Reverb and Room Mics
Your drum VST’s room mics are crucial for creating a sense of space. Don’t be afraid to compress these heavily to bring up the ambience. You can also send your snare and toms to a separate reverb plate or hall to give them a bigger-than-life tail that helps them cut through the mix.
How Do I Get My Kick to Punch Through 8-String Guitars?
This is the quintessential modern metal mixing challenge. With guitars tuned down to F# or even lower, the low-end of your mix can turn into a muddy mess. The kick, bass, and rhythm guitars are all fighting for the same sonic real estate.
Strategic EQ is Your First Move
You have to create a dedicated pocket for each instrument.
- High-Pass the Guitars: This is non-negotiable. Use a high-pass filter on your rhythm guitars to cut out the sub-bass frequencies they don’t need. The exact frequency depends on the tuning, but start around 80-100Hz and adjust by ear.
- Carve a Lane for the Kick: Find the fundamental frequency of your kick drum’s “thump” (usually 60-80Hz). Apply a narrow EQ cut at that same frequency on your bass guitar track. This creates a small hole for the kick to sit in, allowing both instruments to be heard clearly. Check out our guide to EQing modern metal guitars for more on this.
- Boost the Kick’s “Click”: The attack of the beater is what helps the kick cut through a dense wall of guitars. Find that “click” somewhere between 3-6kHz and give it a healthy boost.
Use Sidechain Compression
Sidechain compression is a powerful tool for creating space dynamically. Set up a compressor on your bass guitar track, but have its detector triggered by the kick drum. Set a fast attack and release so that every time the kick hits, the bass guitar’s volume ducks for just a split second. This effect can be subtle, but it’s incredibly effective at clarifying the low end.
Is Programming Drums “Cheating”?
Absolutely not. In an era where production standards are higher than ever, programming drums is a production choice.
Think about it: many modern metal albums that use a live drummer still feature heavy editing and sample replacement to achieve that flawless, punchy sound. If the end goal is a super-tight, powerful drum performance that’s been heavily manipulated, what’s the difference if it started with a live player or a MIDI grid?
Programming gives you complete and repeatable control over the foundation of your song. It’s a tool, just like an amp sim or an EQ plugin. The only thing that matters is how good it sounds in the end.
Take Your Drum Sounds to the Next Level
Understanding these FAQs is a massive step forward. But reading about velocity curves and sidechain compression is one thing—seeing it applied in a real-world mix is another.
With Nail The Mix, you can watch world-class producers like Joey Sturgis, Will Putney, and Dan Lancaster build these massive drum sounds from the ground up using the raw multi-tracks from bands like Gojira, Lamb of God, and Architects.
If you’re ready to see how the pros really do it, check out our full catalog of Nail The Mix sessions and see whose brain you want to pick next.