Nailing Human Feel with Toontrack Progressive Foundry SDX
Nail The Mix Staff
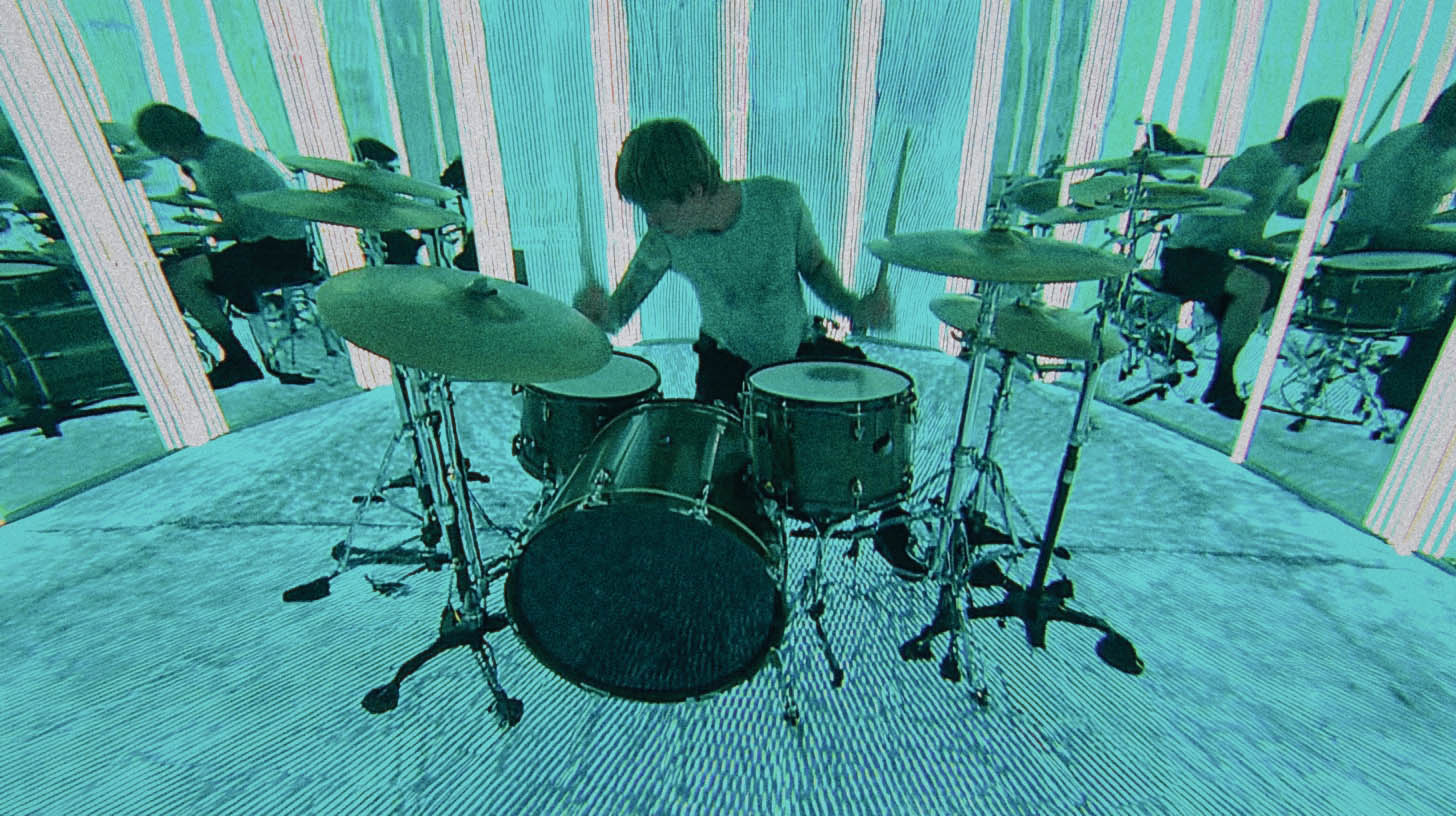
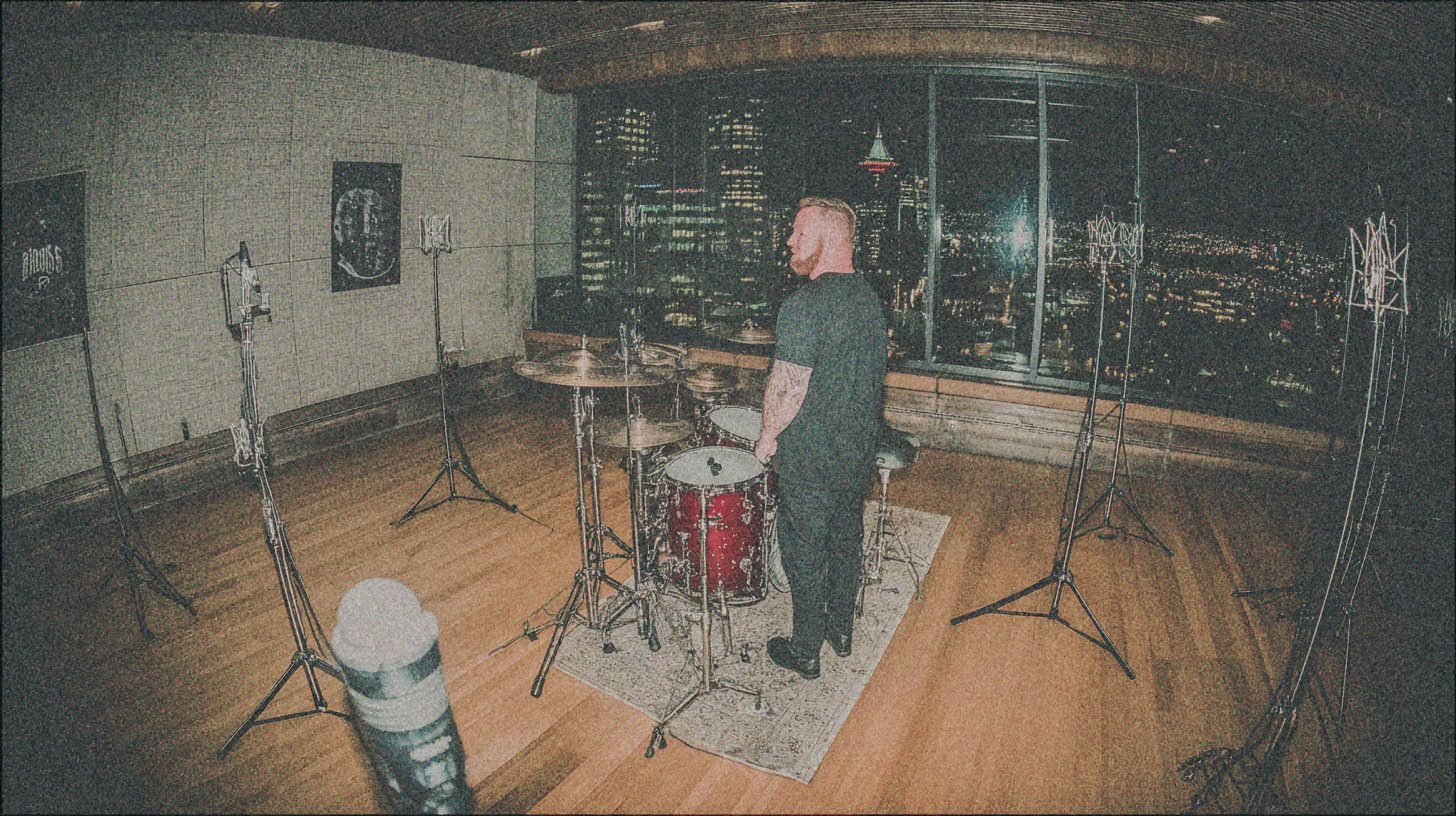
Modern metal drums get a bad rap. We’ve all heard it: they sound fake, programmed, like plastic toys being hit in a vacuum. Nowhere is this more obvious than in a blast beat that sounds like a machine gun firing the same sterile snare sample over and over. It’s just… boring.
But here’s the thing: many of the most massive, organic-sounding metal records you love are loaded with samples. The problem isn’t the samples themselves; it’s how they’re used. A tool like the Toontrack Progressive Foundry SDX is an absolute monster, but just loading a preset and drawing in MIDI notes at full velocity is a recipe for robotic-sounding drums.
The key is to leverage its power to create an illusion of human performance—one full of nuance, minor imperfections, and raw power. Let’s dive into how you can take the incredible sounds of the Progressive Foundry SDX and make them breathe like a real drummer.
What is Toontrack Progressive Foundry SDX?
First, a quick primer. The Progressive Foundry isn’t a standalone plugin; it’s an SDX, or Superior Drummer Expansion, designed for Toontrack’s flagship Superior Drummer 3. This isn’t just a collection of one-shots; it’s a deep, meticulously sampled set of drum kits recorded by one of modern metal’s most revered producer/engineers, Forrester Savell (Karnivool, Periphery, Twelve Foot Ninja).
Inside, you get:
- Five Full Kits: Featuring shells from DW, Ludwig, and Tama, giving you a massive palette of tones to choose from.
- Extensive Cymbals: A huge selection of Sabian and Zildjian cymbals, all captured with the same detail as the drums.
- World-Class Room: Recorded at Sing Sing Recording Studios in Melbourne, Australia, the room sounds are rich, detailed, and perfect for creating epic metal drum mixes.
Essentially, Toontrack and Savell have handed you the raw, multi-mic’d recordings of incredible drum kits played in a legendary space. Now it’s your job not to screw it up.
Beyond the Presets: Making Progressive Foundry Sound Real
The secret to making any drum library sound human is to think like a drummer and an editor, not just a programmer. It all comes down to introducing variation and avoiding perfection.
Velocity: Your Secret Weapon Against Robotic Drums
When a human drummer hits a snare, they never hit it in the exact same spot with the exact same force twice. Those subtle differences are what make it interesting. In the MIDI world, this is controlled by velocity.
Too many producers just draw in all their snare hits at the maximum velocity of 127. This is the cardinal sin of drum programming. Here’s why:
- It’s a Volume Knob, Not a Performance: In a deeply sampled library like Progressive Foundry, velocity doesn’t just change the volume; it triggers entirely different samples. A hit at velocity 90 might be a solid center-of-the-snare hit, while a hit at 120 might be a blistering rimshot. A hit at 60 could be a softer, fatter-sounding ghost note.
- The Brain Tunes Out Repetition: When your brain hears the exact same sound over and over again, it starts to ignore it. A blast beat with no velocity variation is acoustically boring and lacks the frantic energy of a real performance.
Actionable Tip:
Instead of maxing out your velocities, try this: set your main backbeats around 115-125. For fast fills or blast beats, drop the velocity to 95-110 to mimic how a real drummer conserves energy and can’t hit as hard at high speeds. Program your ghost notes way down in the 40-70 range. Use your DAW’s MIDI editor to create subtle, randomized variations in velocity across a performance.
Smart Quantizing: The 90% Rule
The “Quantize 100%” button is another dream-killer. Pushing every single drum hit perfectly onto the grid is what creates that stiff, robotic feel. Even the tightest drummers in the world have a certain amount of “push” and “pull” against the beat that creates the groove.
A good editor knows how to tighten a performance without completely sterilizing it.
Actionable Tip:
Instead of snapping everything perfectly to the grid, use your DAW’s quantize strength (sometimes called “tightness”) setting. Try quantizing your drum performance to around 85-95%. This will pull the sloppiest hits closer to the grid while leaving the subtle, human micro-timings intact. It makes the performance feel tight and professional, but still alive. For something like a bomb blast, which needs to be incredibly tight to work, you might push it to 90%, but rarely to a full 100%.
Sample Layering for Maximum Impact
Sometimes, the best use of a sample is not to replace a real drum performance, but to enhance it.
Let’s talk about blast beats again. Like we covered, a real drummer has to play lighter to achieve that speed. This means the snare hits can get lost in a dense mix of distorted guitars. If you just turn up the live snare mic, you’ll also turn up a tidal wave of cymbal bleed, making your mix harsh and messy.
This is the perfect scenario for reinforcement.
Actionable Tip:
Keep your live-recorded overheads and room mics for the cymbals and ambience. Then, use a drum trigger plugin like Slate Trigger 2 or SD3’s built-in audio-to-MIDI tracker on your close-mic’d snare track. Have it trigger a punchy snare from the Progressive Foundry SDX (like one of the DW Edge snares).
Now you can blend this powerful, clean sample underneath your live snare. You get the punch and consistency of the sample without the cymbal bleed, all while retaining the human feel from the original performance’s timing and velocity nuances.
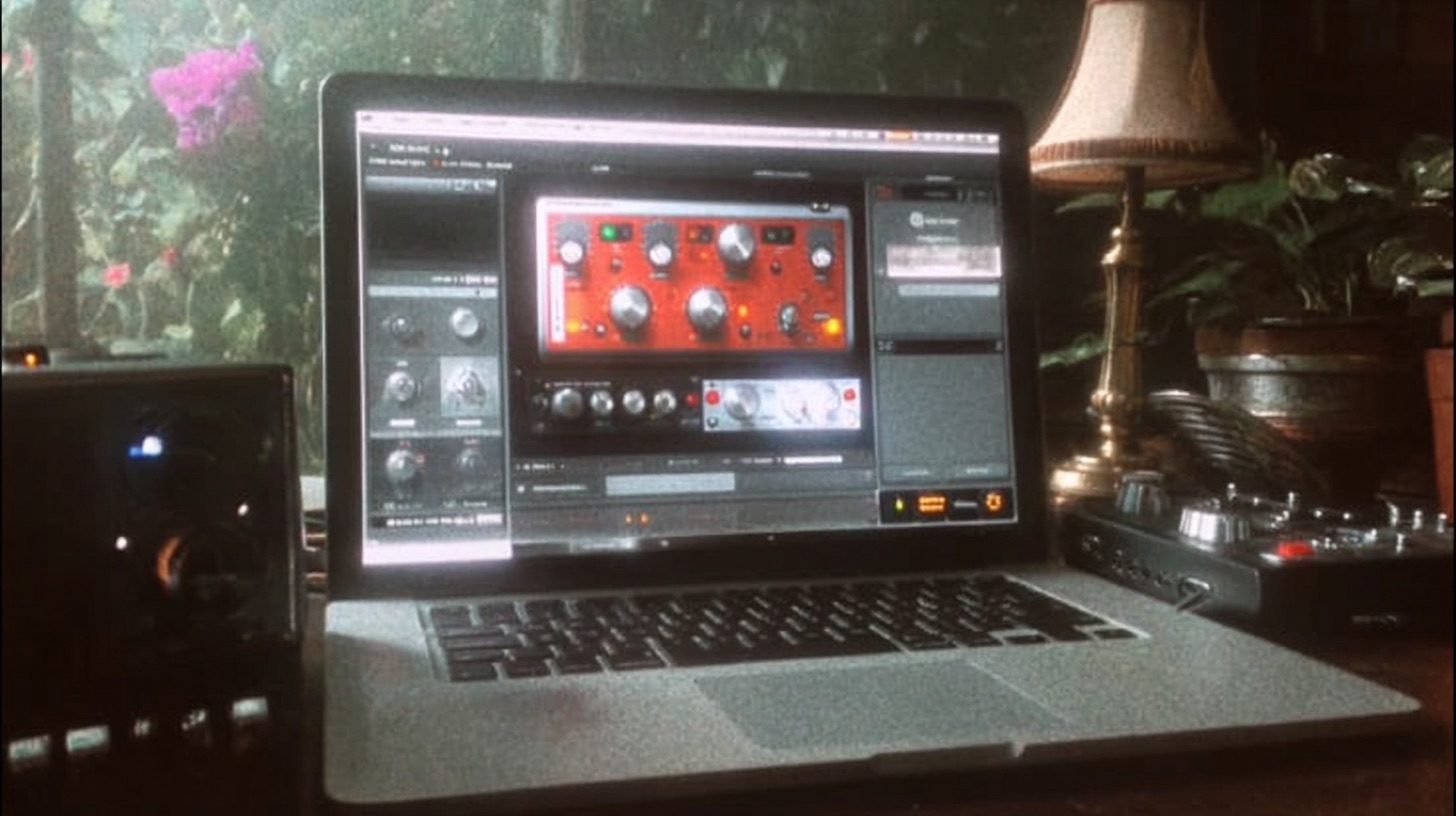
Processing Your Progressive Foundry Kit
Once your MIDI performance feels human, it’s time to mix the kit. SD3 gives you the power to route each microphone out to its own track in your DAW, just like a real recording session.
Bus Compression for Glue
To make the individual pieces of the kit sound like they were played together in the same room, send your kick, snare, and tom shells to a stereo bus. Slap a compressor on it to “glue” them together. A VCA-style compressor like an SSL Bus Compressor emulation or a plugin like FabFilter Pro-C 2 in its “Bus” mode works wonders. Aim for just 2-4dB of gain reduction on the loudest hits. This will tighten up the low end and make the whole kit punch as a single unit. For more on this, check out these advanced metal compression secrets.
Adding Room and Reverb
The built-in room mics in The Progressive Foundry are phenomenal. Don’t be afraid to use them. Blend them in to taste for natural depth. For an even more explosive sound, send the room mics to a separate bus and crush them with a compressor (like a UAD 1176 “All Buttons In” style) and then blend that compressed signal back in underneath the main drum bus. This is a classic trick for huge rock and metal drum sounds.
The Toontrack Progressive Foundry SDX is an incredible tool, but it’s just that—a tool. It still requires a musician’s ear and a producer’s mindset to make it shine. By focusing on velocity, avoiding perfect quantization, and using samples to intelligently reinforce a performance, you can create drum tracks that are powerful, modern, and undeniably human.
These concepts are the foundation, but watching them applied in a real mix is a whole different level of learning. Imagine seeing the producers who work on bands like Gojira, Periphery, and Lamb of God build a drum mix from scratch, explaining every single plugin, EQ move, and compression setting. With Nail The Mix, you can.
You get the raw multi-tracks every month and watch world-class instructors mix them live. See how they apply these same principles to make drum samples punch through a wall of guitars. Check out the full catalog of Nail The Mix sessions and start turning great samples into legendary drum sounds.