How to Dial In Layered Metal Leads with Peavey ReValver
Nail The Mix Staff
Stacking multiple lead guitars can either sound epic and massive or turn into a chaotic, muddy mess. The difference is all in the details: the tone you choose, how you blend the layers, and the bus processing that glues it all together. When you’re dealing with intricate, fast, multi-part leads, you need a tool that’s both powerful and flexible.
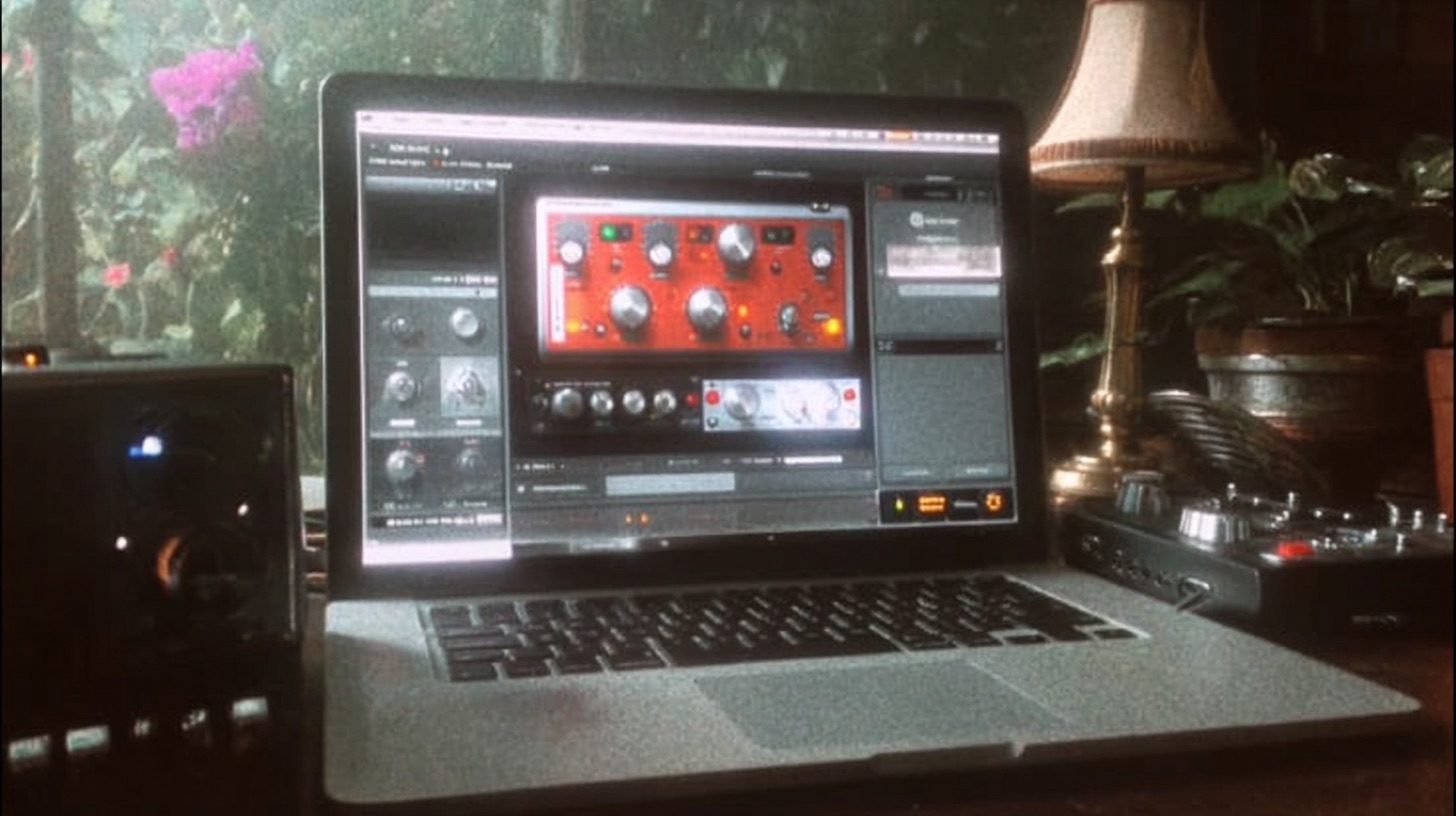
Enter Peavey ReValver. While it's famous for its incredible 6505 emulations, it’s capable of so much more. Let’s break down a workflow for crafting a huge, three-part lead harmony that cuts through a dense metal mix, using ReValver as our sonic canvas.
Starting Point: Nailing the Core Tone in ReValver
Before we even think about layering, we need a solid foundation. For this, we’re working with three separate DI tracks: a main lead line, a secondary harmony, and a lower octave. The goal is to create one killer tone and apply it across all three to ensure they sound cohesive from the start.
Amp Selection: Thinking Beyond the 6505
Your first instinct with Peavey ReValver might be to jump straight to a 6505 or 5150 model. They’re legendary for a reason. But for lead guitars, sometimes a different flavor of mid-range is exactly what you need to slice through the wall of rhythm guitars.
Instead of the usual suspects, try a Marshall JCM 900 model. It has a classic-rock-meets-metal bite with a slightly different voicing that can help a lead melody pop. It’s a perfect example of ReValver’s versatility.
Cab and Mic: The Classic Combo
There’s no need to reinvent the wheel here. A tried-and-true combination will give you a familiar and effective starting point. Inside ReValver’s cab module, pair your amp head with a solid virtual cabinet like the "Ecto Cab."
For the microphone, you can’t go wrong with a virtual Shure SM57. It's the industry standard for a reason: it's built to handle high gain and has a natural mid-range presence that helps guitars cut through. This simple, reliable setup gives you an instantly usable tone.
Don't Forget the Overdrive
To get that modern metal clarity and aggression, you need to tighten up the amp’s front end. Just like you would with a real amp, place an overdrive pedal plugin before the amp head in your ReValver signal chain. A simple green "808-style" overdrive will do the trick.
Keep the drive knob low (or even at zero) and crank the level/volume. This pushes the amp's preamp tubes harder while filtering out some of the flubby low-end, resulting in a tighter, more articulate distortion. With this amp, cab, and pedal combo dialed in, copy the entire ReValver instance over to your other two lead tracks.
Building the Harmony: Arranging Your Lead Layers
Now that all three tracks have the same killer tone, it’s time to arrange them in the stereo field to create a cohesive but wide lead section. Just leaving everything dead-center will cause frequency clashes and sound one-dimensional.
Finding the Right Space with Panning and Volume
Think of your lead parts in terms of importance. Here, we have a clear hierarchy:
- Main Lead: This is the star of the show. Keep it right up the middle.
- Secondary Harmony: This supports the main melody. Pan it slightly to one side (e.g., 20-30 Left) to give it its own space without detaching it from the main lead.
- Lower Octave: This adds weight and thickness. Pan it opposite the secondary harmony (e.g., 20-30 Right) and, crucially, turn its volume down. The octave layer is there for support; it should be felt more than heard.
You might be tempted to pan the harmonies hard left and right for maximum width, but this can often backfire with lead melodies. It can create a disjointed sound where the parts feel disconnected from each other. Subtle panning is often the key to maintaining cohesion.
Polishing with Bus Processing
With the individual tracks balanced, the next step is to process them as a group. Send all three lead tracks to a stereo auxiliary track or bus. This allows you to apply effects to the entire lead section at once, helping to "glue" them together into a single, powerful performance.
Taming the Dynamics with Compression
Lead guitars can be very dynamic, with some notes jumping out more than others. A fast-attacking compressor can smooth out these peaks and give the overall sound more punch and consistency.
An 1176-style compressor, like the ones in the Slate Digital FG-Stress or Waves CLA-76, is a perfect choice. These FET compressors are known for their lightning-fast attack and aggressive character. Set a fast attack and release with a ratio of around 4:1, aiming for a few dBs of gain reduction on the loudest peaks. This will help the leads sit consistently in the mix without sacrificing their energy. For more on getting this right, check out our deep dive on metal compression secrets.
Adding Width and Depth with Reverb
To give the leads a sense of space and help them sit in the mix rather than just on top of it, we need reverb. Create another bus and send a signal from your main lead bus to it.
A plate reverb is a fantastic choice for lead guitars. It’s bright and diffuse, adding width and a tail without creating a muddy, cavernous sound. A plugin like ValhallaPlate is a go-to for countless producers. Start with a preset like "Bright Plate" and adjust the decay time to fit the tempo of the song. You want the reverb tail to fade out before the next phrase begins.
EQing Your Effects for a Cleaner Mix
This is a pro move that separates good mixes from great ones. The reverb you just added also contains frequencies—and sometimes those frequencies can clutter up your mix. By EQing the reverb return, you can get all the space and width without any of the mud.
Place an EQ plugin after the reverb on your reverb bus. Two key moves will clean things up instantly:
- Cut the Low-Mids: Use a parametric band to scoop out some energy around 250-400Hz. This is often where mud builds up, and removing it from your reverb will keep the core tone of your guitars and snare intact.
- High-Pass Filter: Add a high-pass filter to chop off all the unnecessary low-end rumble below 100-150Hz.
Finally, you can add one last EQ on the main lead bus itself. A gentle high-pass filter around 95Hz, perhaps using a smooth Neve-style EQ, will ensure your leads aren’t fighting with the bass and kick drum. For an in-depth guide on these techniques, see how to go about EQing modern metal guitars for max impact.
The Final Result
By combining the versatile tone-shaping of Peavey ReValver with smart layering, panning, and bus processing, you can turn a set of DI tracks into a massive, polished, and professional-sounding lead section that cuts through the mix perfectly.
This kind of detailed, step-by-step process is exactly what you get inside Nail The Mix. Imagine learning these techniques not just from an article, but by watching the world-class producers who mixed your favorite albums, like Jens Bogren, Will Putney, and Nolly Getgood.
With a Nail The Mix membership, you get the actual multi-tracks from bands like Gojira, Lamb of God, and Knocked Loose every month and watch the original producer build the mix from scratch. Explore our full catalog of NTM sessions and see how it works. For even more tutorials, check out the massive library available with URM Enhanced.