How to sample replace a snare roll with natural dynamics
Nail The Mix Staff
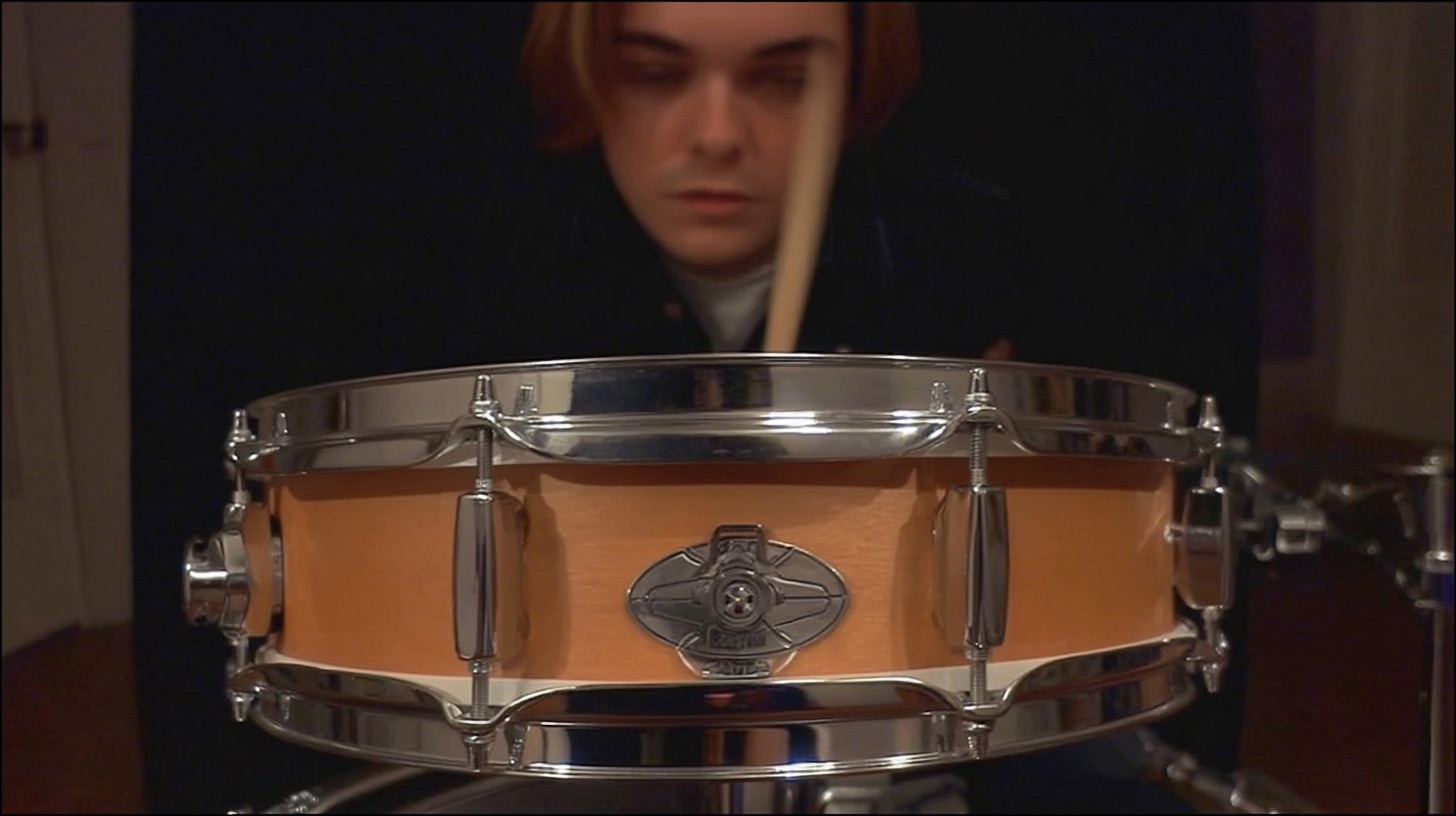
Let's be honest, we've all been there. You're deep in a mix, and the snare drum just sounds… well, like a machine gun. Lifeless, robotic, and completely devoid of the human feel the drummer laid down. It’s a common frustration, especially in heavy music where snare impact is king. If you’re tired of drum samplers making weird choices or your snare rolls sounding like they were programmed by a metronome with an attitude problem, Joey Sturgis has a killer technique you need to try.
This isn't about just slapping a sampler on a track and calling it a day. It's a hands-on approach to snare sample layering that gives you ultimate control, boosts your snare sound organically, and keeps those natural dynamics intact. Yeah, it takes a bit more elbow grease than some set-and-forget methods, but the results? Chef's kiss. This is just one gem from an entire eight-hour live mixing session available on Nail The Mix, where pros spill their secrets.
Why Your Snare Samples Might Sound "Total Robot Mode"
We’ve all battled drum samplers that just don’t get it. You feed them a perfectly good snare track, and they spit out a performance that’s either too consistent or, worse, makes baffling dynamic choices. A hit that should crack like thunder gets a wimpy tap, or a subtle ghost note gets blasted. Joey himself admits he hates most snares and developed this method out of frustration with samplers not making the right decisions. If you just drop a plugin like Drumagog on a snare track using its default settings, it might not pick the velocity layers you want, leading to that dreaded "total robot mode."
The goal here is to enhance, not obliterate. You want to guide the samples, not let them walk all over the original performance's feel.
The Sturgis Method: Manual Velocity Layering for Ultimate Control
Joey's approach is all about taking back control and making deliberate choices about every snare hit. It’s a bit like creating your own custom-programmed performance using samples, but guided by the original audio.
H3: Building Your Velocity Foundation: Multiple Mono Tracks
First things first, you're going to create a few dedicated audio tracks for your snare samples. Joey typically uses around four or five mono tracks, naming them to represent different velocity layers. Think:
- Snare Crack (or Hardest)
- Snare Hard
- Snare Medium
- Snare Soft
- Snare Softer (optional, depending on the sample library)
The idea is that you'll manually place snare hits onto the track that corresponds with how hard you want that particular hit to sound. You're essentially pre-determining the velocity for the sampler.
H3: Prepping the Hits: Slice, Normalize, and Fade
This is where the meticulous work comes in, but it’s crucial.
- Slice 'Em Up: Go through your original snare track and slice out each individual snare hit. For sections with similar dynamics, you can group some cuts, but for varying velocities, each hit needs to be its own audio region.
- Normalize for Triggering: Here’s a key trick. Some of those softer original hits might be too quiet to reliably trigger your drum sampler. To combat this, select all your sliced snare hits and normalize them. This cranks their level up, ensuring that even the quietest intended hit will be loud enough for your sampler (like Drumagog) to "hear" it.
- Quick Fades: After normalizing, apply a very quick fade-out to the end of each audio slice. This is super important to prevent any bleed from the original snare or cymbal wash from causing double triggers or flamming with your sample.
Now, you'll drag each of these prepped audio slices onto the appropriate velocity track you created earlier. This is your chance to really define the dynamics – if the drummer played a medium hit but you want it to be a crack, put it on the "Snare Crack" track.
Bringing it to Life with Your Sampler (Hello, Drumagog!)
With your hits organized onto their respective velocity tracks, it's time to load up your sampler. Joey uses Drumagog in the video, but the principle applies to other samplers too.
H3: Loading Samples and Initial Sampler Settings
- Place an instance of your drum sampler (e.g., Drumagog) on each of your velocity-layered audio tracks.
- On each track, load the same snare sample. For instance, Joey uses the Steven Slate Drums 3.5 Snare Four sample in the tutorial. The key is that each track will trigger this sample, but because the audio feeding Drumagog is on a different track, you're essentially telling it "use this velocity."
- Crucial Sampler Setting: Inside Drumagog (or your chosen sampler), you’ll likely want to turn OFF any "dynamic tracking" or velocity sensitivity features. Why? Because you've already determined the velocity by placing the trigger audio on a specific track. You want the "Snare Crack" track to always trigger the hardest sample from your chosen snare, the "Snare Hard" track to trigger the next one down, and so on. If your sample only has four velocity layers, you’d only use four tracks.
H3: Blending and Balancing the Layers
Now, the magic happens. Instead of relying on MIDI velocity or a sampler's algorithm, you control the dynamics by adjusting the volume faders of your individual snare sample tracks.
- Want the "Snare Medium" hits to be a bit quieter overall? Pull down the fader for that track.
- Need more punch from the hardest hits? Maybe nudge that "Snare Crack" fader up.
You're essentially mixing the different velocity layers of your chosen sample to recreate or even enhance the dynamics of the original performance. This hands-on approach to snare dynamics can be a game-changer, especially when you're trying to achieve a powerful yet nuanced sound.
Conquering Snare Rolls with Natural Flow
Snare rolls are often where sample replacement falls flat, sounding machine-gun-like. Joey’s method offers a great way to make them breathe.
H3: Accents First, Fills Second
For a dynamic snare roll, like one that builds in intensity:
- Isolate Accents: Identify the accented hits in the roll. Cut these out and place them on your harder velocity tracks (e.g., "Snare Hard" or "Snare Crack"). Normalize these accent slices too.
- Fill the Gaps: For the softer, in-between hits in a fast roll (like 16th notes), Joey sometimes takes a single, clean, short sample of a softer hit (already processed and on its own track like "Snare Soft"). He then cuts it to the grid and copy-pastes it to fill in all the non-accented 16th notes. This is particularly useful if you're completely replacing the snare sound and not blending with the original (where phase alignment would be a bigger concern).
H3: Automation for Smooth Builds
This is where you make the roll come alive:
- Automate Softer Hits: On the track with your softer, filled-in roll hits, use volume automation to create a gradual crescendo. Start them quieter and bring the volume up as the roll intensifies. This creates a natural-sounding swell.
- Automate Accents (Optional): You can also subtly automate the volume of your accent track(s) during the roll to further enhance the build-up or create specific dynamic shapes.
By combining carefully chosen sample layers with volume automation, you can turn a potentially static snare roll into a dynamic, exciting part of the song. The precision you gain here is similar to meticulous fader riding, a core skill in mixing. To further refine the tone of each layer and the overall snare sound, don't forget the power of surgical EQ. Dive deeper into EQ strategies for mixing metal to really make your drums cut through.
Audio vs. MIDI: It's About Workflow and Control
Someone in the video chat asked why not just use MIDI, which offers high-resolution velocity control. Joey's take? It's preference. He's incredibly fast with this audio-slicing method, has been doing it for ages, and feels it gives him all the control he needs over the song's dynamics. For him, this workflow is intuitive and delivers the goods.
There's no single "right" way, but if you're looking for an alternative to MIDI programming that feels more connected to the original audio performance, this technique is gold.
Take Control of Your Snare Sound
Joey Sturgis's manual snare layering technique is a fantastic way to get powerful, natural-sounding snare samples that serve the song, not just sound loud. It puts you firmly in the driver's seat, allowing for nuanced dynamic control that can elevate your mixes from good to pro.
While this detailed snare work is a specific skill, it’s part of a bigger picture of understanding how to shape sound. If you're serious about taking your metal productions to the next level, seeing how top-tier producers like Joey tackle these challenges from start to finish is invaluable. At Nail The Mix, you get exactly that – access to full multitrack sessions from massive bands and hours of instruction from the producers who mixed them. It’s about learning not just what buttons to press, but the why behind every mixing decision.
Ready to stop fighting robotic drums and start crafting snares with impact and life? Give this layering technique a shot. And if you're hungry for more in-depth knowledge to truly unlock your sound in modern metal mixing, you know where to go.