How to Mix and Master Music for Metal in Your Bedroom
Nail The Mix Staff
Let’s be real. Learning how to mix and master music, especially heavy metal, can feel like trying to tame a beast. You’ve got walls of distorted guitars, machine-gun drums, and screaming vocals all fighting for space. Getting it all to sound powerful and clear—not like a muddy mess—is a massive challenge.
But here’s the thing: it has never been a better time to be a metal musician or producer. Forget the old days of needing to save up a retirement fund to book a huge studio, only to have some engineer who doesn't "get" metal hand you a garbage-sounding demo.
Thanks to the internet, affordable gear, and insane plugin technology, you can achieve a world-class sound right from your bedroom. The gatekeepers are gone. The only thing standing between you and a killer-sounding record is your skill. And skill is something you can build.
So, let's break down a no-BS workflow for mixing and mastering your tracks to a professional standard.
The Modern Metal Mindset: Why You Can Do This Yourself
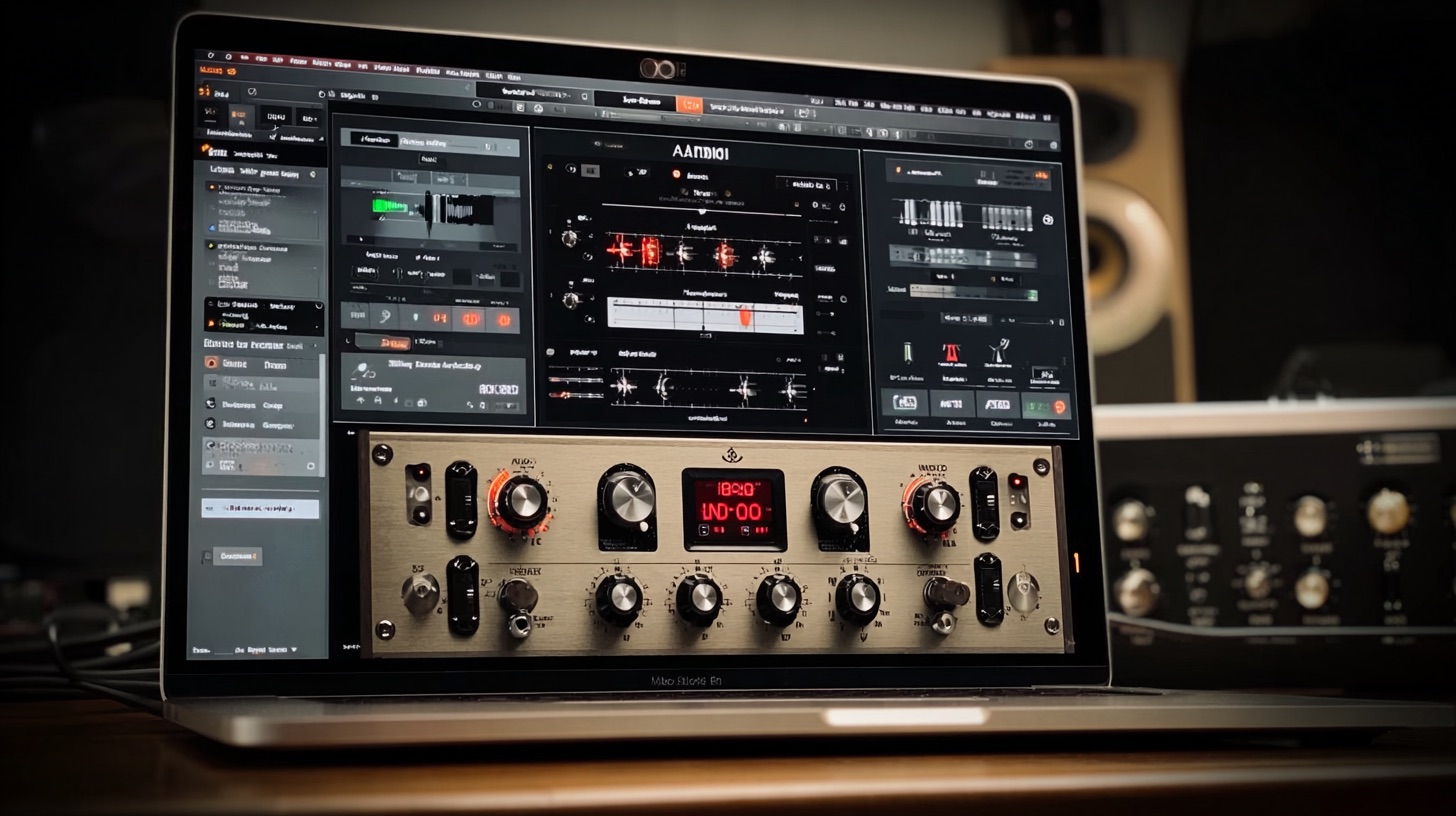
Before we even touch a fader, get this in your head: you don't need a vintage Neve console to make a great metal record. The barrier to entry is lower than ever. A solid interface like a Focusrite Scarlett or a PreSonus Studio model can deliver pristine audio quality that was unthinkable for the price ten years ago. Add a powerful DAW like Reaper or Logic Pro X, and you have a studio that rivals the capabilities of what the pros used to pay thousands for.
The power is in your hands. You can realize your exact vision without needing a producer to translate it for you. You can embrace new technology to create sounds that are bigger, tighter, and more aggressive than ever before. Let's get into how.
Step 1: The Mix Prep – Don't Skip This!
A great mix starts way before you start adding EQ and compression. A little prep work is the difference between a smooth, creative session and a frustrating nightmare.
Gain Staging and Organization
First, get your session in order. This means gain staging. Before you add any plugins, adjust the clip gain of every audio track so it’s peaking somewhere between -18dBFS and -10dBFS. This gives you plenty of headroom to work with and ensures you’re not accidentally clipping your plugins, which can create nasty digital distortion.
Next, organize. Color-code your tracks (e.g., drums blue, guitars red, bass yellow, vocals green) and route them to corresponding buses or aux tracks. This lets you process entire groups of instruments at once, which is key for getting a cohesive sound.
Editing: The Unsexy But Crucial Foundation
Modern metal is TIGHT. A whole generation of listeners grew up on records that were edited to perfection, and that has raised the bar for everyone. This is where you put in the work.
- Drums: If you’re using MIDI drums, quantize them. Don’t just snap everything to the grid; use your DAW's humanize functions or manually nudge hits to keep the feel. If you’re using live drums, get surgical. Line up the transients with the grid. Better yet, embrace modern tech. Use a tool like Slate Trigger 2 to replace or augment your shells. Many top producers have drummers play on a kit with a kick pad. This captures the human performance of the kick pattern without the bleed, giving you a clean signal to trigger a perfect sample. It’s not cheating; it’s a pro move for a clean, punchy low end.
- Guitars: Edit your DI tracks before you re-amp. Zoom in and make sure every chug and riff is perfectly in time with the drums. A tight guitar performance against tight drums is the bedrock of modern metal.
- Vocals: Vocal tuning is not optional anymore; it’s standard practice. Use a tool like Melodyne or Antares Auto-Tune to tighten up the performance. You don't have to make it sound robotic (unless that’s the vibe), but correcting stray notes will make your vocals sit in the mix so much better.
The Mixing Process: Building Your Wall of Sound
With a clean, tight, and organized session, the creative part can begin. A good strategy is to build from the foundation up: drums and bass first, then guitars, then vocals.
The Foundation: Drums and Bass
Your rhythm section needs to hit like a sledgehammer.
- Drums: Start with your kick and snare. Use an EQ to carve out space. A common move is to boost the "snap" of the kick around 4-6kHz and the "thwack" of the snare around 200-250Hz. Then, use compression to shape the transients. A fast-attack compressor like an SSL-style channel strip or a FabFilter Pro-C 2 can add punch and control. For an even bigger sound, set up a parallel compression bus. Send all your drum shells to an aux track, smash it with a compressor (think an 1176 on the "all buttons in" setting), and blend that crushed signal back in underneath your main drum bus. This adds incredible weight and excitement. Want to go deeper? We break down these techniques and more in our metal compression hub page.
- Bass: A killer metal bass tone often comes from a multi-band approach. Split your DI bass signal into two tracks. On one, use an EQ to filter out everything above ~250Hz—this is your clean "sub" track. On the other, filter out everything below ~250Hz and run it through a distortion plugin like a Darkglass Ultra emulation or a SansAmp for that aggressive "grit." Compress each track separately to control the dynamics, then blend them together to get a tone that has both massive low-end weight and midrange bite that cuts through the guitars.
The Guitars: Carving Out the Core Tone
This is where metal mixes live or die.
- Amp Tones: The flexibility of DI recording is a game-changer. You can dial in the perfect tone after the fact using amp sims like the Archetype series from Neural DSP or STL Tones, or by re-amping through hardware like a Kemper Profiler or Axe-Fx. This lets you tweak the tone to perfectly fit the mix, a luxury that was once impossible.
- EQ: EQ is your sculpting tool. The classic "mid-scoop" is a starting point, but modern metal EQ is more surgical. Use a high-pass filter on every guitar track to cut out low-end mud—start around 100Hz and move it up until the guitars feel clean but not thin. Then, hunt for nasty frequencies. That harsh, fizzy sound in many high-gain tones often lives between 5kHz and 10kHz. Use a parametric EQ like the FabFilter Pro-Q 3 with a narrow Q to find that "ice pick" frequency and pull it down. For a full guide on these techniques, check out our EQ strategies hub page.
- Stereo Image: For a massive sound, double-track your rhythm parts and pan them hard left and hard right. This creates a wide, immersive wall of sound that leaves plenty of room in the center for your kick, snare, bass, and vocals.
The Vocals: Making Them Cut Through
A metal vocal needs to sit on top of the mix without getting lost or sounding thin.
- Compression: Use serial compression. First, hit it with a fast-acting FET compressor (like a UAD 1176) with a quick attack and release to catch the aggressive peaks. Follow that with a slower, smoother optical compressor (like an LA-2A) to even out the overall performance.
- EQ and FX: Boost the presence frequencies (around 3-5kHz) to help the vocal cut through the guitars. Use sends and returns for your time-based effects. A plate reverb from a plugin like Valhalla VintageVerb can add space, while a stereo slap-back delay from Soundtoys EchoBoy can give it width without pushing it back in the mix.
The Mastering Stage: The Final Polish
Mastering isn’t about fixing the mix; it’s about giving that mix its final coat of armor. The goal is to enhance what’s already there and prepare it for distribution with a competitive loudness. A simple but effective mastering chain can do wonders.
Your Mastering Chain (In Order)
- EQ: Use a high-quality EQ for subtle, broad strokes. A gentle high-shelf boost with something like a Maag EQ4 can add "air" and sparkle. Maybe a slight cut in the low-mids (200-400Hz) can clear up any remaining mud.
- Multi-band Compression (Optional): This can be a secret weapon for taming specific problem areas. For example, a multi-band compressor can clamp down on just the sub-bass frequencies when they get out of control, without affecting the punch of your kick drum. The FabFilter Pro-MB is a fantastic tool for this.
- Stereo Widening (Use With Caution!): A touch of stereo imaging from a plugin like iZotope Ozone Imager can make your mix feel a little wider, but be careful. Too much can wreck your mono compatibility and make the track fall apart on certain systems.
- Limiter: This is the final step to bring your track up to a commercial volume. Use a quality limiter like the FabFilter Pro-L 2. Set your output ceiling to -1.0dB to prevent clipping on streaming services. Push the input/threshold until you reach your target loudness (LUFS). For metal, a target between -9 and -7 LUFS is common, but don't just slam it for the sake of being loud. Listen carefully to make sure you're not crushing all the life and dynamics out of your track.
Don't Just Learn It, See It in Action
Reading about these techniques is one thing. Watching them being used in a real-world session by a top-tier producer is a completely different experience. You can see why they reach for a certain compressor, how they dial in an EQ to fix a specific problem, and what it sounds like in real time.
This is exactly why Nail The Mix was created. Every month, you get the actual multitracks from massive bands like Gojira, Lamb of God, and Meshuggah and watch the original producer mix the song from scratch, live, explaining every single decision.
If you’re ready to stop guessing and start learning the proven workflows the pros use, our Unlock Your Sound course is the deep dive you need. It goes beyond presets to teach you the fundamental principles for building a killer mix from the ground up.
The tools are here. The knowledge is out there. It’s a great time to be a metal musician. Put in the work, embrace the technology, and there’s nothing holding you back from creating the powerful, professional-sounding records you hear in your head. Now go make some noise.