Your Best Free Spring Reverb Plugin for Gnarly Metal Tones
Nail The Mix Staff
Let’s be honest, when you think “reverb for metal,” your brain probably jumps to massive plates and epic halls for symphonic intros or post-rock buildups. But what about that gritty, character-filled space? The kind with personality, clank, and a bit of chaos? That’s where spring reverb comes in.
Long before digital plugins, spring reverb was the sound of rock and roll, baked right into guitar amps. It’s twitchy, it’s metallic, and it can add a killer vintage vibe or a tense, splashy texture that a pristine hall reverb just can’t touch.
But here’s the real question: do you need to drop a couple hundred bucks on a fancy spring reverb VST to get that sound? Or can a free spring reverb plugin do the job?
The short answer is: it depends. For a specific character effect like spring reverb, the plugin itself matters more than, say, your workhorse EQ. A good emulation will give you that authentic “boing” and “drip.” But—and this is a big but—the best plugin in the world won’t save you if you don’t know how to use it. Your skills are what turn a tool into a weapon.
So let’s break down some killer free spring reverb plugins and, more importantly, how to actually make them work in a dense, aggressive metal mix.
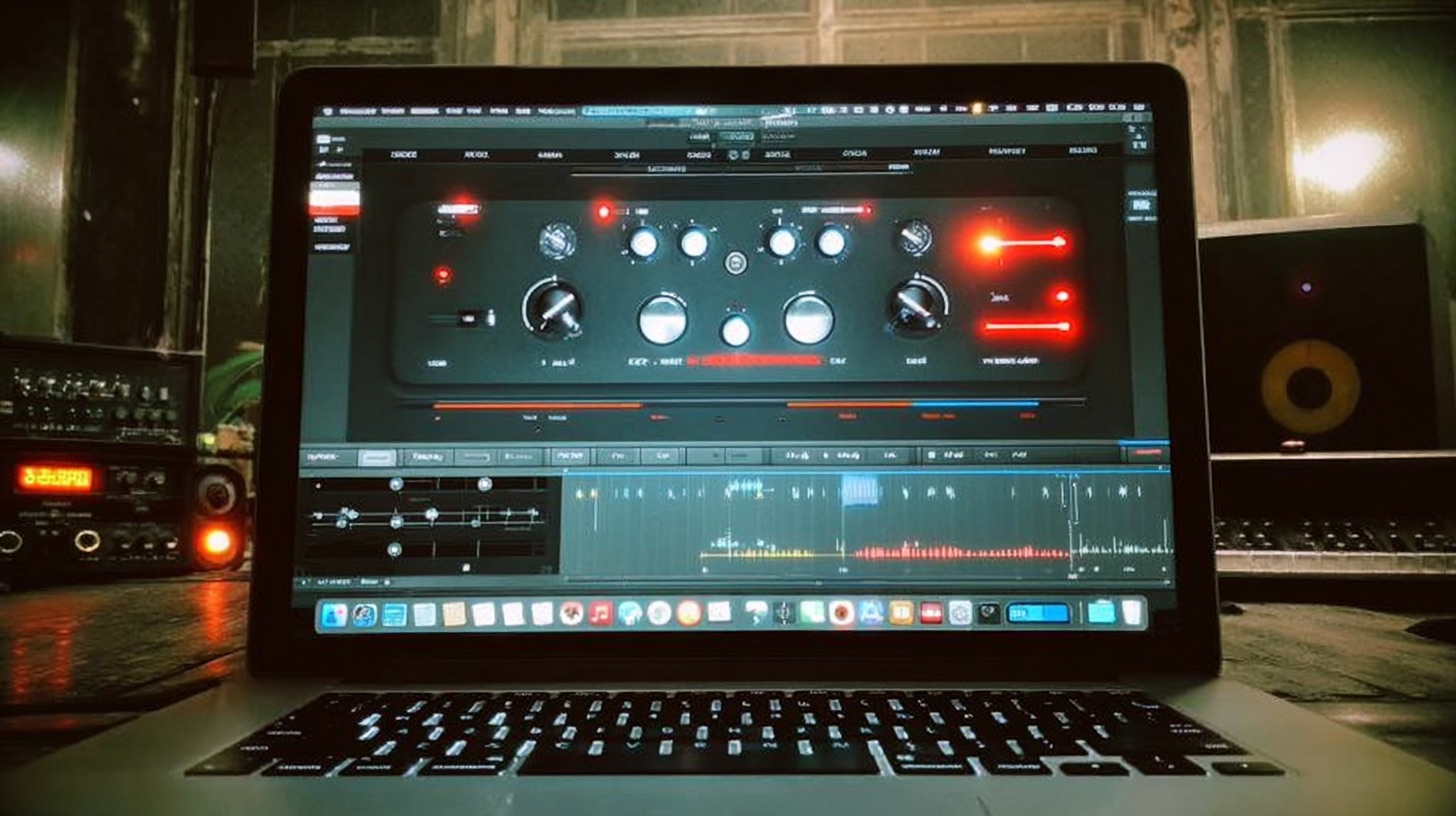
Our Top Picks: Free Spring Reverb VSTs
Here are a few freebies that deliver the goods without the GUIs that look like they were designed in 1998.
Variety of Sound epicVerb
Variety of Sound epicVerb is a legend in the freeware world for a reason. While it’s a versatile reverb that can do halls and plates, its smaller room and ambient settings can be dialed in to get seriously springy and vibey sounds.
What We Dig About It:
It’s incredibly flexible. You get control over pre-delay, decay time, and a dedicated EQ section right in the plugin. This is huge for shaping the reverb before it even leaves the aux track.
Pro Tips for Metal Mixes:
Use the ‘Ambience’ or ‘Room’ modes with a short decay time and a bit of pre-delay (like 15-30ms) to give a guitar lead or a clean section its own space without washing it out. Use the built-in EQ to aggressively high-pass around 400-500Hz and low-pass around 4-5kHz. This keeps the reverb tone focused and stops it from turning into low-end mud or high-end fizz.
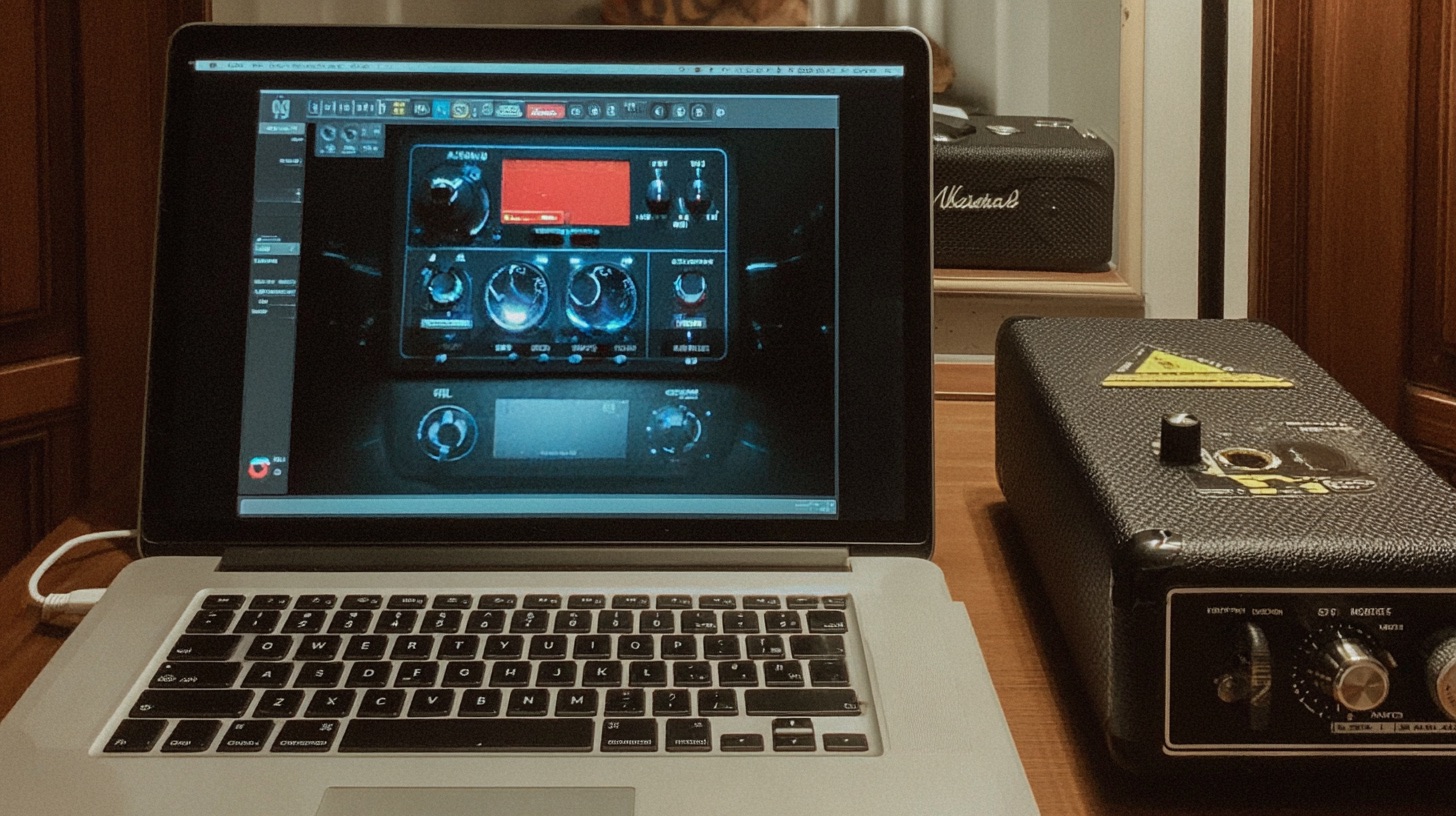
Hotto Spring Reverb
If you want dead-simple and straight to the point, check out Hotto Spring Reverb. It’s not trying to be eight plugins in one. It’s trying to sound like a spring tank, and it does a damn good job.
What We Dig About It:
The simplicity is its strength. You get a few knobs to control the character, length, and mix. The ‘Tension’ knob is particularly cool, letting you go from a loose, washy spring sound to a tight, percussive "sproing."
Pro Tips for Metal Mixes:
This thing is awesome for snare effects. Send your snare track to an aux with Hotto on it. Crank the ‘Tension’ for an aggressive splash and use automation to only bring it in on specific hits for emphasis. Follow it with a gate to get that classic, tight ’80s thrash reverb sound.
Softube Spring Reverb
Okay, this one is often free. Softube includes their Spring Reverb in the Time and Tone bundle that comes free with a lot of Focusrite audio interfaces. If you’ve got one, you already own a world-class spring reverb plugin.
What We Dig About It:
It’s Softube. The quality is top-tier. It emulates a classic vintage unit and has a fantastic, warm-but-edgy sound. The Shake/Tension controls let you dial in everything from subtle space to full-on, amp-kicking thunder.
Pro Tips for Metal Mixes:
Try this on vocals for a ghostly, distant effect in a breakdown. Send your lead vocal to an aux track with this plugin. Set a long decay time but then use aggressive EQ after it. Carve out the lows and mids so you’re just left with the splashy, ethereal high-end of the reverb tail. It creates a cool texture that sits behind the main vocal without getting in the way.
Don’t Forget Your Stock Plugins
Before you even open your web browser, check your DAW. Logic Pro’s ChromaVerb has great spring emulations. Cubase’s REVerence can load spring impulse responses. Pro Tools, Reaper, Studio One… they all have tools that can get you there.
People get way too hung up on which version of which tool they’re using. The reality is, stock plugins are so good now that if you know what you’re doing, that’s all you need. Your wallet will thank you, and focusing on one tool means you’ll actually master it instead of being distracted by the next shiny object.
Beyond the Plugin: Making Reverb Work in a Dense Mix
Having a good plugin is step one. Making it sound good is the real challenge. Spring reverb can get messy fast if you just slap it on a track. Here’s how to control it.
EQ is Your Best Friend (Again)
You should almost never use a reverb without EQ. Period. Using it on an aux send gives you the most control.
- Pre-Reverb EQ: Put an EQ before the reverb plugin on your aux track. Use a steep high-pass filter to cut everything below 300Hz (or even higher). You don’t want your palm-muted chugs sending low-end mud into the reverb. Use a low-pass filter to roll off the fizzy top-end (anything above 8kHz) so the reverb doesn’t exaggerate harshness.
- Post-Reverb EQ: Put another EQ after the reverb. This is for shaping the reverb’s tone so it fits in the mix. You can cut out mids to make room for vocals, or boost the top-end for more splash and air. For a deep dive into this kind of surgical shaping, check out our guide on EQing modern metal guitars for max impact.
Taming the Tails with Compression & Gating
Spring reverb tails can be dynamic and unpredictable. A loud snare hit can create a huge splash that rings out forever.
- Compression: Place a compressor after your reverb (and after your post-reverb EQ). Use it to smooth out the reverb tail, making it more consistent. This helps it sit nicely in the background instead of jumping out at random moments. Learning to use compressors this way is a game-changer; it’s one of the metal compression secrets beyond just making it loud.
- Gating: For that classic tight sound, put a gate after the reverb. Set the threshold so the gate opens on the initial hit and then closes quickly, cutting off the tail. It’s an iconic sound on drums for a reason.
A Quick Word on Latency
Every plugin you add introduces a small amount of processing delay, or latency. Most DAWs have Automatic Delay Compensation (ADC) to handle this, but it’s not always perfect. When you’re running a reverb on a parallel aux track, that latency can cause weird phasing issues between your dry track and your wet reverb track.
This is why it’s a good habit to keep your processing on aux tracks clean and efficient. Using EQs and compressors with low latency is a good start. If something sounds "weird" or "thin" after you add a parallel effect, check if a high-latency plugin is the culprit. Old-school Pro Tools users know this pain all too well from the days when its ADC was notoriously bad for parallel processing.
So, Do You Need That Expensive Plugin?
Look, if you see a pro like one of the awesome Nail The Mix instructors using a specific boutique plugin, it’s not because the plugin has magic powers. It’s because that pro has thousands of hours of experience and knows exactly what they want to hear. The best mixers could get a killer mix with nothing but stock plugins because their skills—their ears and their decisions—are what matter.
You could give two chefs the exact same ingredients, and one will make a Michelin-star meal while the other makes something barely edible. It’s the same with mixing. Your choices, driven by your taste and experience, are what create a great sound, not the specific brand of your tools. Don’t get Plugin Acquisition Syndrome. Get good with the tools you have.
Want to see how the pros make those choices in real time?
Dialing in a cool spring reverb on a solo guitar is one thing. Making it work in a full-throttle mix with layers of high-gain guitars, a pounding rhythm section, and screaming vocals is a whole different beast. That’s where you see the real skill in action.
At Nail The Mix, you get to be a fly on the wall while the producers behind bands like Gojira, Periphery, and Lamb of God mix their actual songs from scratch. You get the raw multi-tracks to mix yourself, and then you get to watch them explain every single decision they make—every EQ move, every compression setting, every reverb trick.
Stop guessing and start learning from the best. Check out the full catalog of Nail The Mix sessions and see how the biggest names in metal build their signature sounds from the ground up.