The Bass Trick Behind Emmure’s Crushing Guitar Tone
Nail The Mix Staff
Let’s be honest, Emmure’s sound is an absolute wall of sonic destruction. The guitars are heavy, the chugs are punishing, and the whole mix feels like it’s about to cave in on you—in the best way possible. When you hear a tone that massive, you probably think it’s all about quad-tracked guitars and a dozen high-gain amp sims.
But what if a huge part of that crushing guitar tone… was actually the bass?
In a deep dive into their mix for Emmure, super-producers Drew Fulk and Jeff Dunne revealed a core technique that’s responsible for so much of the weight and aggression in their sound. It’s a powerful, multi-layered approach to bass that goes way beyond just plugging into a SansAmp. Let’s break down how they build this beast from a single DI track.
The Three-Headed Beast: Splitting Your Bass DI
The foundation of this technique is surprisingly simple in concept. Instead of trying to get one perfect bass tone from a single amp, Drew and Jeff duplicate the clean DI track three times. Each track is dedicated to a specific job, creating a “multi-band” bass tone where different amps are used to shape different parts of the frequency spectrum.
The three tracks are:
- Base Fuzz: For the high-end grit and distortion.
- Base Mid: For the melodic body and note definition.
- Base Sub: For the clean, consistent low-end foundation.
This approach gives you an insane amount of control. Instead of fighting an amp that’s trying to do everything at once, you can pick the perfect amp for each specific task and blend them together into one cohesive, monstrous tone.
Crafting the Layers: Amps, EQ, and Compression
Here’s where the magic happens. Each of the three bass tracks gets its own unique processing chain designed to make it excel at its specific job.
The Fuzz Layer: All Bite, No Fluff
This track is all about pure aggression. Think of it less as a bass tone and more as a dedicated distortion channel that adds sizzle and rage.
- The Amp: The signal is run into a Pod Farm rig designed to emulate the classic Boss HM-2 “Swedish Chainsaw” pedal. This is fed into a clean amp model, so all the distortion is coming from the pedal. The goal here isn’t warmth; it’s a “fucked up,” angry sound.
- The EQ: This layer is aggressively filtered. Using surgical EQ strategies, they cut out all the unnecessary low end and carve out the top end, shelving off everything above 8-9kHz. The focus is purely on that “ratty” and “abrasive” character in the high-mids.
- The Compression: Crucially, the track is compressed after the distortion using a workhorse like the Waves CLA-76. This creates a very different effect than compressing before the gain. It evens out the distorted signal, turning it into a consistent, static-like layer of fuzz that sits perfectly in the mix.
The Mid Layer: The Voice of the Bass
While the Fuzz track brings the anger, the Mid track provides the actual musicality and helps the bass cut through and be heard.
- The Amp: For this, they use a more traditional bass setup: a Pod Farm model of an Ampeg SVT Classic head into an 8×10 cabinet. This provides the classic rock bass “clank” and midrange grind.
- The EQ: This is a key part of the “guitar-bass marriage.” The extreme low end is cut to make space for the Sub track. They also notch out some “grossness” around 3kHz. But here’s the trick: they boost the high-end. This helps the bass track blend seamlessly with the rhythm guitars, almost acting like a “center guitar channel” that fills in the gaps and makes the whole rhythm section sound like one powerful instrument.
The Sub Layer: The Unshakable Foundation
This track has one job and one job only: provide rock-solid, unwavering low-end weight.
- The Amp: The amp here is Pod Farm’s “Sub Dub” model, run with no cabinet emulation. Disabling the cab sim removes any particular midrange character or high-end fizz, leaving just the pure, rounded tone of the amp’s low frequencies.
- The Compression: Consistency is everything for the sub. This track gets slammed with a compressor like the UAD 1176. We’re talking 10dB of gain reduction at a high 8:1 ratio. This heavy compression locks the low end firmly in place, ensuring every note has the same power and presence.
Putting It All Together: Automation and Bus Processing
Once the individual layers are dialed in, they’re blended and processed together to create the final, cohesive bass sound.
Dynamic Distortion: Automating the Fuzz
One of the coolest parts of this setup is how they use the Fuzz track. Instead of having it on all the time, they automate it to come in only during the heaviest sections. It’s like manually stomping on a distortion pedal for the chorus or a breakdown. This creates a massive dynamic shift and impact when it kicks in and gives a great visual representation in the DAW of where the song’s energy lifts.
Gluing the Bass Bus
The Fuzz, Mid, and Sub tracks are all routed to a single bass bus for final processing.
- Sidechain Compression: This is a classic metal mixing move. A compressor on the bass bus is “keyed” to the kick drum. Every time the kick hits, the bass ducks in volume just a tiny bit, carving out space and preventing the low end from turning into mud.
- Limiting: A limiter is placed on the bus to act as a safety net. When the chaotic and peaky Fuzz track comes in, the limiter tames any unruly transients, keeping the overall level consistent.
It All Starts at the Source: The DI Signal
You can have the best amp sims and plugins in the world, but they won’t matter if your source tone is weak. Drew and Jeff stress the importance of a great performance (from Emmure’s Josh Travis) and a high-quality DI signal chain.
Their secret weapon here is the Avalon U5 DI. This isn’t just a simple DI box; it has a “Tone” knob with several EQ presets baked in.
- For the bass, they used Tone 2, which automatically scoops some of the muddy frequencies around 200-300Hz. This cleans up the signal before it even hits the DAW, giving them a better starting point for mixing.
- For guitars, they often use Tone 6, which has a high-pass filter to cut out unnecessary low-end rumble, a trick that instantly tightens up heavy guitar tones.
These small, incremental decisions at the tracking stage add up, making the entire mixing process smoother and more effective.
Want to Hear It In Action?
Reading about these techniques is one thing, but hearing how these layers interact and seeing producers like Drew and Jeff dial them in from scratch is a game-changer. This multi-layered bass approach is a perfect example of how modern metal tones are built with intention.
- Split your bass into Fuzz, Mid, and Sub channels.
- Use different amps and processing for each layer.
- Automate your distortion for dynamic impact.
- Start with a clean, well-shaped DI signal.
At Nail The Mix, you get a backstage pass to see exactly how these sounds are made. You don’t just get tutorials; you get the actual multitracks from massive songs and watch the original producers mix them live, explaining every plugin, EQ move, and creative decision. If you want to go beyond presets and truly unlock your sound, these deep dives are essential.
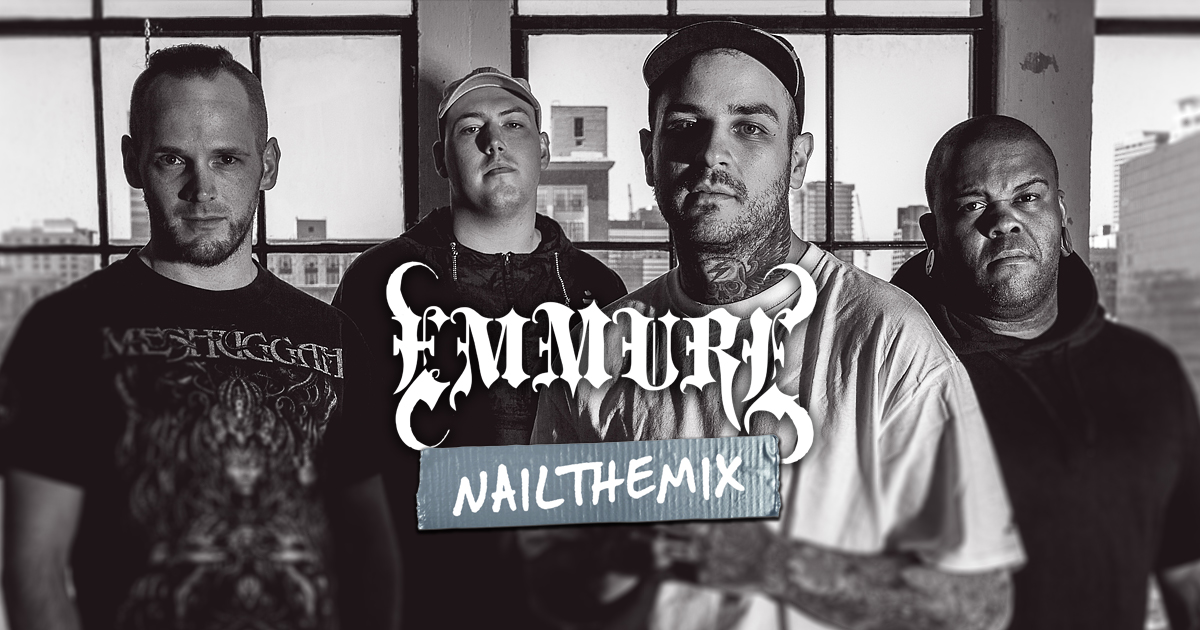
Emmure on Nail The Mix
WZRD BLD & Jeff Dunne mixes "Flag Of The Beast"
Get the Session
Don’t just take our word for it—grab the multitracks and try these bass tricks yourself on the full Emmure session. See for yourself how a meticulously crafted bass tone is the real secret behind a crushing guitar sound. You can learn more about the Emmure mix here.