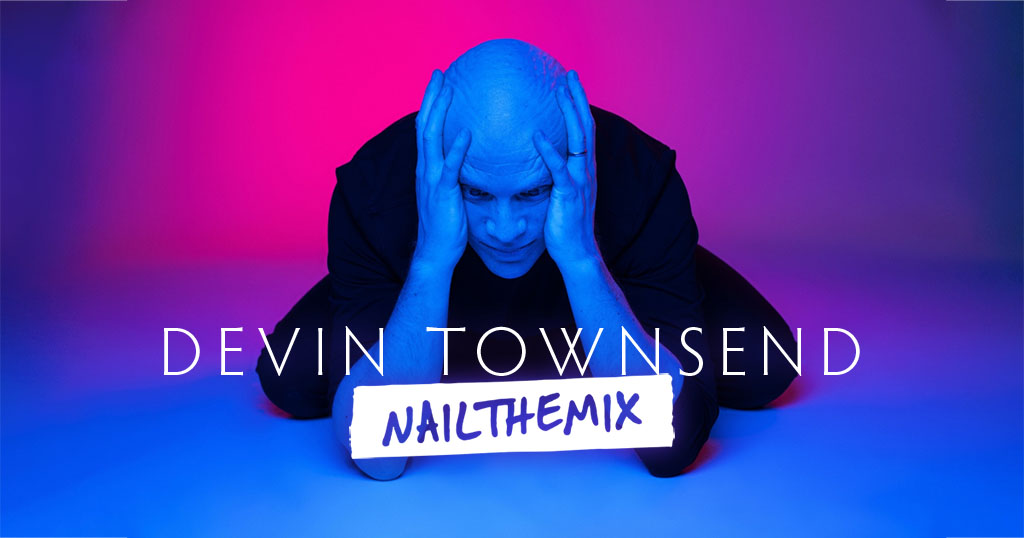
Devin Townsend’s asymmetrical delay trick for vocal presence in dense mixes
Nail The Mix Staff
Dense arrangements. We’ve all been there. You open a session, see a gazillion instrument tracks, and then, on top of it all, a mountain of vocal layers. If you’re mixing anything like Devin Townsend, “dense” is an understatement. So, how do you make those vocals cut through and maintain their presence without just cranking the fader? Devin himself has a neat trick up his sleeve for this exact scenario, something he calls the “Dev Lay.” Let’s break down this technique he uses to give vocal layers their own space and character, even in the most packed arrangements.
This is the kind of gold you pick up when you see pros at work, and if you want to dive deeper into how artists like Devin Townsend craft their signature sounds, Nail The Mix offers exclusive sessions where you can learn directly from the source.
Deconstructing the “Dev Lay”: Layering Delays for Vocal Space
At its heart, the “Dev Lay” is an effects send that uses a specific combination of delays, reverb, and EQ to create an atmospheric, spacious, yet controlled ambience around the vocals. It’s not just a simple slap delay; it’s a carefully crafted effect designed to enhance without cluttering.
The Core Concept: Asymmetrical Stereo Delays
The foundation of the “Dev Lay” starts with two distinct mono delays panned hard left and right, creating a wide stereo spread. Here’s how Devin sets them up:
- Left Channel Delay: Set to approximately 300 milliseconds.
- Right Channel Delay: Set to a longer 500 milliseconds.
This asymmetry is key. By using different delay times for the left and right channels, you get a more complex and interesting stereo image than if you used a single stereo delay with linked times. Crucially, Devin runs these delays 100% wet on an auxiliary send track. This means only the delayed signal is coming from this track, which you then blend with your dry vocal.
Dialing in Generous Feedback (Tastefully!)
Next up is the feedback. Devin uses, in his words, “shit loads of feedback” – well, “less loads, but still shit loads” for the second delay. In practical terms, this means you’ll want to push the feedback parameter on both delays quite high.
- Why generous feedback? It creates a sustained, almost reverb-like tail from the delays. This helps the effect linger and create a sense of depth.
- How much is “shit loads”? Start by increasing the feedback until the delays begin to repeat many times, but be cautious of self-oscillation where the delays run away and become overpowering. You want a rich tail, not an uncontrollable noise. You might find slightly different feedback amounts for the left and right delays add to the stereo interest.
Adding Depth and Character to the “Dev Lay”
With the core delays established, Devin adds a couple more ingredients to shape the effect.
The “Cheaper Reverb” – Low CPU, Big Impact
After the delays, he inserts what he describes as a “cheaper reverb” – something that sounds decent but is light on CPU resources.
- Purpose: This reverb isn’t necessarily about creating a realistic room sound. It’s more about gluing the delays together and adding a further wash of ambience.
- Settings: He dials it in fairly quickly (“bam, maybe about there”), suggesting a moderate decay time and mix level within the effects chain, allowing it to blend with and soften the distinct delay taps. The goal is to add to the atmosphere created by the delays.
The Final Polish: Sculpting with EQ
The last plugin in Devin’s “Dev Lay” chain is an EQ – one he humorously calls “this stupid thing that I use more than almost any other plugin.” This highlights an important point: often, simple, workhorse plugins are all you need if you know how to use them.
- The Goal: “Scrape a bunch of shit off of it.” This translates to some fairly aggressive filtering. You’ll typically want to:
- High-Pass Filter (HPF): Remove unnecessary low-end mud from the effect. This keeps the main vocal’s low frequencies clean and prevents the effect from clouding the mix.
- Low-Pass Filter (LPF): Roll off the extreme high frequencies. This can tame any harshness from the delays and reverb, helping the effect sit behind the lead vocal rather than competing with its top-end clarity.
- This EQ stage is crucial for tucking the “Dev Lay” into the mix, ensuring it adds space and character without making the vocals sound washy or indistinct. For more strategies on using EQ to shape your metal mixes, check out these EQ strategies for modern metal.
Integrating the “Dev Lay” into Your Mix
Once the effect chain is built on an aux track (Devin initially tries routing to “Dev Man 43, 44” then settles on “61, 62”), it’s all about blending it in.
- Use a Send: Send your vocal track(s) to this “Dev Lay” aux.
- Blend to Taste: Devin suggests adding “just a touch.” Start with the send level low and gradually bring it up until the vocal gains the desired presence and atmosphere without being obviously “effected.” The effect should feel integrated, not tacked on.
- Routing is Key: As Devin’s brief troubleshooting moment shows (“Oh, it’s because Dev Lay is going to something else”), ensuring your signal path is correct is fundamental. Double-check your sends, aux inputs, and track outputs!
Beyond the “Dev Lay”: Other Quick Mix Insights from Devin
While setting up the “Dev Lay,” Devin briefly touches on other common mixing tasks:
Taming Low-End Build-Up
He quickly identifies and mutes a “low synth” that was contributing “way too much low end.” It’s a reminder to always be listening critically across the frequency spectrum and deal with problematic elements that can muddy your mix.
Managing Dynamics: Orchestra Compression
Devin also notes that the orchestra bus was “hitting the compressor too much” and makes an adjustment. This is a common scenario when dealing with dynamic material. Effective compression is key in metal to control dynamics and add punch, but over-compression can suck the life out of tracks.
Simple Master Bus Processing
Interestingly, he mentions a preference for a master bus plugin that is “really useful because it’s just three knobs.” This reinforces the idea that powerful results don’t always require overly complex tools. Simplicity can be incredibly effective.
Get Hands-On with Devin Townsend’s Actual Mix Session
Watching Devin Townsend explain his “Dev Lay” vocal trick is one thing, but imagine getting the full multitracks to his song “Genesis” and watching him mix it from scratch, explaining every plugin, every decision, every fader move. That’s exactly what you get with Nail The Mix’s exclusive session with Devin Townsend.
You can see precisely how he balances countless layers, applies his signature effects, and brings a colossal track like “Genesis” to life. It’s an unparalleled opportunity to learn from a true visionary in modern metal production.
The “Dev Lay” is a fantastic technique to add to your vocal processing toolkit, especially when you’re battling dense arrangements. It’s a testament to how creative use of standard effects like delay, reverb, and EQ can yield unique and professional-sounding results.
Genesis on Nail The Mix
Devin Townsend mixes "Genesis"
Get the Session
Experiment with these concepts, tweak the delay times, try different reverbs, and sculpt the effect with EQ to fit your own tracks. And if you’re serious about taking your mixing skills to the next level, explore what Nail The Mix has to offer. From monthly mixing sessions with legendary producers to a wealth of tutorials and an engaged community, it’s an invaluable resource for anyone looking to unlock their sound and mix modern metal beyond presets.
Ready to hear how Devin applies this and many other techniques? Dive into the Devin Townsend NTM session and elevate your mixes.