Best pedal plug-in for metal bass tone
Nail The Mix Staff
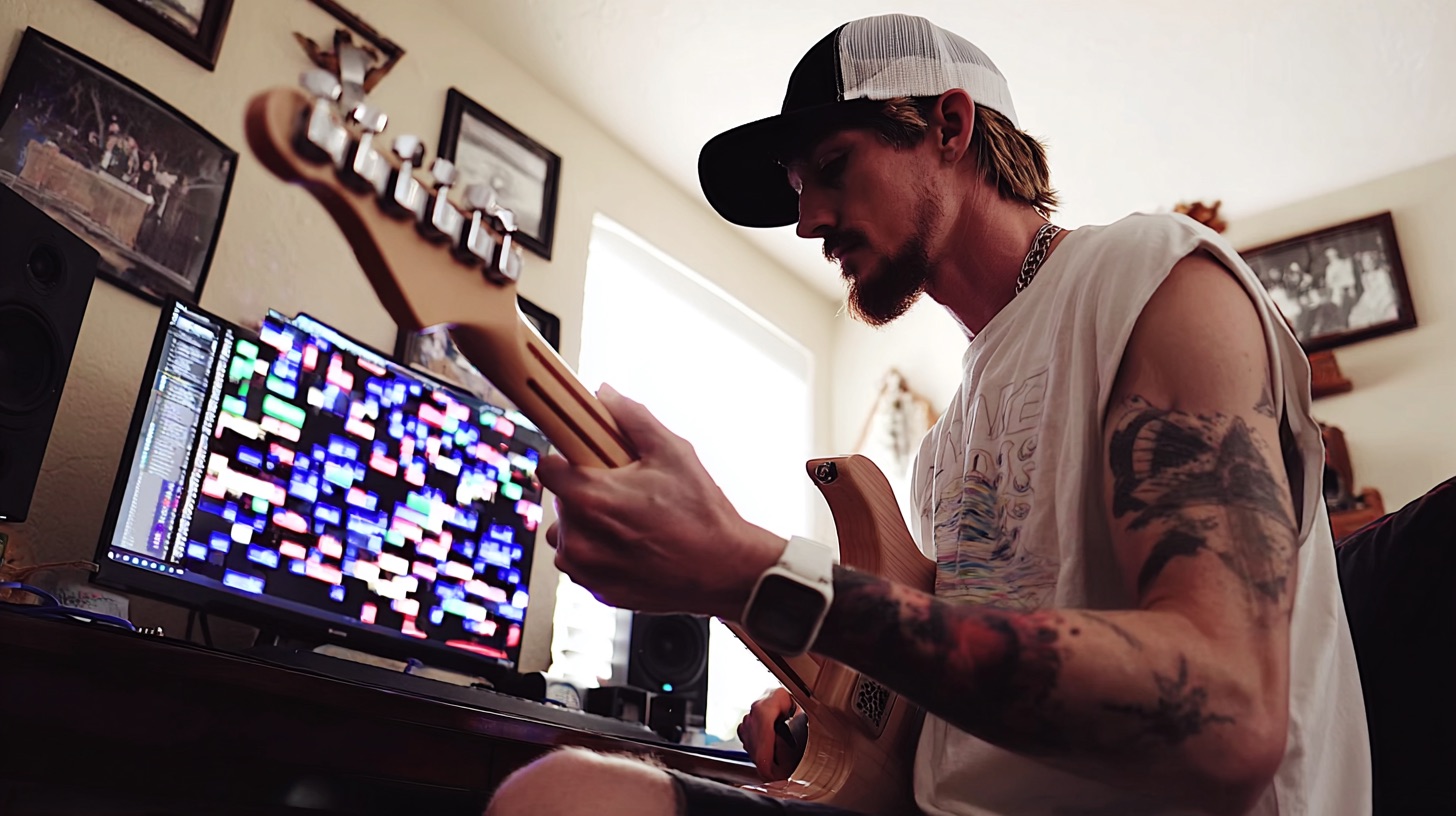
Getting a bass tone that truly slams in a dense metal mix can feel like a dark art. You need punch, clarity, grit, and the right kind of aggression to cut through without turning into a muddy mess. Enter the Neural DSP Darkglass Ultra plugin, a beastly tool that models two iconic Darkglass pedals: the B7K Ultra and the Vintage Ultra. Both offer distinct flavors of dirt, but which one reigns supreme for your track? We’re diving deep, just like URM Academy’s Dave Otero did, to explore how to dial in these bad boys, compare their unique characters, and help you carve out that perfect bass foundation. This kind of detailed exploration is what we live for at Nail The Mix, where you get to see pros break down their techniques on real-world sessions.
Setting the Stage: Prepping Your Bass DI for Destruction
Before you even think about unleashing the Darkglass fury, let’s get our ducks in a row. We’re starting with a completely raw bass DI – a clean slate. Dave Otero throws his into an already pretty developed mix, which is a great way to hear how the bass will actually interact with everything else.
First things first: fire up your instance of the Neural DSP Darkglass Ultra. And here’s a pro tip right off the bat – if you’re mixing, crank that oversampling setting to "High." Yeah, it might tax your CPU a tiny bit more, but the sonic clarity is worth it. If you’re tracking and latency is a concern, you can dial it back, but for mixdown, always go for the highest quality.
Dialing in the Darkglass B7K: Modern Metal Edge
Alright, let’s kick things off with the B7K model, often praised for its more modern, aggressive character. The cool thing about the Darkglass Ultra plugin is that both the B7K and Vintage models share the exact same control layout, even down to the EQ crossover points. This makes A/B comparisons later on super intuitive.
Understanding the Core Controls: Preamp & Distortion
The Darkglass pedals essentially have two circuits working in tandem. There’s the preamp circuit, which shapes your overall tone and adds a bit of amp-like saturation even with the distortion off. Then, you’ve got the dedicated distortion circuit, which you can introduce using the "Blend" knob. With the Blend all the way down, you’re just hearing the preamp. As you crank it up, you progressively mix in that glorious distorted signal. Start by getting some preliminary gain staging going with the "Drive" knob to get a feel for the pedal’s response.
Sculpting with the EQ and Filters: Your Tonal Toolkit
Now for the fun part – EQ! The B7K (and Vintage) offers some powerful shaping tools.
- Attack & Grunt Switches: These are your high and low shelf filters, respectively. The "Attack" switch can add a nice high-end sizzle (Dave often prefers the middle, more aggressive setting), while the "Grunt" switch can beef up the low end or tighten it up (the flat selection often provides a balanced starting point).
- Four-Band EQ: You get fixed "Bass" and "Treble" bands, plus two sweepable mid-bands: "Lo Mid" and "Hi Mid." This is where you can really carve out space and add punch to your bass tone. A great technique for the low mids, as Dave demonstrates, is to boost significantly, sweep through the frequencies (like 250Hz, 500Hz, 1kHz) to really hear what each point affects, and then decide whether to cut or boost. He often ends up with a slight cut around 250Hz on the B7K to clean things up. Do the same for the high mids to find that sweet spot for attack and clarity.
Cab Simulation: Finding the Right Resonance
The Darkglass Ultra plugin includes a capable cab sim section. Dave mentions he often likes the default cab selection, the "52A," as a starting point. Mic position is key here. Placing the virtual mic dead center on the cone can sometimes make the mids a bit too aggressive or "honky." Moving it slightly off-center, towards the edge of the cone, can smooth things out.
Don’t sleep on blending in other mic options! The "Subkick" model, for instance, can add some serious low-end roundness when mixed in subtly beneath the main mic. Just be sure to balance their levels carefully.
Fine-Tuning in the Mix
Once you’ve got a sound that’s feeling pretty good in solo, it’s crucial to hear it in the context of the full mix. Make small adjustments to the plugin’s output level and tweak EQs as needed. You might find that a midrange frequency that sounded fine in solo is now clashing with guitars or vocals, requiring a little nudge.
Enter the Vintage: A Different Flavor of Grit
With the B7K dialed in, it’s time to check out its sibling, the Vintage model. One of the slick features of the Darkglass Ultra plugin is the "EQ Link" button. With this engaged, switching from B7K to Vintage will carry over most of your settings. However, remember these are models of different hardware pedals. So, while the controls are the same, the underlying distortion circuits have their own unique voices. Don’t expect an exact 1:1 sound translation – and that’s the whole point!
You’ll likely notice the Vintage model is inherently more mid-forward, living up to its name with a more classic, almost "rattier" distortion character. The preamp sections, when the distortion is bypassed, sound remarkably similar, if not identical, between the two models. The real magic and difference lie in that drive.
Tailoring the Vintage Model for the Mix
Since the Vintage model has a different inherent EQ curve and distortion texture, you’ll probably want to tweak your settings specifically for it, even if you started with the B7K’s settings. For instance, if that mid-forward push is too much for your current mix, you might dial back the low-mids or high-mids a touch more than you did on the B7K. The goal isn’t necessarily to make them sound identical, but to make each model sound its best and balanced within the context of your song.
B7K vs. Vintage: The Ultimate Bass Tone Showdown
Now for the real test: putting these two distinct bass tones head-to-head in the mix.
A/B Testing: The Best Way to Choose
The most effective way to compare is to duplicate your raw bass DI track. Slap the Darkglass Ultra on both, dedicate one to your dialed-in B7K settings and the other to your tweaked Vintage settings. Now you can easily solo one, then the other, or A/B them within the full mix using your DAW’s faders. This direct comparison is invaluable for making the right choice for your song.
When to Use Which Pedal (Model)
So, which one wins? It completely depends on the mix and your personal preference!
- Darkglass B7K: Generally, this model leans towards a more modern, somewhat scooped sound. It’s great if you need a bright, articulate top end, plenty of aggressive grit, and a full, fat low-end. It often fits well in contemporary metal where clarity and punch are paramount. Dave Otero gravitated towards this for his example mix.
- Darkglass Vintage: This model brings a more mid-focused, sometimes described as "rattier" or more traditional rock/metal distortion. If your bass needs to occupy more space in the lower midrange or you’re after a grittier, old-school vibe, the Vintage can be a fantastic choice.
The Unexpected Power of Blending
Here’s a cool trick Dave stumbled upon: try blending both! By having the B7K and Vintage on separate tracks, you can actually mix them together. This could give you the focused low-end and bright attack of the B7K combined with some of the mid-range character of the Vintage. Experimentation is key! For a masterclass in this layered approach, see how Buster Odeholm uses multi-band distortion to build the ultimate thall bass tone for Humanity’s Last Breath.
Beyond a Single Pedal: Augmenting Your Bass Sound
While the Darkglass Ultra is perfectly capable of being your sole bass tone shaper, Dave Otero often uses it to augment other existing bass tones. Think of it as an effects pedal you can blend in to add specific characteristics.
If you have a core bass sound that’s maybe a bit too saturated or lacking definition, the Darkglass plugin can be just the ticket.
- Need more bite and aggressive clank in the upper mids, or a tighter, fatter low end? Lean towards the B7K.
- Is your bass tone feeling a bit thin in the low-mids or lacking that gritty, driving punch? The Vintage model can fill that gap perfectly.
The key, as always, is to listen to what your specific bass DI needs. Every bass, every player, and every recording is different, so what worked on one DI might need significant tweaking on another. That initial saturation from the preamp and drive can also provide a subtle form of dynamic control, similar to light compression, helping to even out the performance before it hits later stages of your chain.
Nail That Pro Bass Tone Every Time with Nail The Mix
Exploring the depths of a plugin like the Neural DSP Darkglass Ultra, comparing its B7K and Vintage models, and meticulously dialing in EQs and cab sims – this is the bread and butter of crafting killer metal bass tones. We’ve seen how you can go from a raw DI to a mix-ready bass sound, whether you prefer the modern cut of the B7K or the classic growl of the Vintage. Remember to experiment with mic placement, blend different cab characters, and always, always make your final decisions in the context of the full mix.
If you’re hungry to see exactly how seasoned pros like Dave Otero tackle these tonal challenges, make critical EQ decisions, and blend elements in real-world metal mixing sessions, then you need to check out Nail The Mix. Each month, you get the raw multitracks from massive metal songs and watch the original producers mix them from scratch, explaining every single move. It’s an unparalleled look behind the curtain.
Ready to take your metal mixes beyond presets and truly understand the art of production? Unlock Your Sound with Nail The Mix and join a community of passionate producers all learning from the best in the business. Stop guessing and start nailing those pro sounds you’ve been chasing. Visit Nail The Mix today to learn more and subscribe!