Layering gunshot samples with metal vocals: field recording, MIDI programming & mix integration (ft. Archspire)
Nail The Mix Staff
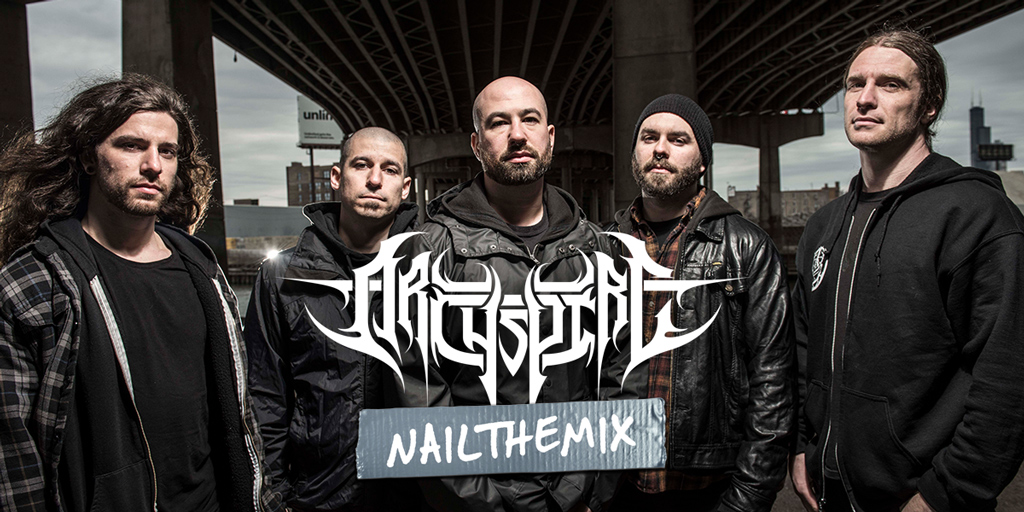
The intro to Archspire’s “Drone Corpse Aviator” is pure insanity. It’s a rapid-fire, rhythmic blast that sounds like a human machine gun firing syllables at a jaw-dropping pace. Ever wondered how they pulled that off in the studio? It’s more than just an incredible vocal performance; it’s a masterclass in creative sound design from producer Dave Otero (Cephalic Carnage, Akhlys, Cattle Decapitation).
This kind of sound effect augmentation isn’t just for cinematic pop music. In metal, it can be used to add a unique texture and insane energy to signature parts of a song. We’re going to break down how Dave Otero used custom-recorded gunshots at his Flatline Audio studio to elevate Archspire’s already-intense vocals into something truly legendary.
The Foundation: An Incredible Vocal Performance
Before any effects were added, the process started with a killer vocal take. Dave recorded Oli Peters spitting his signature super-fast vocals over a pre-written click pattern. They laid down multiple layers to start building energy, but even with stacking, the part needed something extra to give it that percussive, overwhelming impact they were aiming for. The layered vocals were cool, but they weren’t quite the explosive opening the track demanded.
Thinking Outside the Box: Custom Sample Creation
Here’s where things get interesting. Instead of reaching for a generic sample library, Dave and the band decided to create their own unique sounds from scratch. This approach not only provides you with one-of-a-kind sounds but also creates a killer story and a memorable experience for the band.
Field Recording for Maximum Impact
The solution was brilliantly simple and incredibly metal: Otero and the Archspire crew took a day off, headed up into the Colorado mountains, and recorded themselves shooting firearms. They spent hours capturing the sounds of different guns and rounds, creating a huge library of raw audio to work with later. This DIY approach gave them a palette of completely unique gunshot sounds that no one else has.
Curating and Editing Your Samples
Back at Flatline Audio, the real work began. Dave sifted through all the raw recordings to find the perfect sounds. The key was to find clean, isolated gunshots without any background chatter or other shots bleeding into the decay.
He pulled out several different types of shots, each with its own character, to create a varied sonic palette. This is a crucial step: having multiple sample variations (like different velocity hits on a drum kit) allows you to create patterns that feel more dynamic and less repetitive.
Building the Rhythmic “Vocal” Pattern
With a folder full of custom gunshot samples, Dave started layering them into the session to augment the vocals.
Programming With a MIDI-Like Approach
This wasn’t just about randomly placing explosions. The gunshots were meticulously arranged into a precise rhythmic pattern that perfectly followed and reinforced the flow of the vocals and the song’s underlying grid. Think of it like programming a drum machine, a MIDI-like approach he uses in other parts of his productions. He arranged the different gunshot samples on the timeline, creating a tight, percussive sequence that locked in with Oli’s performance.
This technique is what transforms a cool sound effect into a musical element. The pattern wasn’t just noise; it had its own rhythm that helped nail down the tempo and drive the energy forward.
The Final Effect: Vocals + Gunshots
When you combine the layered vocals with the programmed gunshot pattern, the result is magical. The gunshots add a sharp, percussive attack and a layer of intense power that the vocals alone couldn’t achieve. It creates a signature sound that is immediately recognizable and launches the listener straight into the song with maximum force.
Applying This Technique in Your Own Mixes
So, how can you use this in your own productions? The main takeaway is to think creatively about sound sources.
- Create Your Own Samples: Don’t be afraid to record your own sounds. Break some glass (safely!), hit a wrench with a hammer, record industrial machinery. You can create truly unique textures that will make your music stand out.
- Layer and Program: Don’t just drop a single sound effect in. Layer multiple sounds and program them into tight, rhythmic patterns that complement your song’s groove.
- Process Your Sounds: Custom-recorded sounds will almost always need some processing to fit into a dense metal mix. You’ll likely need to use a parametric equalizer to carve out space and remove unwanted frequencies. Likewise, a touch of parallel compression can help control the dynamics and make the sounds hit even harder.
This kind of out-of-the-box thinking is what separates good mixes from great ones. It’s about more than just presets; it’s about making bold, creative choices that serve the song.
on Nail The Mix
mixes
Get the Session
Want to see exactly how Dave Otero mixed the rest of this monstrous Archspire track, from the guitars and bass to the final vocal processing? You can watch him break down his entire session, plugin by plugin, and get the actual multi-tracks from the album to mix yourself.
Check out all our pro metal producer Nail The Mix sessions now.
At Nail The Mix, we bring you these kinds of insights from the world’s best rock and metal producers every single month. Learn the techniques used on albums from bands like Gojira, Periphery, Lamb of God, and, of course, Archspire.