Mixing Massive Rock Lead Vocals (ft. A Day To Remember)
Nail The Mix Staff
A Day To Remember’s sound is iconic for a reason. It’s that perfect blend of polished pop-punk melody and heavy-as-hell breakdown energy, and Jeremy McKinnon’s vocals are right at the heart of it. Getting those vocals to sit perfectly—to be clear and powerful without being harsh, and to feel huge without washing out the mix—is a masterclass in modern rock production.
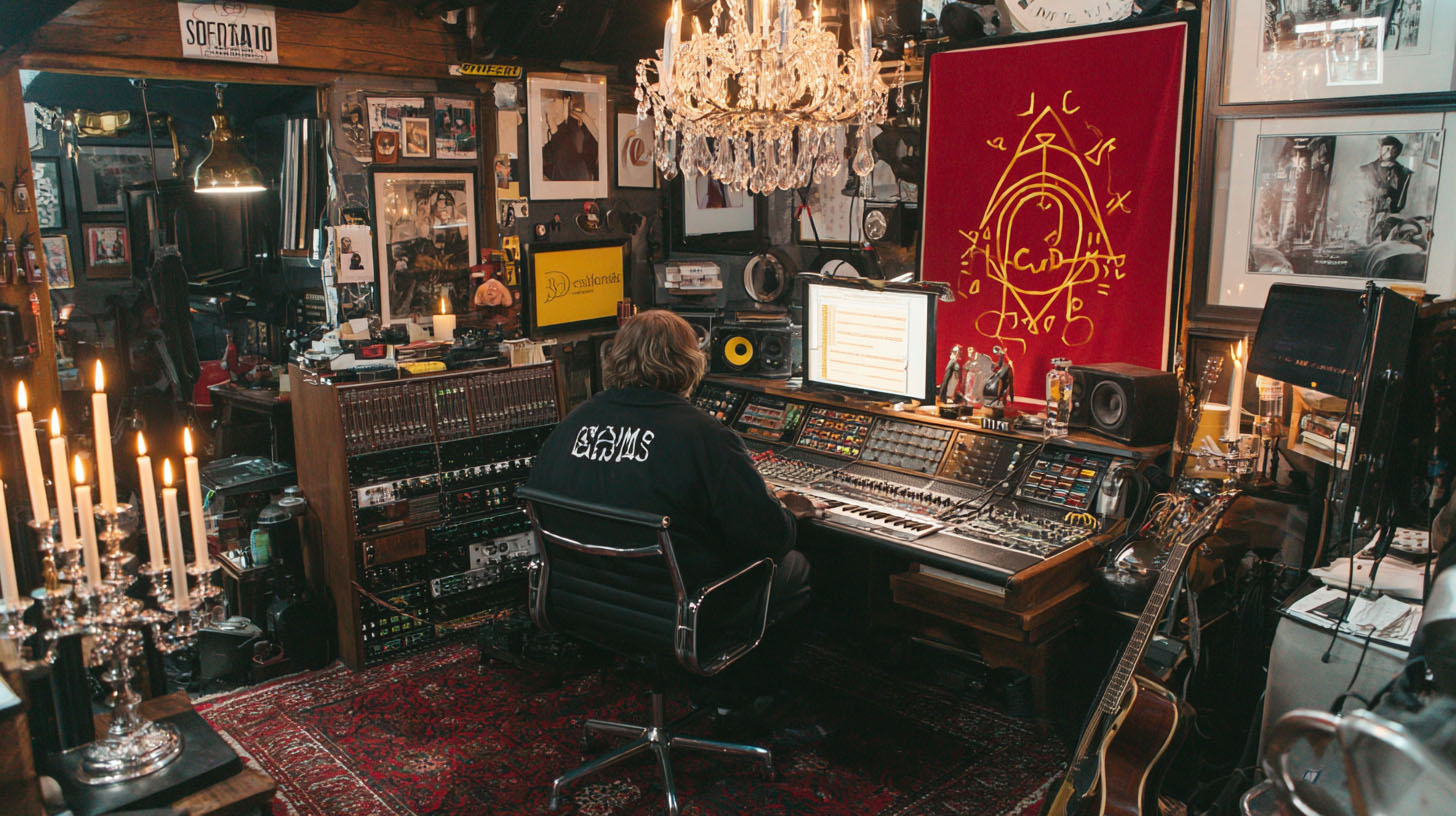
We got a front-row seat to watch producer/mixer Andrew Wade mix an ADTR track, and he dropped some absolute gems on how he gets that signature sound. If you’re looking to get your own vocals to punch through a dense mix, these techniques are for you. Let’s break down his approach, from the initial recording chain to the final bus processing.
The Foundation: The Vocal Chain and Core Compression
Before you even touch an EQ, the raw recording and initial compression set the stage for everything that follows. Andrew’s approach is solid and surprisingly straightforward.
The Gear Behind the Voice
The vocal performance was captured with a potent and classic-sounding combination of gear:
- Microphone: A Peluso U47 clone. Clones of the legendary Neumann U47 are known for their warm, rich character and detailed mid-range, making them a fantastic choice for rock vocals.
- Preamp: A Chandler TG2 Special Edition. This preamp is famous for its smooth, musical character inspired by the classic EMI TG consoles used at Abbey Road.
- Tracking Compressor: An 1176. Compressing a little on the way into the DAW is a classic studio trick. The 1176 is known for its aggressive, punchy character and helps tame dynamic peaks before they even hit the converters, giving you a more consistent performance to work with.
Taming the Lead with a Stock Compressor
Here’s something that might surprise you: for the main lead vocal, Andrew reached for the stock Pro Tools compressor. That’s right. No super-rare, thousand-dollar plugin—just a tool that gets the job done. It’s a killer reminder that it’s not about having the most expensive tools, but knowing how to use them. The goal is simple: control the dynamics so every word is heard clearly without sounding squashed or lifeless. If a stock plugin works, it works.
For more on how the pros use dynamics to shape their sound, check out these metal compression secrets.
Building Width and Depth with Layers
A single vocal track rarely sounds big enough for a massive rock chorus. It’s all about the layers—but how you treat those layers is what separates a professional mix from a muddy mess.
Panning and Processing Vocal Doubles
For the chorus, Andrew brings in vocal doubles to add size. His method is simple but effective:
- Pan Hard: The two double tracks are panned hard left and right to create a wide stereo image.
- Keep it Subtle: The doubles are tucked in quietly underneath the main vocal. They’re there to add support and width, not to overpower the lead.
- Consistent Compression: He copies the same compressor settings from the lead vocal over to the doubles. This helps them feel like a cohesive part of the same performance.
The Aggressive De-Esser Trick on Doubles
This is a crucial move. Andrew applies a de-esser to the stereo doubles and sets it to be pretty aggressive. Why? When you stack multiple vocal tracks, the “s” and “t” sounds (sibilance) stack up too, creating a harsh, distracting fizz. By heavily de-essing only the doubles, you clean up all that harshness without making the main lead vocal sound dull or lispy. The lead vocal still has its natural top-end, while the backing layers provide weight without the noise.
EQ and Bus Processing for a Polished Vocal
With the dynamics and width handled, it’s time for EQ and group processing to make everything shine and sit perfectly in the mix.
Carving Out Space with Vocal EQ
Andrew identified a few key problem areas in the vocal and addressed them with surgical precision using an SSL EQ plugin.
- Cut the Mud: First, a high-pass filter is used to roll off all the unnecessary low-end rumble. Your lead vocal doesn’t need much information below 100-150Hz, and cutting it makes instant room for the bass and kick drum.
- Add Air and Presence: A gentle boost in the high frequencies adds sparkle and helps the vocal cut through the wall of guitars and cymbals.
- Tame the Boxiness: A common problem area in vocals is “boxiness,” a muddy, cardboard-like tone often found around 200-400Hz. Andrew finds that offensive frequency and scoops a little bit out, instantly cleaning up the vocal tone.
These kinds of surgical EQ strategies for mixing modern metal are fundamental to getting clarity in a heavy track.
Gluing It All Together: The Vocal Bus
When you have a lead, doubles, harmonies, and other layers, things can get out of control fast. Andrew’s solution is to route all the vocal tracks to a single group bus and apply a compressor. This “vocal bus” compression acts as a final layer of glue, helping all the individual vocal elements move together as a single, cohesive unit.
Handling Backgrounds and “Oohs & Aahs”
Not all vocal layers are treated equally. For ambient parts like “oohs” and “aahs,” Andrew puts them on their own separate bus and treats them more like an instrument or a synth pad. He sends them to a lush spring reverb and uses filters to roll off both the lows and the highs, pushing them into the background to create a bed of ambient texture for the main vocals to sit on top of.
The Art of Impact: Making Your Transitions Hit Harder
This might be one of the most valuable insights from the session. Ever written a filtered, lo-fi intro or breakdown that sounds huge on its own, only for the full band to come in and sound… smaller? Andrew explained why that happens and how to fix it.
The Common Mistake with Lo-Fi Sections
The natural instinct when creating a “radio” or filtered effect is to aggressively high-pass and low-pass the signal, leaving only the mid-range. This makes the track sound quieter, so what do you do? You turn it up. The problem is you’ve now just massively boosted the mid-range volume. When your full, powerful mix comes back in—which has a more balanced frequency spectrum—the mid-range is actually quieter than it was in the lo-fi section. Your brain perceives this drop in mid-range as the track getting smaller, even though the full frequency range is there.
Andrew Wade’s Fix for Massive Drops
Andrew’s technique is much more nuanced and effective:
- Anchor the Low End: Don’t filter out all the lows. Keep a key low-end element, like a boomy kick drum, present in the lo-fi section. This maintains the feeling of weight and power.
- Filter the Highs: Instead of making the part sound thin, make it sound “closed-off.” Filter down the high-end to create a darker, more intimate vibe.
- Don’t Overcompensate Volume: Make the section just a little bit smaller overall, but don’t crank the volume to make up for the filtering. The difference should be subtle.
When the full mix slams back in with all the bright cymbals and wide guitars, the transition feels like a massive explosion of energy and size. It’s a game-changing way to think about song dynamics.

100+ Insanely Detailed Mixing Tutorials
We leave absolutely nothing out, showing you every single step
See the Full A Day To Remember Mix
These are just a handful of the techniques Andrew Wade used to craft this killer vocal sound. We broke down his approach to compression, EQ, layering, and creating dynamic impact—all with practical, no-nonsense methods you can apply to your own mixes today.
A Day To Remember on Nail The Mix
Andrew Wade mixes "Right Back At It Again"
Get the Session
But imagine watching him apply these ideas to the entire song, from dialing in the kick drum to gluing together the final master. With Nail The Mix, you can. We give you the multi-tracks from massive artists like A Day To Remember, and you get to watch the original producer mix the song from scratch in a multi-hour livestream.
If you’re ready to see every plugin, every fader move, and every decision that goes into a world-class mix, check out the full A Day To Remember mixing session with Andrew Wade. And if you’re serious about taking your skills to the next level, see how our courses can help you unlock your sound and mix modern metal beyond presets. It’s time to learn from the best in the business. Don’t miss your chance to see exactly how this ADTR masterpiece was built.
Get a new set of multi-tracks every month from a world-class artist, a livestream with the producer who mixed it, 100+ tutorials, our exclusive plugins and more
Get Started for $1


