How to mic drums for metal: kick, snare, tom & overhead placement with SM57, MD421 & U47 FET
Nail The Mix Staff
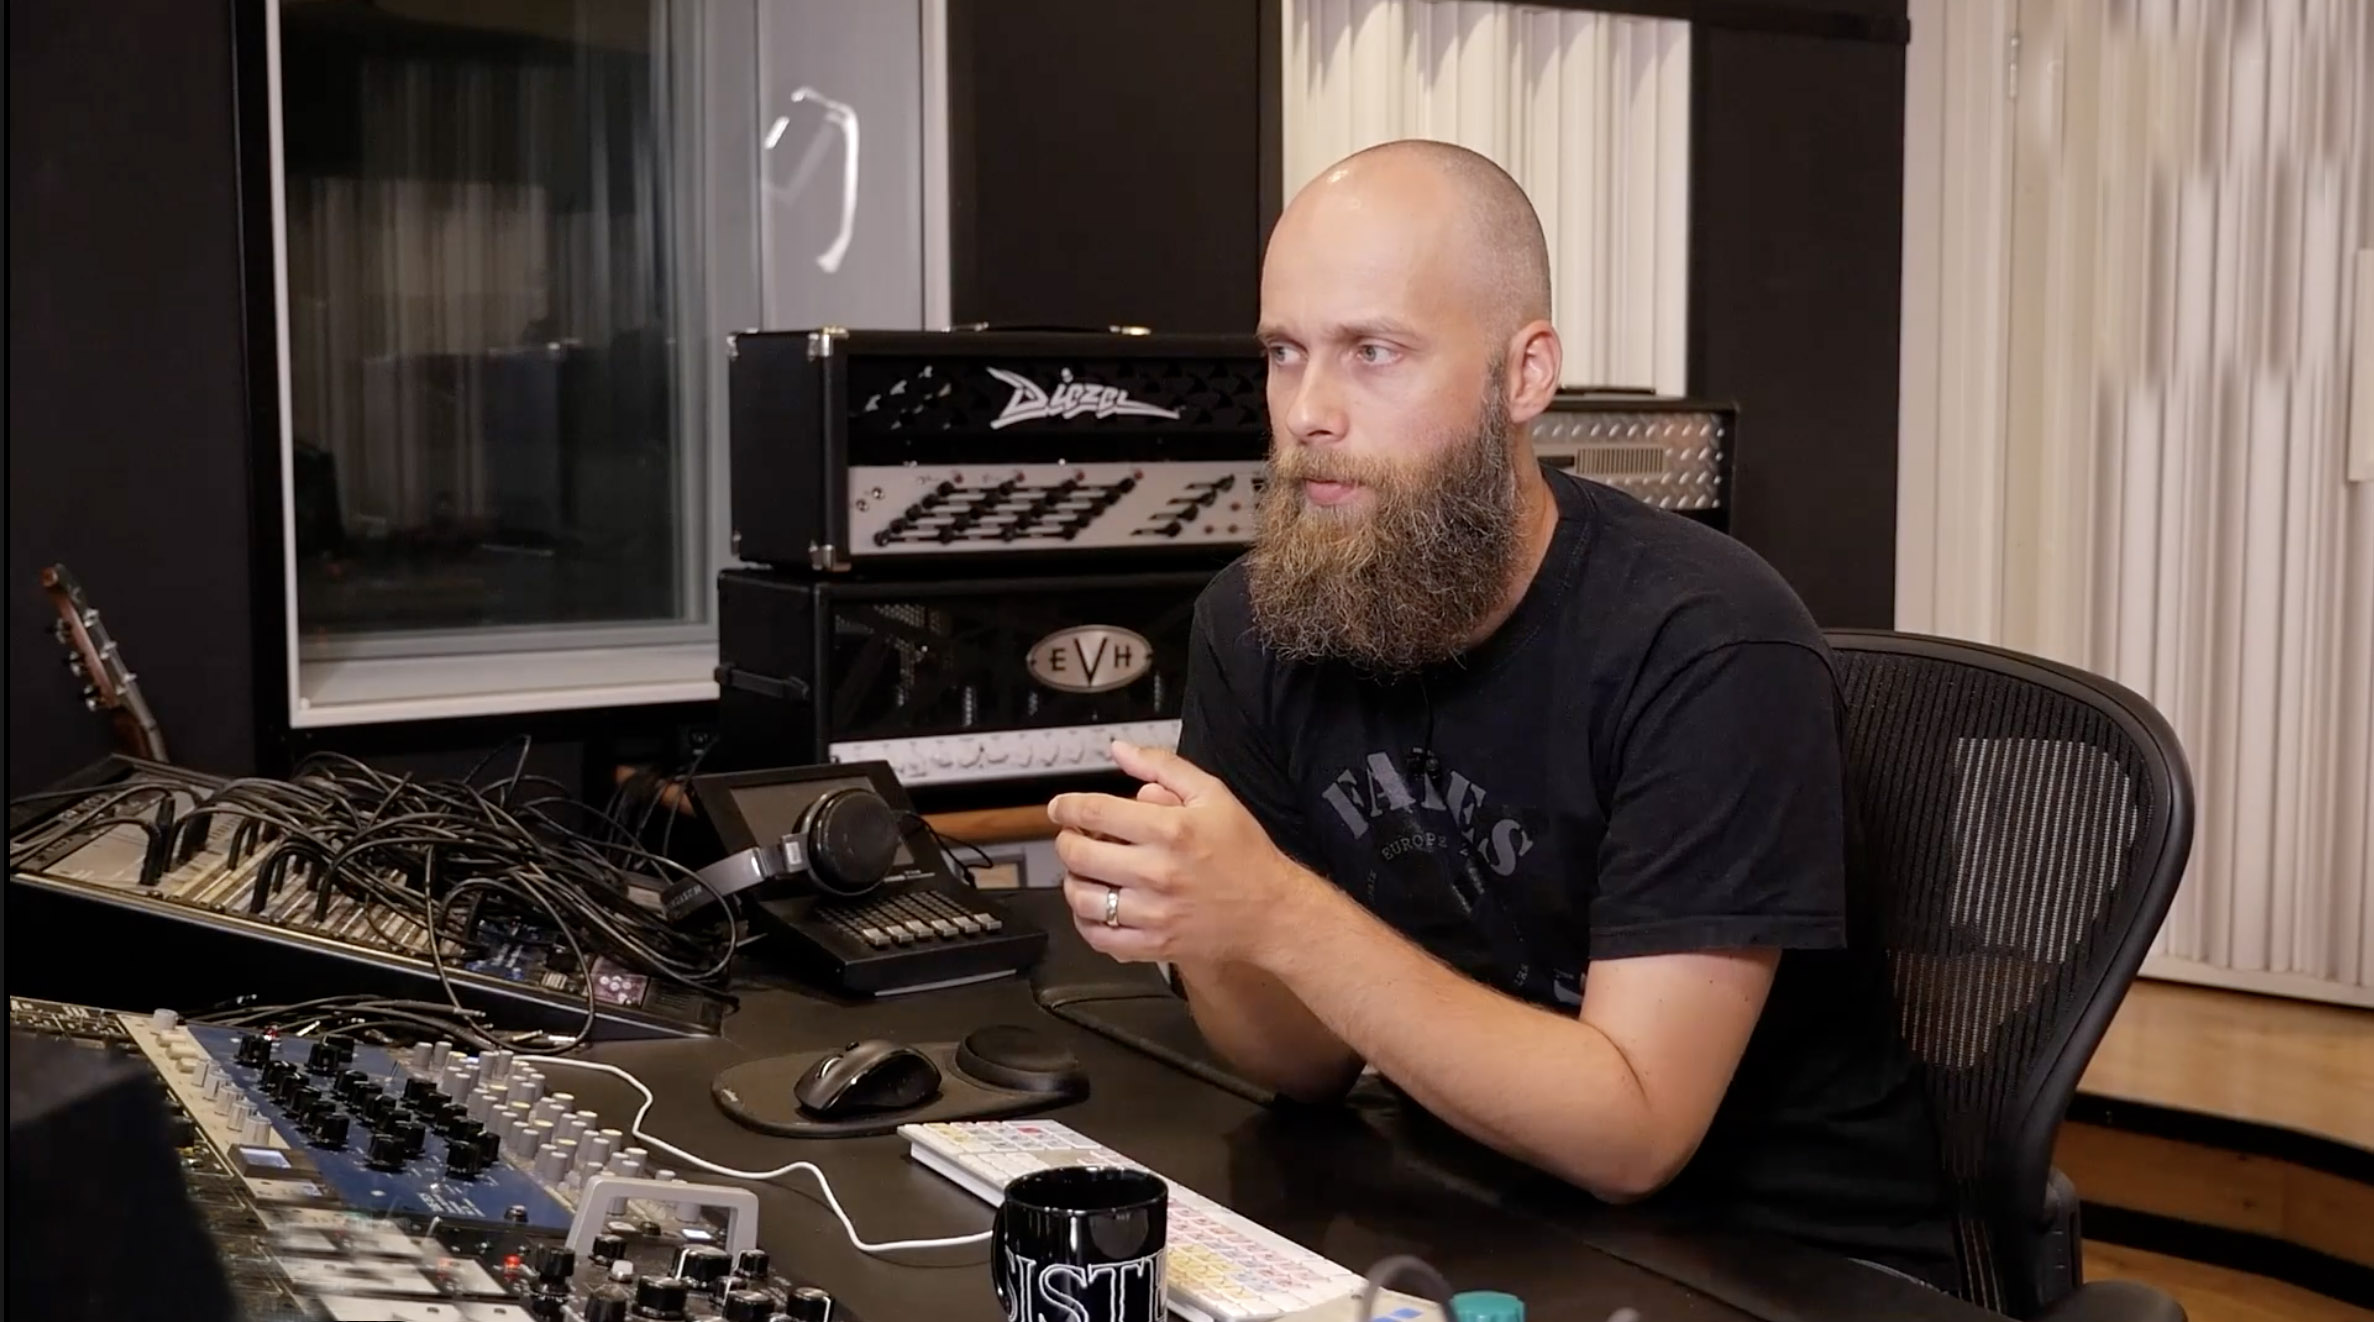
Getting a killer drum sound is foundational for any heavy mix, and who better to learn from than the legend himself, Jens Bogren? We’re diving deep into some of the drum miking techniques he uses to capture those monstrous tones you hear on records from Opeth, Arch Enemy, and Dimmu Borgir.
Forget guesswork; this is about precision and knowing your gear. This isn’t just about sticking a mic somewhere and hoping for the best; it’s about understanding why each choice is made.
If you’re serious about taking your metal productions to the next level, understanding these drum miking strategies is essential. And if you want to see Jens apply these concepts and more in a full mix, you absolutely need to check out How It’s Done w/ Jens Bogren.
Pre-Flight Check: Drum Prep Essentials
Before a single mic stand is unfolded, Jens emphasizes the importance of drum preparation. You can have the fanciest mics in the world, but if the drums themselves aren’t sounding good, you’re fighting a losing battle. It’s a principle that goes beyond just tuning, sometimes even involving specialized acoustic treatment at the source to fine-tune the drum’s ambience and attack.
Dampening the Kick: Less Can Be More
Jens isn’t a fan of stuffing kick drums full of foam. While some dampening is usually necessary, he prefers a more resonant kick, especially for metal. He often opts for a simple towel, positioned to lightly touch both the batter and resonant heads. This allows for more control over the drum’s length and sustain compared to purpose-made kick pillows, which can sometimes make it tricky to place internal mics like the Shure SM91.
Tuning and Head Integrity
A quick visual inspection of the bearing edges is crucial, especially with new or unfamiliar kits. When it comes to tuning, Jens has a pragmatic approach. He suggests getting the batter head to a point where it feels and sounds good, then using the resonant head to adjust the overall pitch and sustain. Typically, he aims for the bottom head to be tuned equally or higher than the batter.
The Plumber’s Tape Trick for Secure Tuning
Here’s a golden nugget: to prevent tuning screws from detuning, especially on snares due to rimshots, Jens uses plumber’s tape (Teflon tape). He wraps this super-thin tape around the threads of the tension rods. It’s thin enough to go into the lug casing without issue and provides enough friction to keep the screws from easily rotating. While it might feel a bit unusual when tuning initially, it holds tune significantly better than many lug locks. This saves a ton of time and frustration during a session. Just be mindful if you’re using rental kits, as some companies might not appreciate the residue.
Miking the Beast: The Kick Drum
Jens often employs a multi-mic setup on the kick to capture a versatile range of tones, giving him plenty of options in the mix. For the session detailed, he used four distinct microphones.
Inside the Shell
- Built-in Mic (D112-style): Some kick drums come with factory-installed internal mics, often resembling an AKG D112. This can be a useful starting point or an additional flavor.
- Shure SM91 (Pressure Zone Microphone): Placed inside, pretty much in the center of the kick, often resting on the dampening material. The SM91 is renowned for its clicky attack and can also provide a snappy low-end. To manage the cable, Jens tapes the SM91’s thin leader cable to the cable of another mic (like the B52) exiting the resonant head’s port hole. This prevents the cable from rattling against the port. With this many mics running at once, having reliable connections matters—if you’re the DIY type, building your own XLR cables is a great way to ensure quality while saving money.
Outside the Shell
- Shure Beta 52A: Positioned just inside the resonant head’s port hole. The B52 is a kick drum classic, known for its pre-EQ’d, meaty, and fat sound.
- Neumann U47 FET: Placed outside the kick drum, a few inches to a foot away. This condenser mic is a classic for “kick out” duties, offering a beefy, round sound with a nice crack. It’s excellent for blending with the internal mics to add weight and body.
This combination provides a spectrum from clicky and articulate (SM91) to fat and punchy (Beta 52A) to round and deep (U47 FET), allowing for ultimate tonal shaping later. This is where knowing how to EQ metal kick drums becomes crucial to blend these sources effectively.
Capturing the Crack: Snare Drum Miking
The snare is the heart of many metal grooves, and getting the miking right is key to avoiding issues like having to surgically remove unwanted ring from a snare drum later. Jens typically uses multiple mics to capture its full character.
Top Snare Mics
Jens often experiments with two dynamic mics on the top head, angling for a blend or choosing the one that best suits the snare and the song.
- Shure SM57 (or variants): The undisputed king. He might use a modern SM57 alongside an older Shure 545 Unidyne III (a predecessor to the SM57 with a slightly different character).
- Placement: He positions the capsules slightly over the edge of the drum, angled towards the center, but not directly at it. This spot captures a good balance of shell tone and head attack. The angle is key for minimizing hi-hat bleed. He cautions against pointing hypercardioid mics directly away from the hi-hats, as their rear lobe can pick up significant bleed.
- Phase: When using two top mics, he aims to get them as phase-aligned as possible by carefully matching their positions and angles.
Bottom Snare Mics
To capture the snap and sizzle of the snare wires, mics are placed underneath.
- Shure Beta 57A: Jens finds this mic complements the SM57 well for bottom snare, even if he doesn’t prefer it for top snare or guitars.
- Milab VM41 (Small Diaphragm Condenser): Another popular choice for snare bottom, offering a different, often more detailed, capture of the wires.
Jens tapes these two bottom mics together to save space and simplify stand placement. He tries to mirror the angle and distance of the top mics to help with phase alignment. These bottom mics are typically phase-flipped on the preamp. The choice between them (or a blend) depends on how much “snare” sound is needed. No matter how carefully you place these mics, some cymbal bleed is inevitable—that’s where knowing how to gate a snare drum in the mix becomes essential.
Thundering Toms: The MD421 Approach
For toms, Jens often sticks with a tried-and-true classic, but it’s also worth seeing how another pro like Jacob Hansen mics his toms for a different flavor.
- Sennheiser MD421 II: Angled similarly to his snare mic placement, aiming for a good balance of attack and tone from the head. These dynamic mics are renowned for their ability to handle high SPLs and deliver a punchy, well-defined tom sound.
- Optional Bottom Mics: If he feels the toms need more body or a different character, he might add an SM57 or similar dynamic mic underneath, again remembering to check phase.
Cutting Through: Hi-Hat and Cymbals
Cymbal miking is about capturing detail without harshness and achieving a balanced stereo image.
Hi-Hat Specifics
- Microtech Gefell M70 (or Neumann KM84 / Shure SM81): Jens prefers small-diaphragm condensers for hi-hats. His starting point is often an M70.
- Positioning: This is critical. He finds the hi-hat often sounds best when miked from a bit of distance, angled towards the side of the hi-hat, but not so much that you get wind noise from the cymbals closing. The goal is a silky, sweet sound. He tries to position the hi-hat mic to minimize bleed from other cymbals or the snare, sometimes even asking the drummer to adjust cymbal heights if necessary. The hi-hat mic is often left active in the mix, so its clarity is paramount.
Overhead Perspectives
Jens aims to capture as much of the cymbal picture as possible with one solid pair of overheads, usually in an AB configuration.
- Neumann KM84s (vintage): His go-to for overheads. Alternatives include Shure SM81s (a surprisingly good budget option) or ribbon mics like Coles 4038s for a darker, more vintage sound.
- Placement Strategy: He focuses the overheads towards the backside/far edge of the cymbals. This helps get some of the drum shells out of the direct line of fire and can also tame some of the harsh, clip-like transients that can occur when cymbals are hit hard and miked from the front. The goal is an even cymbal image where the hi-hat isn’t overpowering.
- Learning to balance these overheads with close mics often involves techniques like using parallel compression on the overheads and rooms to control dynamics and enhance sustain.
Spot Miking the Ride
Even with a good overhead capture, Jens often includes a dedicated ride cymbal mic.
- AKG C414 B-ULS (90th version): He finds this mic captures the whole ride without too many harsh spikes or resonances. A Neumann KM84 is another option for a more focused sound.
- Underneath Miking: If the ride is low and surrounded by other cymbals, he might mic it from underneath (phase-flipped) for better isolation.
Capturing the Space: Room Mics
Room mics add depth, size, and character to the drum sound. While Jens employs a sophisticated multi-pair approach here, it’s also possible to get huge drum room sounds without dedicated room mics if your space or mic locker is limited.
Primary Room Pair: Blumlein Figure-8s
- AKG C414 EBs (vintage brass capsule): Two of these legendary mics set to a figure-8 polar pattern, arranged in a Blumlein configuration (coincident pair at 90 degrees).
- Placement: Positioned in front of the kit, fairly close to the ground. This low placement helps capture more of the shells and less direct cymbal wash. Being close to the ground can also improve low-end response by mitigating phase cancellations from floor bounce. The figure-8 pattern captures a wide stereo image and significant room ambience.
Secondary “Grunge” Pair: PZMs
- Milab MP30 (Pressure Zone Microphones): Two of these condenser PZMs are placed on the floor, one on each side of the room in an AB configuration.
- Sound: These mics provide a “nasty, mid-rangey” sound that Jens finds fits well in the mix, adding a distinct length and aggressive character to the shells without overemphasizing the cymbals.
Mono Room: The Far Mic
- Neumann U67 (vintage): A single U67 set to omni, placed quite far from the kit.
- Placement: Positioned in the centerline of the snare and kick, but further away than the Blumlein pair. This mic is intended to capture the final sustain and overall ambience of the drums in the room. Being in omni, it picks up sound from all directions, providing a natural representation of the room’s character.
Bringing It All Together
Miking drums like Jens Bogren isn’t about one magic mic or placement; it’s about understanding how each microphone choice, its polar pattern, and its position contribute to the overall sound. It’s about knowing the source, anticipating potential problems like bleed and phase, and making informed decisions to capture the best possible raw tracks. This detailed approach gives you maximum flexibility to shape an earth-shattering drum mix, helping to solve the problem with modern metal drums where they can sound sterile or robotic if not captured with care.
These techniques provide a fantastic roadmap for capturing pro-level drum sounds. Imagine seeing Jens Bogren himself apply these principles, tweak EQs, dial in compression, and bring a full metal mix to life. With How It’s Done w/ Jens Bogren, you get exactly that – a front-row seat to watch a master at work, complete with the multitracks to practice on. If you’re ready to craft unique metal guitar tones beyond presets, this is an unmissable opportunity.